
As gardeners, we all know that the growing season doesn’t have to stop just because winter is here. In fact, winter can be an excellent time to start seeds for the upcoming gardening season, especially when you use creative methods like winter sowing in milk jugs. Not only does this approach allow you to begin planting early, but it also helps your seedlings thrive by simulating natural conditions that will encourage their growth.
Winter sowing is one of the simplest and most sustainable ways to kick-start your gardening in the colder months. By recycling milk jugs, you can create a mini greenhouse effect that protects your seeds from harsh weather, ensures proper moisture levels, and gives your plants a head start. This method is particularly effective for cold-hardy plants and vegetables that can handle the chilly temperatures. It’s easy, cost-effective, and perfect for those who want to get a jump on spring planting without using up valuable indoor space.
In this article, we’ll guide you through everything you need to know about winter sowing in milk jugs, how to get started, and why it might just be the perfect technique for your garden. Let’s dive in!
What is Winter Sowing?
Winter sowing is the process of planting seeds outdoors in the winter months, allowing them to experience natural seasonal changes as they begin to grow. The idea is to mimic the environmental conditions that plants would typically face in nature, while giving them a little help by providing a controlled environment in the form of a mini greenhouse. The technique is especially helpful for gardeners who want to start seeds early but don’t have the space or resources for a full indoor seed-starting setup.
The process works by creating small, self-contained growing environments—often using milk jugs, but also other containers like plastic bottles or salad containers—that protect seeds from freezing temperatures, keep them hydrated, and provide adequate sunlight for germination. Essentially, it’s a clever way to start seeds without needing to heat a greenhouse or spend time indoors managing seed trays.
Why Milk Jugs?
Milk jugs are perfect for winter sowing for a number of reasons:
- Affordable and Reusable – Milk jugs are a common household waste item, making them an eco-friendly option for gardening. They can be reused multiple times, which is great for both your budget and the environment.
- Perfect Size – A standard gallon milk jug offers ample space for several seedlings and enough room for root growth as the seeds sprout.
- Protection and Insulation – The plastic provides excellent insulation and protection from cold winds, while still allowing light to reach the seeds. The hinged top of the jug allows you to easily monitor and control the conditions inside.
- Excellent Drainage – By poking holes in the bottom, milk jugs can easily drain excess moisture, preventing root rot and creating a healthy environment for your seeds.
Steps for Winter Sowing in Milk Jugs
Winter sowing might sound a bit intimidating at first, but it’s actually a very simple process. Here’s a step-by-step guide to get you started:
1. Prepare the Jugs
The first step is to prepare your milk jugs. Start by washing them thoroughly to remove any residue, labels, or stickers. Then, cut each jug in half using scissors or a utility knife, leaving the handle attached. Make sure the cut is not too deep—leaving a small hinge at the top will help you keep the jug open like a clamshell, which is key to creating a functional mini greenhouse.
Next, poke several holes in the bottom of the jug to allow for drainage. You can use a nail or a sharp object to make these holes. This ensures that excess water can escape, preventing the seeds from becoming waterlogged.
2. Add Soil and Seeds
Once your jugs are prepared, it’s time to fill them with a good-quality, moist potting mix. Don’t use garden soil, as it can be too dense for good seed germination. Instead, choose a potting mix designed for seed starting, as it will offer a light texture and excellent drainage.
Fill the jug with soil, leaving about 1-2 inches of space at the top. Then, plant your seeds according to the specific instructions on the seed packet. Some seeds may require a light covering of soil, while others might need to be buried deeper. Gently press the seeds into the soil or lightly cover them with additional soil.
3. Label and Close the Jugs
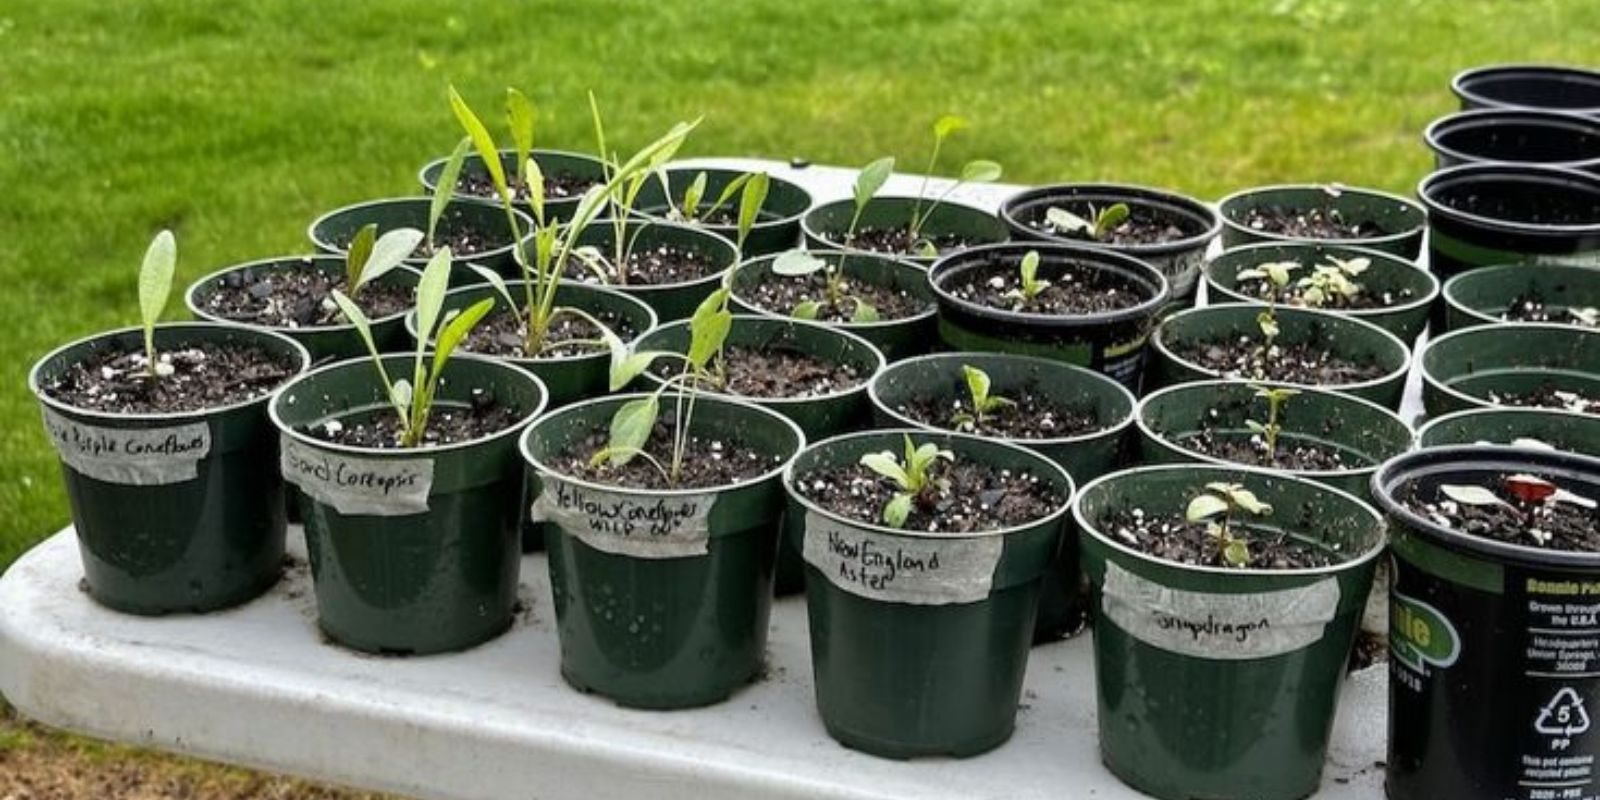
Label your jugs with the type of seeds you’ve planted and the date. You can use waterproof markers or create labels with a piece of masking tape or duct tape. It’s crucial to keep track of what you’ve planted, especially if you’re growing multiple types of seeds at once.
Once labeled, carefully tape the jug shut. Make sure it’s sealed, but don’t worry if there are small gaps for air exchange; this is actually beneficial for the seedlings.
4. Place Outside
Now it’s time to find a suitable location to place your milk jugs. Choose a sunny outdoor spot that gets direct light during the day. This is typically a south-facing area, as it will provide the warmth and sunlight your seeds need to germinate.
Don’t worry about the cold temperatures—this is the beauty of winter sowing. The seeds will experience the natural cold and freeze-thaw cycles, which help break seed dormancy and trigger germination in many varieties. The clear plastic jug acts like a greenhouse, trapping warmth inside during the day, while still allowing the cold air outside to seep in at night.
5. Monitor and Water
Once your jugs are in place, monitor them regularly to ensure they are getting enough light and moisture. On particularly sunny days, the jugs can get quite warm inside, so check that they don’t overheat by occasionally opening the lid or propping it open slightly.
In the early stages, you may need to water the jugs. You can do so by carefully adding water directly into the jug or using a spray bottle to mist the soil. Keep the soil evenly moist but not soggy, as too much water can lead to mold growth.
As the temperatures rise in the spring, you should begin to see seedlings sprouting inside the jugs. At this point, you’ll want to start “hardening off” the seedlings. Gradually open the jugs to acclimate them to outdoor conditions, and eventually, you’ll be able to transplant them into your garden.
Best Plants for Winter Sowing
Winter sowing is not suitable for all plants, but it works wonderfully for cold-hardy varieties. Some of the best plants to grow using this method include:
- Cold-hardy vegetables like broccoli, cabbage, kale, spinach, and lettuce.
- Herbs such as parsley, chives, and thyme.
- Flowers like poppies, sweet peas, and columbine.
- Perennials including echinacea, black-eyed susans, and shasta daisies.
Avoid starting plants that require a long growing season or need warmth to germinate, like tomatoes, peppers, and melons. These should be started indoors or under controlled conditions with a heat source.
Tips for Successful Winter Sowing
- Choose the Right Seeds – Not all seeds will benefit from winter sowing. Cold-hardy varieties work best, as they can tolerate lower temperatures.
- Don’t Overcrowd – Leave enough space between seeds for air circulation and root development. This helps reduce the risk of mold and ensures the seedlings have room to grow.
- Check Moisture Levels – While winter sowing generally helps maintain moisture, be sure to check the soil periodically and water if needed.
- Be Patient – Winter sowing can take longer than starting seeds indoors, so don’t be discouraged if you don’t see results right away.
Conclusion
Winter sowing in milk jugs is an easy, fun, and sustainable way to start your garden early. Not only does it help you save time and space indoors, but it also creates a natural environment that encourages strong, healthy seedlings. By recycling milk jugs, you’re also doing your part to reduce plastic waste while giving your garden a head start.
So, this winter, why not give it a try? Whether you’re looking to grow vegetables, herbs, or flowers, winter sowing in milk jugs is a simple and effective way to ensure a successful gardening season. 🌱❄️
Happy gardening!