
Introduction
Starting seeds indoors can be a challenge, requiring grow lights, heating mats, and constant attention. But what if there was a simpler, more natural way to start seeds early? Enter winter sowing in milk jugs—a low-cost, low-maintenance method that mimics nature’s process and produces hardy, resilient seedlings. This method allows you to sow seeds in mini-greenhouses made from recycled milk jugs, which protect them from harsh winter weather while preparing them for a strong start in spring. In this guide, we’ll walk you through everything you need to know about winter seed sowing in milk jugs.
What is Winter Sowing?
Winter sowing is a technique where seeds are planted in containers—often milk jugs—during the cold months and left outdoors to experience the natural freeze-thaw cycle. This method provides the cold stratification many seeds require to break dormancy, leading to stronger, hardier seedlings compared to those grown indoors. As the weather warms up, the seeds naturally germinate at the perfect time, eliminating the need for hardening off.
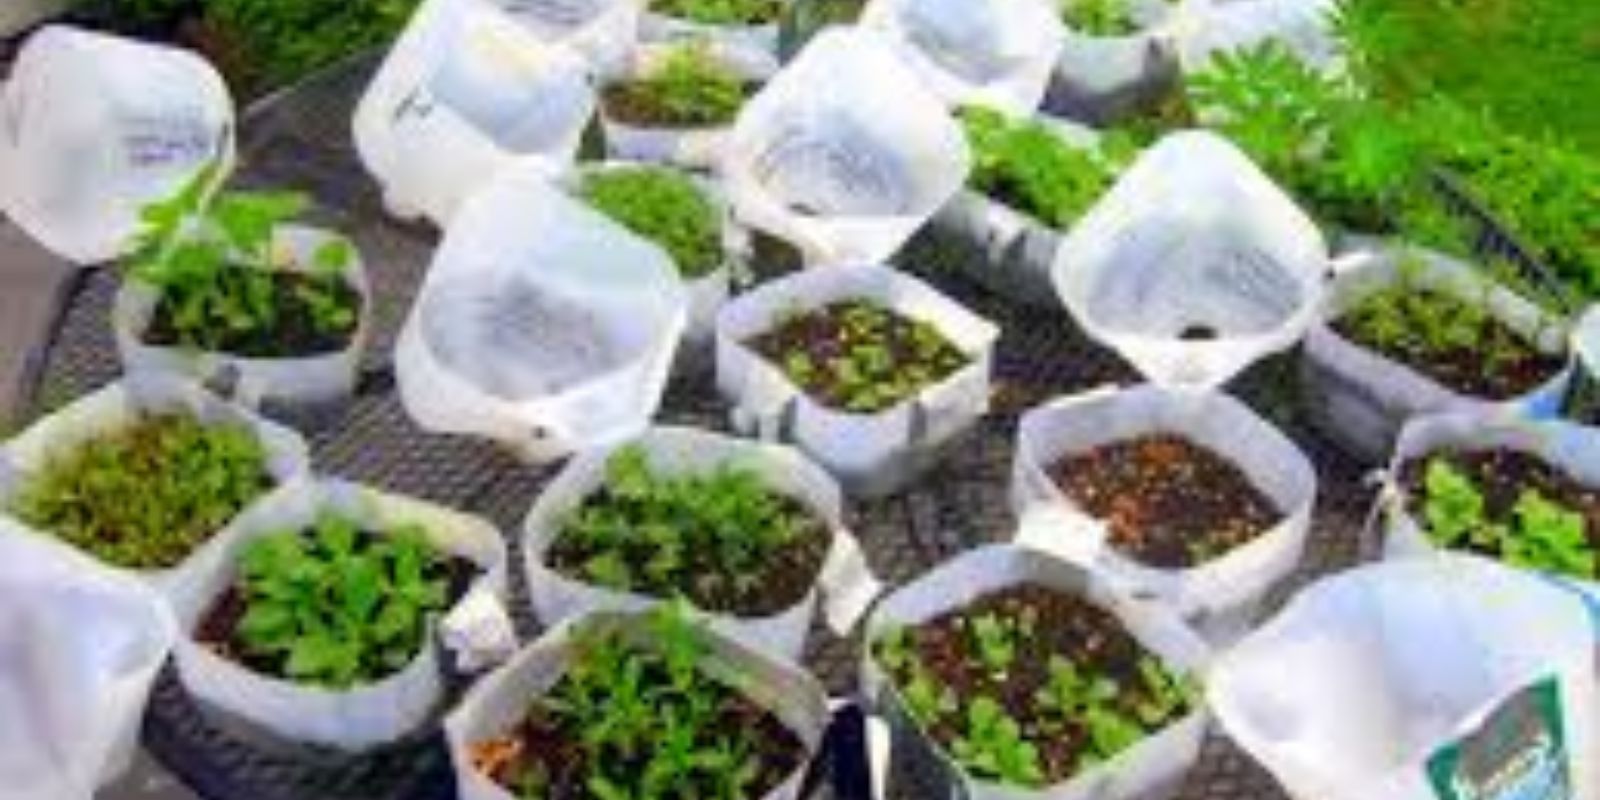
Why Use Milk Jugs for Winter Sowing?
Milk jugs make perfect mini-greenhouses for starting seeds outdoors in winter. Here’s why:
- They trap warmth and moisture, creating an ideal environment for seeds.
- They are free and recyclable, reducing waste and saving money.
- They protect seeds from harsh weather, allowing them to germinate naturally.
- They require no indoor space, freeing up room in your home.
- They eliminate the need for grow lights and heating mats, simplifying seed starting.
Step-by-Step Guide to Winter Sowing in Milk Jugs
1. Gather Your Materials
Before you start, make sure you have:
✔️ Clean, empty milk jugs (or other clear plastic containers)
✔️ A sharp knife or scissors for cutting
✔️ Potting soil (not garden soil)
✔️ Seeds suited for winter sowing (see list below)
✔️ Duct tape or masking tape
✔️ Permanent marker for labeling
✔️ A drill, screwdriver, or knife for making drainage holes
2. Prepare the Milk Jugs
- Rinse out the milk jugs thoroughly and remove any labels.
- Using a sharp knife or scissors, cut around the jug horizontally, leaving a small hinge near the handle to keep it connected.
- Poke several drainage holes in the bottom to prevent waterlogging.
3. Fill with Soil
- Add 2-3 inches of moist potting mix to the bottom of the jug.
- Ensure the soil is damp but not soaking wet—it should feel like a wrung-out sponge.
4. Plant Your Seeds
- Sow seeds according to the depth recommended on the seed packet.
- Lightly press them into the soil and cover if necessary.
5. Label and Secure the Jugs
- Write the seed type and date on the jug with a permanent marker.
- Tape the jug back together with duct tape to hold moisture in.
- Remove the cap to allow air circulation.
6. Place the Jugs Outside
- Set your milk jugs in a sunny location outdoors where they will be exposed to rain and snow.
- Avoid placing them in areas prone to strong winds.
Best Seeds for Winter Sowing
Certain seeds thrive in the winter sowing method, particularly cold-hardy perennials, herbs, and early vegetables. Some excellent choices include:
🌱 Vegetables: Broccoli, kale, lettuce, spinach, carrots, onions, and cabbage
🌼 Flowers: Coneflower, black-eyed Susan, poppies, milkweed, and lupine
🌿 Herbs: Parsley, thyme, chives, and oregano
Caring for Your Winter-Sown Seeds
Once your jugs are outside, they require very little maintenance:
- Check periodically to ensure they are not drying out. If the soil looks dry, water gently.
- As temperatures rise in early spring, the seeds will naturally begin to germinate.
- When seedlings appear, monitor them closely. If the days are too warm, prop open the lid slightly to prevent overheating.
- No need for hardening off! Since the seedlings have grown outdoors, they are already acclimated to natural conditions.
Transplanting Seedlings to the Garden
Once the seedlings have grown strong and the danger of frost has passed, it’s time to transplant them:
1️⃣ Open the milk jug and gently remove the seedlings with a spoon or small trowel.
2️⃣ Harden off tender varieties by gradually exposing them to full sun over a few days.
3️⃣ Plant them in their final garden spot with plenty of space to grow.
4️⃣ Water well and mulch around the plants to retain moisture.
Benefits of Winter Sowing
Winter sowing has several advantages over traditional indoor seed-starting methods:
✅ Stronger seedlings with better root systems
✅ No need for artificial lights or heat mats
✅ Less indoor mess and space required
✅ Natural hardening-off process
✅ Eco-friendly and cost-effective
Common Questions & Troubleshooting
🔹 What if it gets too cold?
Don’t worry! These seeds are meant to endure freezing temperatures. The milk jugs insulate them, and they will sprout when conditions are right.
🔹 What if the jugs dry out?
Check periodically, especially in dry climates. If needed, add water through the opening in the top.
🔹 Can I use other containers?
Yes! Clear plastic bins, salad containers, and soda bottles also work well.
🔹 How do I know when to transplant?
Once seedlings have several sets of true leaves and temperatures are consistently warm, they’re ready to move to the garden.
Conclusion
Winter seed sowing in milk jugs is an easy, low-cost way to start strong, healthy plants without expensive equipment or complicated indoor setups. By harnessing nature’s rhythms, you can grow resilient seedlings that are ready for transplanting as soon as spring arrives.
Are you ready to try winter sowing? Let us know what seeds you’re planting this season! Drop a comment below! 🌱❄️💚 #WinterSowing #GardeningHacks #GrowYourOwnFood