
Hydrangeas are cherished in gardens and landscapes for their stunning blooms and vibrant colors, providing beauty throughout the growing season. However, maintaining healthy, flourishing hydrangeas requires more than just occasional watering and fertilizing. One of the most effective yet underutilized methods to enhance their growth and ensure blooming until the frost is composting kitchen scraps. In this article, we’ll explore the benefits of composting, how to create nutrient-rich compost, and how to apply it to your hydrangeas to keep them vibrant all year round.
Understanding Hydrangeas
Before we delve into the benefits of composting, it’s essential to understand the nature and needs of hydrangeas. These beloved perennial plants belong to the Hydrangeaceae family and thrive in various climates. Hydrangeas are known for their large, lush flower clusters that can be white, pink, blue, or purple, depending on the soil pH.
Types of Hydrangeas
There are several types of hydrangeas, including:
- Bigleaf Hydrangeas (Hydrangea macrophylla): Known for their large flower heads and color variations based on soil pH.
- Panicle Hydrangeas (Hydrangea paniculata): Featuring cone-shaped blooms that remain vibrant into fall and winter.
- Smooth Hydrangeas (Hydrangea arborescens): Notable for their white flowers and hardiness in colder climates.
- Oakleaf Hydrangeas (Hydrangea quercifolia): Known for their unique oak-shaped leaves and stunning fall foliage.
Understanding the specific needs of the hydrangea variety in your garden will help you provide optimal care.
The Importance of Composting
Composting is an eco-friendly practice that involves decomposing organic materials to create a nutrient-rich soil amendment. By composting kitchen scraps, you not only reduce waste but also enrich your garden soil, leading to healthier plants.
Benefits of Composting for Hydrangeas
- Nutrient-Rich Soil: Compost provides essential nutrients such as nitrogen, phosphorus, and potassium, promoting healthy growth and vibrant blooms.
- Improved Soil Structure: Adding compost improves soil aeration and drainage, which is crucial for hydrangeas that dislike soggy roots.
- Enhanced Moisture Retention: Compost helps retain moisture in the soil, reducing the need for frequent watering.
- Increased Beneficial Microorganisms: Compost introduces beneficial microbes into the soil, enhancing its health and fertility.
Creating Your Own Compost
Step 1: Gather Kitchen Scraps
Start by collecting kitchen scraps that are ideal for composting. This includes:
- Vegetable scraps (peels, stems, and cores)
- Fruit scraps (peels, cores, and overripe fruit)
- Coffee grounds and filters
- Eggshells (crushed)
- Grass clippings and leaves
Avoid composting meat, dairy products, oily foods, and any non-biodegradable materials, as they can attract pests and create unpleasant odors.
Step 2: Choose a Compost Bin
You can compost in several ways, including:
- Compost Bins: Purchase a compost bin designed to facilitate aeration and drainage.
- DIY Compost Bins: Create a compost bin using wooden pallets or wire mesh.
- Compost Pile: If you have ample space, you can create a compost pile in your backyard.
Step 3: Layer Your Materials
When composting, it’s essential to maintain a balanced ratio of green materials (nitrogen-rich) and brown materials (carbon-rich).
- Green Materials: Include vegetable scraps, fruit scraps, coffee grounds, and fresh grass clippings.
- Brown Materials: Add dried leaves, straw, cardboard, and paper.
Aim for a ratio of about 1:3 (green to brown) to optimize decomposition.
Step 4: Turn the Pile
Aeration is crucial for composting. Every few weeks, use a pitchfork or shovel to turn the compost pile. This allows oxygen to reach the materials, speeding up decomposition and preventing odors.
Step 5: Monitor Moisture Levels
Your compost should be moist but not soggy. If the pile is too dry, add water; if it’s too wet, mix in more brown materials. A good test is to squeeze a handful of compost—if it crumbles, it’s just right; if it forms a ball, it’s too wet.
Step 6: Harvest Your Compost
After several months (typically 3 to 6 months, depending on conditions), your compost will be ready. It should have a dark, crumbly texture and earthy smell, indicating it’s fully decomposed.
Applying Compost to Your Hydrangeas
Step 1: Prepare Your Hydrangeas
Before applying compost, ensure your hydrangeas are well-watered. This helps the plants absorb the nutrients more effectively.
Step 2: Apply Compost
- Spread the Compost: Apply a layer of compost around the base of each hydrangea plant. Aim for about 2 to 4 inches of compost, keeping it a few inches away from the plant’s stem to prevent rot.
- Work it into the Soil: Gently work the compost into the top layer of soil, ensuring it blends well with existing soil.
- Water Thoroughly: After applying the compost, water your hydrangeas thoroughly to help the nutrients penetrate the soil.
Step 3: Frequency of Application
To maintain the health of your hydrangeas, apply compost annually in the spring. This replenishes nutrients and ensures the plants have the necessary resources for blooming.
Maintaining Hydrangeas with Compost
Regular Care
In addition to composting, regular care is crucial for hydrangeas to thrive:
- Watering: Hydrangeas need consistent moisture. Water deeply once a week, or more frequently in extremely hot weather.
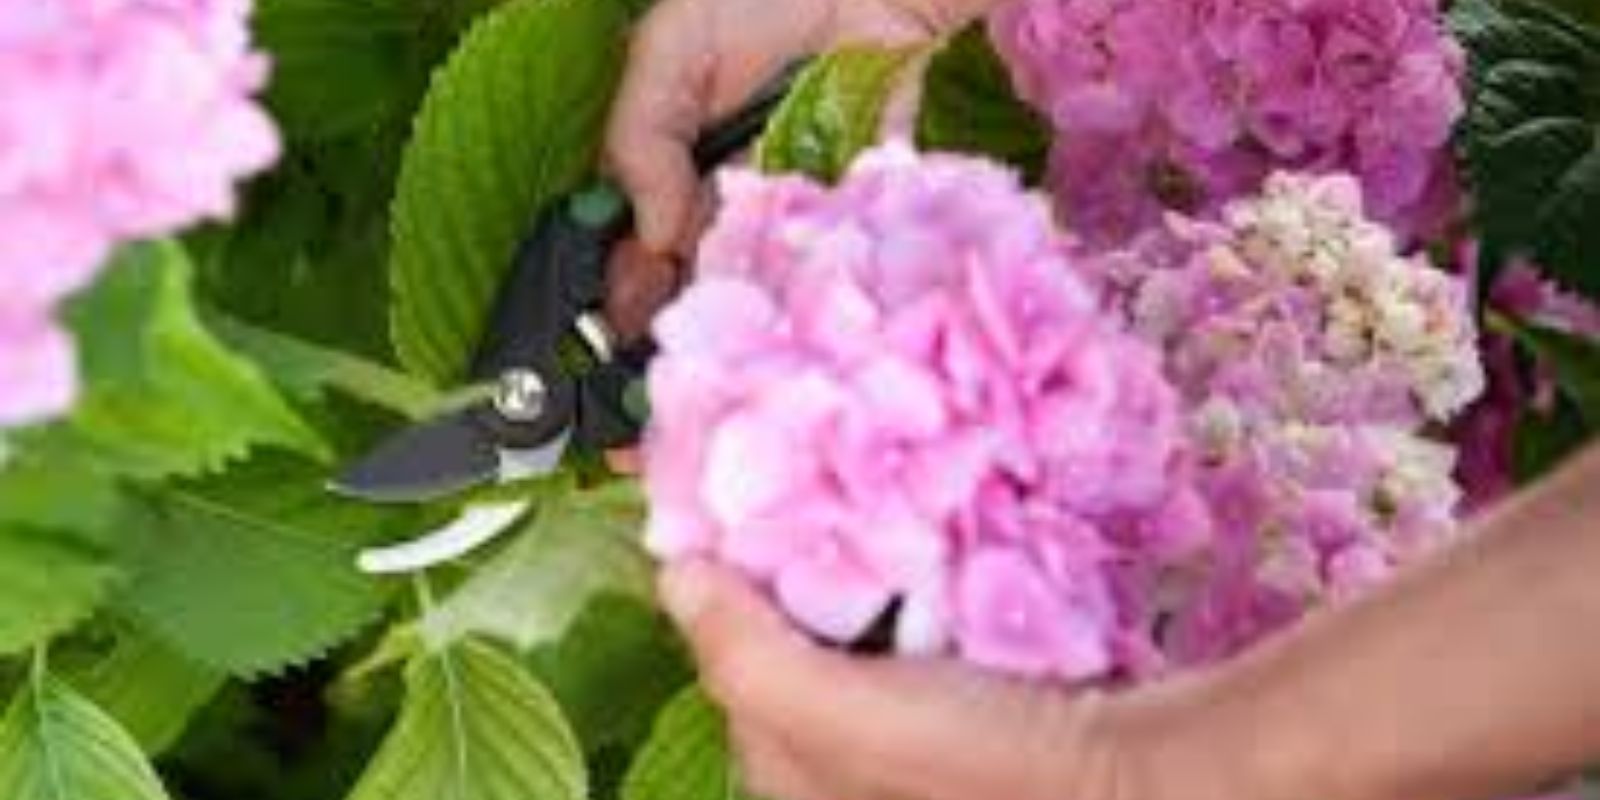
- Pruning: Prune your hydrangeas according to their type. For example, bigleaf hydrangeas bloom on old wood, so prune immediately after flowering, while panicle hydrangeas can be pruned in late winter or early spring.
- Mulching: Apply a layer of mulch around the base of the plants to conserve moisture and suppress weeds.
Watch for Pests and Diseases
Keep an eye out for common pests such as aphids and spider mites. If detected, treat them promptly with insecticidal soap or neem oil. Regularly inspecting your plants ensures any issues are addressed before they escalate.
Conclusion: Flourishing Hydrangeas Year-Round
Composting kitchen scraps is a simple yet effective way to enhance the health and beauty of your hydrangeas. By creating nutrient-rich compost and applying it to your plants, you can promote robust growth and vibrant blooms that last until the frost.
Transform your garden into a haven of color and beauty by harnessing the power of composting. Not only will you reduce kitchen waste, but you’ll also enrich your soil and create a thriving environment for your hydrangeas.
Join the Green Revolution!
Have you tried composting to enhance your garden? Share your experiences, tips, and questions in the comments below! Let’s inspire one another to create lush, blooming gardens through sustainable practices.
Engage with fellow gardening enthusiasts using these hashtags: #HydrangeaLove #Composting #SustainableGardening #FlowerPower #GardenTips #EcoFriendly #PlantCare #GardeningCommunity. Together, let’s cultivate a thriving community dedicated to growing beautiful plants! 🌿🌼