
When it comes to growing potatoes, success lies in the preparation. Among the various tips and tricks gardeners swear by, one stands out for its simplicity and effectiveness: chitting. This age-old technique involves pre-sprouting your seed potatoes before planting, giving them a head start for faster growth and a bountiful harvest. In this article, we’ll delve into the details of why chitting potatoes in January is so beneficial, how to do it properly, and why it can make all the difference in your gardening journey.
What is Chitting?
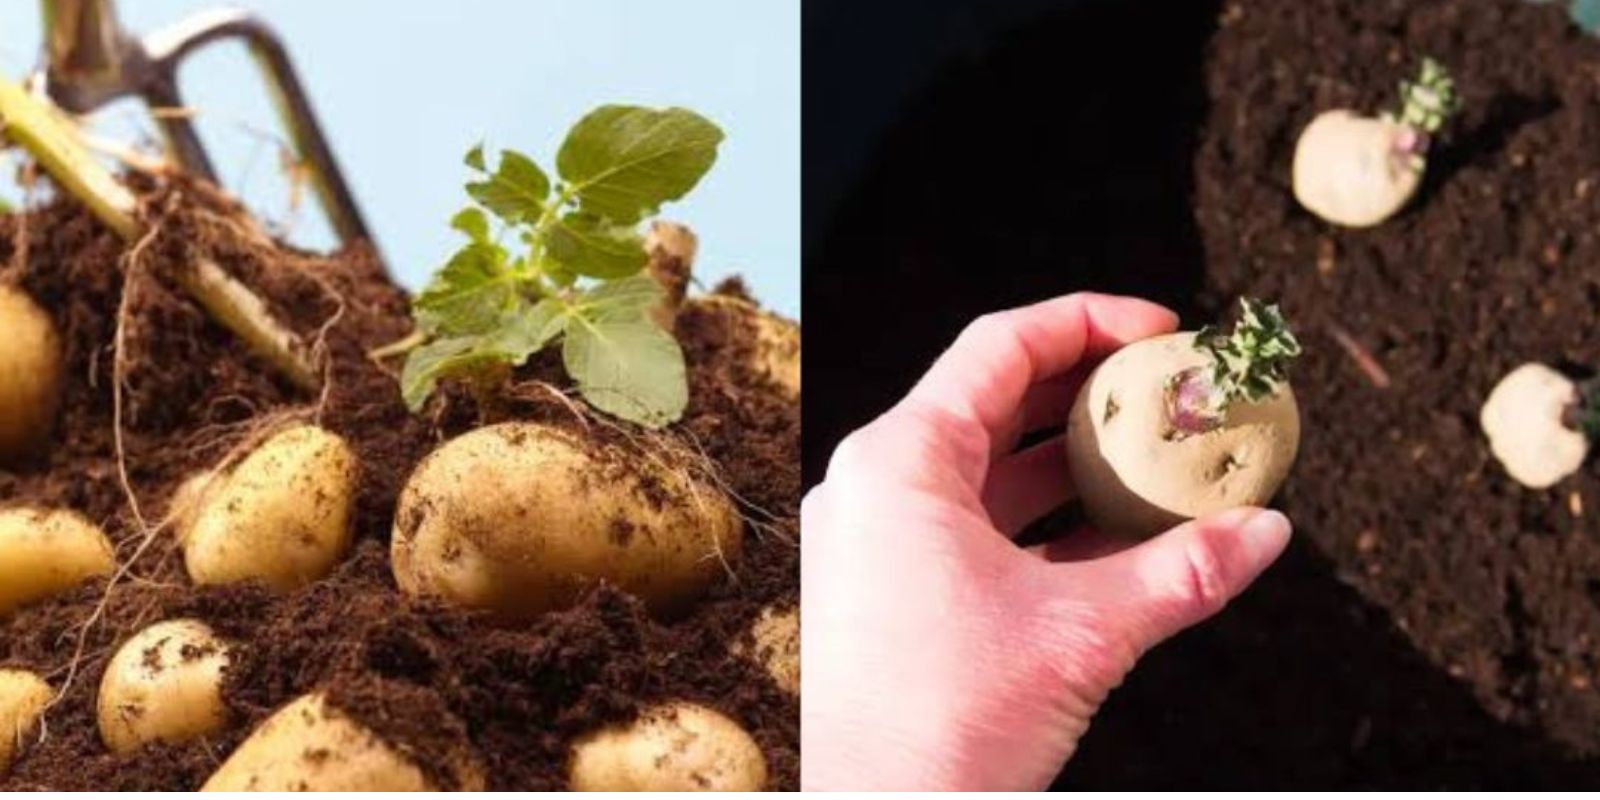
Chitting is the process of encouraging seed potatoes to sprout before they are planted in the ground. By placing your seed potatoes in a favorable environment where their “eyes” (growth points) can develop into short, sturdy shoots, you’re setting them up for a strong start. This early sprouting ensures that when you plant them, they’ll grow faster and more vigorously.
Why Chit Your Potatoes in January?
January is the ideal time to start chitting potatoes for several reasons:
- Optimal Timing for Planting: Starting in January ensures your potatoes are ready for planting when the soil begins to warm in early spring.
- Improved Yield: Pre-sprouted potatoes have a head start, leading to healthier plants and a larger harvest.
- Prevention of Rot: Chitting allows you to plant potatoes that are already actively growing, reducing the chance of rot in cold, wet soil.
- Extended Growing Season: With earlier sprouting, you can enjoy an extended growing period, maximizing your potato production.
The Benefits of Chitting Potatoes
Chitting isn’t just a gardening ritual—it’s a proven method that offers tangible benefits:
- Faster Emergence: Chitted potatoes break through the soil more quickly than non-chitted ones, reducing the time they’re vulnerable to pests and disease.
- Enhanced Growth: Pre-sprouting stimulates early development, resulting in more robust plants.
- Higher Yield: By starting early, potatoes have more time to grow and mature, leading to larger and more abundant harvests.
- Easier Planting: With visible sprouts, you can plant your seed potatoes with the correct orientation, ensuring the shoots grow upward.
Step-by-Step Guide to Chitting Potatoes
Now that you know why chitting is so beneficial, here’s a simple guide to get you started:
1. Select Your Seed Potatoes
- Choose certified seed potatoes from a reputable supplier.
- Look for firm, blemish-free potatoes with several “eyes.” Avoid eating potatoes as they may carry diseases.
2. Prepare an Egg Carton or Tray
- Use an egg carton, shallow tray, or any container that allows you to keep the potatoes upright.
- Ensure the eyes are facing upwards to encourage proper sprouting.
3. Find a Cool, Bright Location
- Place the tray in a location with plenty of natural light but no direct sunlight.
- The ideal temperature is between 10–15°C (50–59°F). A windowsill or unheated room is perfect.
4. Allow Sprouts to Develop
- Let the potatoes sit undisturbed for 4–6 weeks.
- Check periodically to ensure the sprouts are healthy and not too long. Aim for shoots that are about 1–2 cm in length.
5. Monitor for Issues
- Remove any potatoes that develop mold or show signs of rot.
6. Plant When Ready
- Once the soil temperature has warmed (usually late February or March, depending on your climate), plant your chitted potatoes.
- Place them in the ground with the sprouts facing upwards, about 10–15 cm deep.
Common Mistakes to Avoid When Chitting
While chitting is straightforward, avoiding these common mistakes will ensure success:
- Excessive Heat or Darkness: Sprouts grown in dark or overly warm conditions become weak and leggy, reducing their viability.
- Planting Too Early: Ensure the soil is warm enough before planting to avoid frost damage.
- Overcrowding: Space your seed potatoes in the tray to allow air circulation and prevent mold.
Varieties of Potatoes That Benefit from Chitting
While all potatoes can benefit from chitting, early and second early varieties thrive with this technique. These include:
- First Earlies: Swift, Rocket, and Red Duke of York.
- Second Earlies: Charlotte, Kestrel, and Maris Peer.
Maincrop varieties, such as King Edward or Maris Piper, can also be chitted but don’t rely on it as heavily.
Sustainable Gardening with Chitting
Chitting isn’t just good for your potatoes; it’s also an eco-friendly practice:
- Reduces Waste: By using certified seed potatoes effectively, you minimize losses due to rot or poor growth.
- Promotes Food Security: Growing your own potatoes supports self-sufficiency and reduces reliance on store-bought produce.
- Supports Organic Practices: Chitting can be done without chemicals or fertilizers, aligning with organic gardening principles.
FAQs About Chitting Potatoes
Q: Can I chit potatoes that I’ve bought from the supermarket?
A: It’s best to use certified seed potatoes, as supermarket varieties may carry diseases or be treated to prevent sprouting.
Q: How long should I chit potatoes?
A: Chitting typically takes 4–6 weeks. The shoots should be 1–2 cm long before planting.
Q: What happens if I don’t chit my potatoes?
A: Non-chitted potatoes will still grow, but they may take longer to emerge and produce a smaller yield.
Final Thoughts: Why Chitting is Worth the Effort
Chitting potatoes in January is a simple yet impactful step that can transform your harvest. By giving your seed potatoes a head start, you’re ensuring they grow faster, healthier, and more abundantly. Whether you’re a seasoned gardener or just starting, this technique is an easy way to boost your success with minimal effort.
So, why wait? Grab your seed potatoes, find a sunny windowsill, and start chitting today. Your future self—and your garden—will thank you!
Have you tried chitting your potatoes? Share your tips and experiences below! 🌱🥔