
Introduction
Growing mushrooms at home is an eco-friendly, rewarding project that utilizes a common household waste: coffee grounds. This sustainable gardening technique is not only cost-effective but also easy to implement, making it perfect for beginners and seasoned gardeners alike. With just a few simple steps, you can enjoy fresh, homegrown mushrooms while reducing your environmental footprint. This guide will walk you through everything you need to know to grow mushrooms on coffee grounds, from selecting the right variety to harvesting your crop.
Why Grow Mushrooms on Coffee Grounds?
Coffee grounds are an excellent growing medium for mushrooms because they’re rich in nutrients like nitrogen, calcium, and magnesium. Additionally, used coffee grounds are already pasteurized during the brewing process, reducing the risk of contamination. By reusing coffee grounds, you’re not only giving new life to waste but also contributing to a sustainable gardening practice.
What You’ll Need
- Used Coffee Grounds: Collect enough to fill your growing container. Avoid grounds that have been sitting for too long, as they may develop mold.
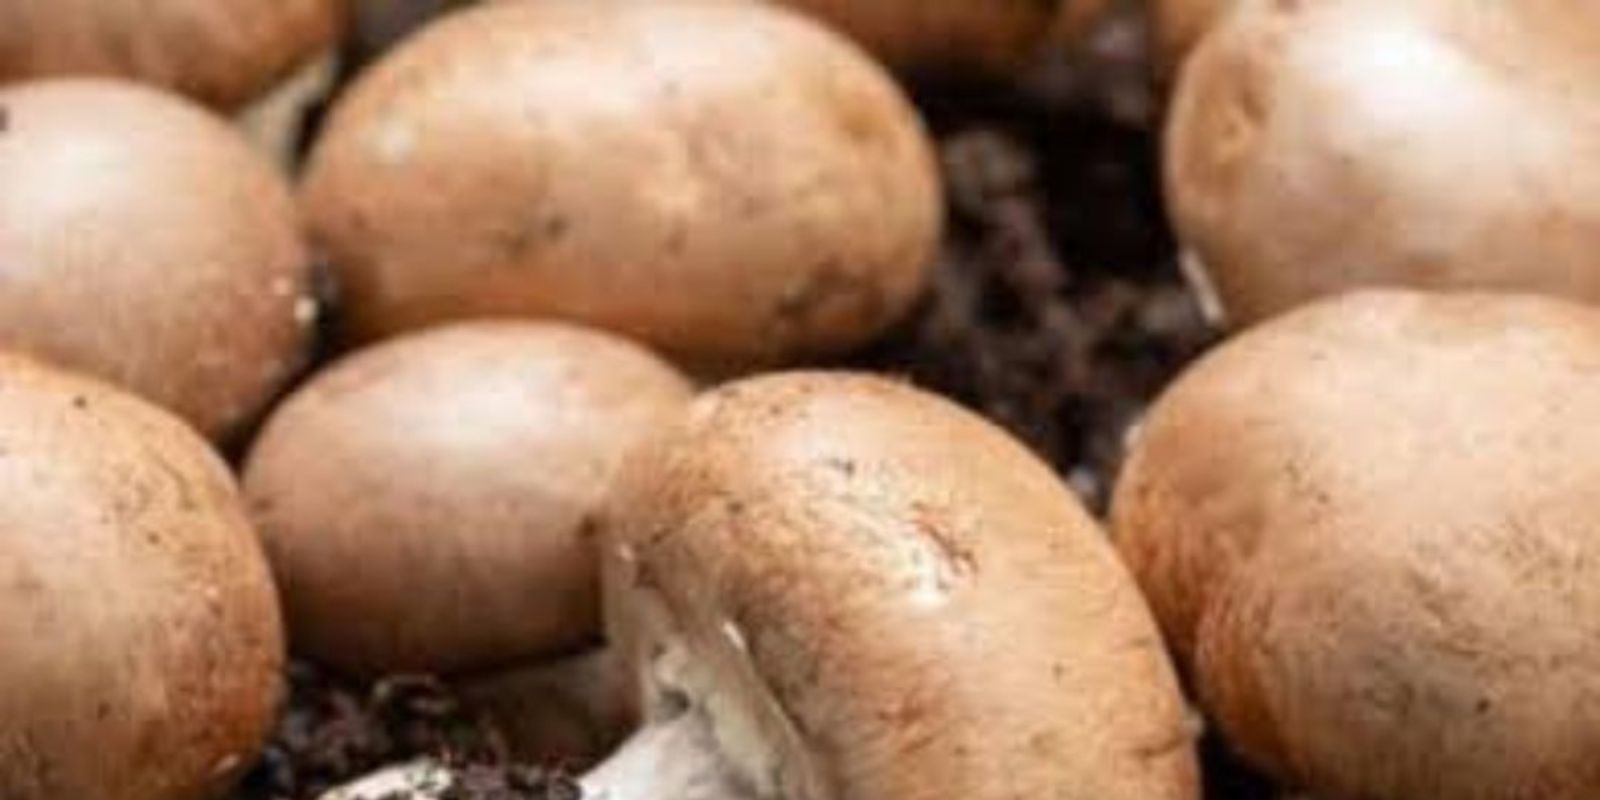
- Mushroom Spawn or Stems: Oyster mushrooms are the easiest to grow, but button mushrooms also work well.
- A Growing Container: Use a bucket, plastic bag, or any clean container that can hold the substrate and allow for airflow.
- Spray Bottle: For misting the substrate to maintain moisture.
- Optional: Perlite or vermiculite to improve drainage and moisture retention.
Step-by-Step Guide to Growing Mushrooms on Coffee Grounds
Step 1: Collect and Prepare Coffee Grounds
Start by collecting used coffee grounds. If you don’t generate enough at home, local coffee shops are often happy to give theirs away for free. Ensure the grounds are fresh and free from mold. Store them in a clean, airtight container until ready to use.
Step 2: Choose Your Mushroom Variety
Select a mushroom variety that thrives in this environment. Oyster mushrooms are highly recommended for beginners due to their resilience and fast growth. If using store-bought mushrooms, retain the base of the stems, as they contain mycelium needed for growth.
Step 3: Prepare the Substrate
Mix the coffee grounds with mushroom spawn or chopped stems. The ratio should be about 90% coffee grounds to 10% mushroom spawn. Break up any clumps in the grounds to create a loose, even substrate.
Step 4: Fill the Growing Container
Place the coffee grounds and spawn mixture into your chosen container. Pack it loosely to allow air circulation. If using a bag, punch small holes for ventilation.
Step 5: Create Optimal Growing Conditions
Mushrooms thrive in dark, cool, and humid environments. Keep the container in a space with temperatures between 64°F and 77°F (18°C to 25°C). Cover the top loosely with a lid or plastic wrap to maintain humidity while allowing airflow.
Step 6: Maintain Moisture Levels
Mist the coffee grounds daily with a spray bottle to keep them moist but not soggy. Moisture is critical for mushroom growth, so ensure the substrate doesn’t dry out.
Step 7: Wait for Mycelium to Develop
Within 2–3 weeks, you should notice white, thread-like structures called mycelium spreading through the coffee grounds. This is a sign that your mushrooms are establishing themselves.
Step 8: Encourage Fruiting
Once the mycelium has fully colonized the substrate, move the container to an area with indirect light and increase the humidity. Continue misting regularly. After a few days, small mushroom pins will begin to appear.
Step 9: Harvest Your Mushrooms
When the mushroom caps start to open, they are ready to harvest. Gently twist and pull the mushrooms from the substrate or cut them at the base with a clean knife.
Step 10: Repeat the Cycle
After harvesting, your substrate may produce another flush of mushrooms. Keep misting and maintaining the environment to encourage additional growth.
Tips for Success
- Prevent Contamination: Ensure all materials, including your hands, are clean before handling the coffee grounds or mushroom spawn.
- Avoid Overwatering: While moisture is essential, excess water can lead to mold or rot. The substrate should feel damp but not waterlogged.
- Recycle Substrate: Once the substrate stops producing mushrooms, add it to your compost pile for an additional eco-friendly benefit.
- Experiment with Varieties: As you gain confidence, try growing other mushroom types like shiitake or king oyster.
The Benefits of Growing Mushrooms at Home
- Cost Savings: Homegrown mushrooms are far cheaper than store-bought options.
- Sustainability: Repurposing coffee grounds reduces waste and promotes eco-friendly practices.
- Freshness: Enjoy mushrooms at their peak flavor and nutritional value.
- Educational Opportunity: Growing mushrooms is a fun and rewarding project for the whole family, teaching valuable lessons about sustainability and biology.
Engage with the Gardening Community
Are you ready to turn your coffee habit into a sustainable mushroom garden? Share your journey with fellow gardeners and inspire others to grow their own food! Let us know in the comments: What’s your favorite way to enjoy mushrooms?
Conclusion
Growing mushrooms on used coffee grounds is a simple, sustainable way to produce fresh, delicious fungi at home. By repurposing waste and following these steps, you can create a mini mushroom farm in your kitchen or backyard. With a little patience and care, you’ll be harvesting your own mushrooms in no time.