A sloping garden can be both a challenge and an opportunity. While it might seem like a hassle to work with uneven terrain, leveling a sloping garden can open up new possibilities for planting, outdoor living, and overall functionality. With the right steps, tools, and vision, you can transform your sloping garden into a flat, usable area. Here’s an in-depth guide to help you tackle this rewarding project.
Why Level a Sloping Garden?
Before diving into the process, it’s essential to understand the benefits of leveling a sloping garden:
- Increased Usable Space: Flat gardens provide room for seating areas, play zones, or vegetable patches.
- Improved Drainage: Proper leveling ensures water drains efficiently, preventing erosion or pooling.
- Enhanced Aesthetics: A leveled garden is visually appealing and offers a blank canvas for creative landscaping.
- Easier Maintenance: Level ground simplifies mowing, planting, and general upkeep.
Step-by-Step Guide to Level a Sloping Garden
Step 1: Assess the Slope
Start by evaluating your garden’s slope to understand how much leveling is required.
- Measure the Gradient: Use a string line, stakes, and a spirit level to determine the slope’s angle.
- Identify Problem Areas: Look for signs of erosion, poor drainage, or uneven soil distribution.
- Define the Purpose: Decide whether the area will be for planting, entertaining, or a mix of uses.
Step 2: Plan the Layout
- Sketch a blueprint of your garden to visualize the changes.
- Mark zones for different activities like garden beds, patios, or pathways.
- Consider terracing for steep slopes to create multiple flat areas instead of one.
Step 3: Gather Tools and Materials
Having the right tools and materials ensures a smoother process:
- Shovel or spade
- Wheelbarrow
- Spirit level or leveling tool
- Stakes and string
- Retaining wall materials (wood, stone, or concrete blocks)
- Topsoil and compost for replenishing soil
Step 4: Clear the Area
- Remove all vegetation, including grass and weeds, from the sloping area.
- If there are plants you want to keep, carefully dig them up and replant them later.
Step 5: Excavate the High Areas
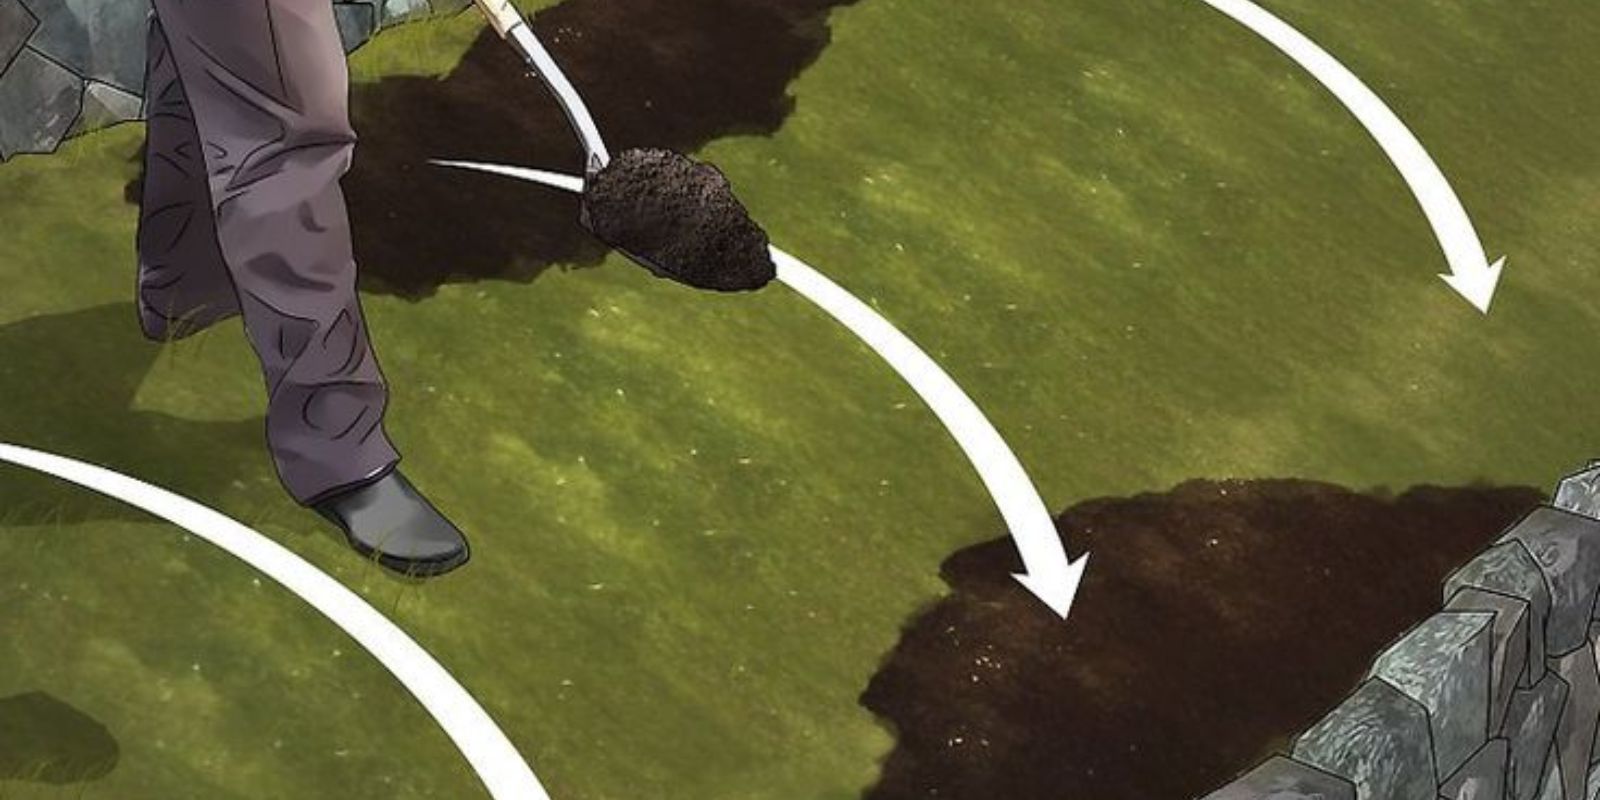
- Begin digging the higher sections of the slope and move the soil to lower areas.
- Work in layers to maintain control and ensure even leveling.
- Use the string and stakes as a guide to maintain consistency.
Step 6: Build Retaining Walls
For steeper slopes, retaining walls are essential to hold soil in place.
- Choose Materials: Opt for durable materials like treated wood, natural stone, or concrete.
- Construct in Sections: Build walls step-by-step, filling in soil as you go.
- Ensure Stability: Reinforce the wall with proper drainage to prevent water pressure buildup.
Step 7: Improve Drainage
- Leveling can impact drainage, so it’s crucial to address water flow.
- Install a French drain, add a gravel layer, or use perforated pipes to channel excess water.
Step 8: Enrich the Soil
After leveling, the soil may need enhancement to support healthy plant growth.
- Mix in compost, organic matter, or fresh topsoil to replenish nutrients.
- Test the soil’s pH and amend it if necessary.
Step 9: Plant and Landscape
- Replant vegetation removed earlier and introduce new plants suited to your design.
- Add decorative elements like paths, raised beds, or water features for added charm.
Step 10: Water and Monitor
- Water the leveled area to settle the soil and fill any remaining gaps.
- Regularly check for signs of erosion, drainage issues, or settling and make adjustments as needed.
Tips for Success
- Work Gradually: Avoid removing too much soil at once to prevent instability.
- Focus on Drainage: Address drainage during every step to prevent water damage later.
- Use Terracing for Large Slopes: If your garden has a steep incline, consider creating terraces for both practicality and aesthetics.
- Add Mulch: Use mulch around plants to retain moisture and prevent soil erosion.
- Seek Professional Help if Needed: For complex or large projects, consulting a landscaping expert can save time and effort.
Why You’ll Love Your Leveled Garden
Once completed, your leveled garden will not only look stunning but also offer endless possibilities. Imagine hosting gatherings on a flat patio, cultivating a bountiful vegetable patch, or simply enjoying a more organized and low-maintenance outdoor space.
🌟 Share Your Garden Journey!
Are you planning to level your garden or have you already transformed your outdoor space? Share your experience and photos using these viral gardening hashtags:
#GardenMakeover #DIYLandscaping #GardeningHacks #LevelUpYourGarden #OutdoorSpaces
Your garden deserves to be both beautiful and functional—get started on leveling it today! 🌱

