Introduction
In the quest for a sustainable and productive garden, gardeners are always looking for innovative techniques that reduce waste and improve soil quality. Worm tubes are an ingenious solution that combines composting and soil enrichment in a way that’s simple, effective, and environmentally friendly. This article will guide you through everything you need to know about worm tubes, from understanding their benefits to creating and maintaining them in your garden.
What Are Worm Tubes?
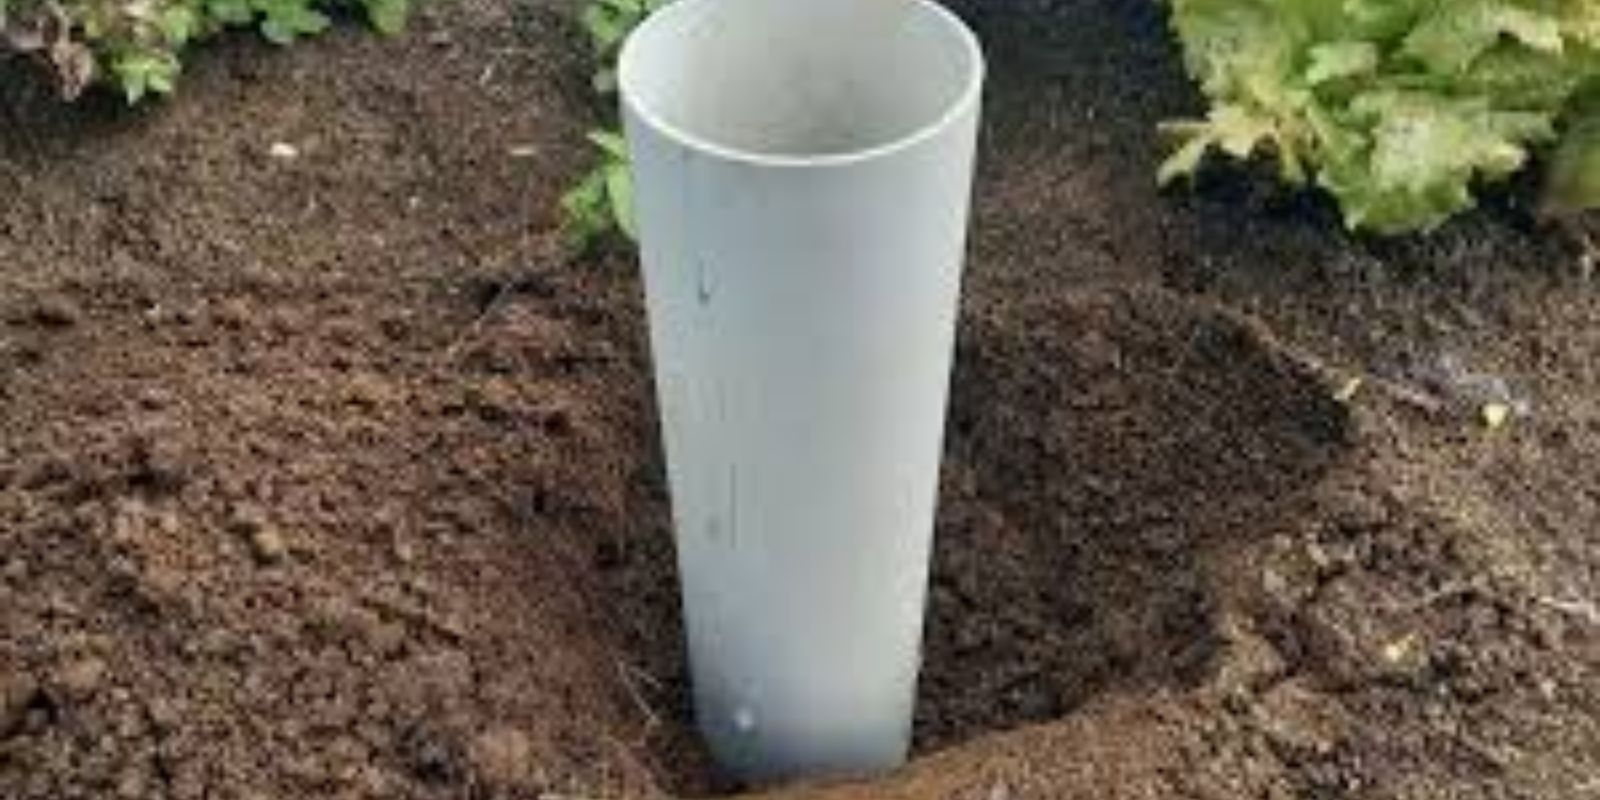
Worm tubes are vertical composting systems that act as a habitat for composting worms. These tubes are buried in your garden soil, allowing worms to process organic kitchen waste directly where it’s needed. The result? Rich, organic worm castings that enhance soil fertility and plant growth without the need for external fertilizers.
Why Use Worm Tubes in Your Garden?
- Improves Soil Health: Worm castings are nutrient-rich and help improve soil structure, aeration, and water retention.
- Eco-Friendly Waste Management: Divert organic waste from landfills by composting it directly in your garden.
- Promotes Beneficial Microorganisms: Worm tubes create a thriving ecosystem in your soil, promoting healthy microbial activity.
- Low Maintenance: Once set up, worm tubes require minimal effort compared to traditional composting methods.
How to Create a Worm Tube in Your Garden
Step 1: Gather Your Materials
You’ll need:
- A PVC pipe or large plastic tube (3–4 inches in diameter).
- A drill to create holes.
- A saw to cut the pipe to size (around 2–3 feet long).
- A lid or flat rock to cover the tube.
- Organic kitchen scraps (vegetable peels, fruit scraps, eggshells).
Step 2: Prepare the Tube
- Drill Holes: Drill small holes around the bottom half of the tube. These allow worms to enter and exit freely and help with aeration.
- Cut to Length: Trim the pipe to a manageable size that will fit comfortably in your garden bed.
Step 3: Choose the Right Spot
- Select a location in your garden that’s easily accessible and near your plants.
- Ensure the spot gets some shade to prevent the tube from overheating, which could harm the worms.
Step 4: Install the Worm Tube
- Dig a hole deep enough to bury two-thirds of the tube, leaving about 6 inches above ground.
- Place the tube into the hole and pack the surrounding soil tightly to keep it stable.
Step 5: Add Organic Waste
- Start by adding a small layer of shredded newspaper or dry leaves at the bottom of the tube.
- Gradually add kitchen scraps. Avoid meats, dairy, or oily foods, as these can attract pests.
Step 6: Introduce Worms
- Add composting worms (red wigglers are ideal) into the tube. They’ll begin breaking down the organic matter and enriching the soil.
Step 7: Cover the Tube
- Use a lid or flat rock to seal the top of the tube. This keeps pests out and maintains the moisture level for the worms.
Maintaining Your Worm Tube
- Check Weekly: Ensure the waste level isn’t overflowing and add more scraps as needed.
- Keep Moisture Balanced: If the tube becomes too dry, lightly water it. If it’s too wet, add dry materials like shredded paper.
- Rotate the Tube: Every 3–4 months, move the tube to a new spot in your garden to spread the benefits across different areas.
- Harvest Worm Castings: Over time, the worms will create castings at the base of the tube. Use these as a natural fertilizer for your plants.
Pro Tips for Success
- Diversify Your Feed: Include a mix of vegetable and fruit scraps for a balanced nutrient profile.
- Protect from Freezing: In colder months, insulate the tube or bring it indoors to protect the worms.
- Avoid Overloading: Don’t overfill the tube with waste; worms need time to process the material.
What Makes Worm Tubes Unique?
Unlike traditional compost bins, worm tubes focus on localized composting. The nutrients generated are immediately accessible to nearby plant roots, creating a more efficient gardening system.
Worm Tube Gardening for All Seasons
Worm tubes work well year-round, but they’re especially useful during the growing season when plants need an extra nutrient boost. Adjust your waste input and maintenance routine according to the weather and growing conditions.
Engage with the Worm Tube Community
Have you tried worm tubes in your garden? Share your experiences and tips to inspire others to adopt this sustainable gardening method!
📸 Post a picture of your worm tube setup and tag us!
#WormTube #GardenComposting #SustainableGardening #OrganicGardening #SoilHealth #EcoFriendlyGarden #CompostingHacks
Conclusion
Worm tubes are a simple yet powerful tool to transform your garden into a thriving ecosystem. By composting directly in the soil, you not only enrich the earth but also reduce waste and foster a healthier environment. Whether you’re a seasoned gardener or a beginner, worm tubes are a must-try addition to your sustainable gardening toolkit.
Start your worm tube journey today and watch your garden flourish! 🌱🐛

