
Gardening, while immensely rewarding, often requires a lot of time, effort, and resources—particularly when it comes to watering your plants. Water conservation has become a top priority for gardeners worldwide, with climate change and droughts making efficient water use more important than ever. One of the most effective and sustainable ways to ensure that your plants get the right amount of water without wasting it is through the use of ollas, an ancient and simple clay pot irrigation system.
In this article, we will explore how ollas work, their benefits, and how you can make your own DIY homemade ollas to improve the water efficiency of your garden.
What are Ollas?
An olla is a traditional irrigation system that uses unglazed clay pots to slowly release water into the soil. This system has been used for centuries, dating back to ancient civilizations, including those in Egypt, the Middle East, and South America. The basic idea behind ollas is that water placed inside a porous clay pot seeps out gradually into the surrounding soil, providing consistent moisture to plant roots over time.
The principle is simple: the porous nature of unglazed clay allows water to move through the walls of the pot into the surrounding soil. This slow release of water reduces the risk of overwatering and ensures that the plants receive a consistent supply of water at their roots. The best part? You only need to refill the olla periodically, meaning less time spent watering your garden and a more efficient use of water.
Benefits of Ollas in the Garden
1. Water Conservation
Ollas are a perfect solution for gardeners looking to conserve water. Traditional watering methods, such as overhead sprinklers or hoses, tend to waste a lot of water through evaporation and runoff. With ollas, the water is delivered directly to the plant roots, reducing evaporation and runoff significantly.
Studies have shown that using ollas can reduce water usage by up to 70% compared to traditional irrigation methods. By keeping the water where it’s needed most—at the plant’s roots—you’re helping to ensure that each drop counts.
2. Low Maintenance
Once your olla system is in place, it requires very little maintenance. All you have to do is fill the olla with water when it gets low, and the plants will receive a steady supply of moisture. This makes ollas perfect for busy gardeners or those who want to reduce their time spent watering plants.
3. Improved Plant Health
By providing consistent moisture to plant roots, ollas help prevent drought stress and overwatering, both of which can damage plants. Additionally, because water is delivered slowly and directly to the roots, the plants are better able to take up nutrients from the soil. This results in healthier plants with stronger roots and improved growth.
4. Environmental Impact
Ollas are an eco-friendly irrigation solution. Not only do they reduce water consumption, but they also help prevent the use of harmful fertilizers and pesticides. By maintaining healthy, well-hydrated plants, ollas naturally promote healthier soil and improve plant resilience to pests and diseases.
How Ollas Work
At the heart of an olla system is an unglazed clay pot, often with a narrow neck and wide base. These pots are placed in the ground with their necks sticking above the surface. The unglazed material of the pot allows water to slowly seep through its walls into the surrounding soil. The rate at which the water seeps out depends on several factors, including the type of soil, the size of the olla, and the weather conditions.
When you fill the olla with water, the pressure inside the pot pushes the water out into the surrounding soil. The water is drawn from the pot by the plant roots, which create a suction effect as they need moisture. This creates a self-regulating irrigation system where the water is released based on the moisture needs of the plants.
One of the advantages of ollas is that they work efficiently in both dry and humid climates. In dry conditions, the clay pot allows water to seep out slowly, providing moisture for the plants without losing it to evaporation. In humid climates, the pot releases water more slowly to avoid waterlogging the soil.
How to Make Your Own DIY Ollas
While you can purchase commercial ollas, making your own is a cost-effective and rewarding DIY project. Follow these steps to create your own homemade ollas for your garden:
Materials Needed:
- Two unglazed clay pots (one larger than the other)
- Waterproof sealant or silicone
- Drill (for creating holes)
- Sandpaper (to smooth rough edges)
- Water (for filling the olla)
- A shovel (for digging the hole)
Step-by-Step Instructions:
1. Choose the Right Clay Pots
The first step in making your own olla is to choose the right clay pots. You’ll need two unglazed pots, one larger than the other. The larger pot will act as the body of the olla, while the smaller pot will serve as the neck.
Look for pots that are unglazed because glazed clay pots will not allow water to seep through the walls. Unglazed terracotta pots are perfect for this purpose because they are porous and allow moisture to pass through easily.
2. Drill Holes in the Bottom of the Larger Pot
Using a drill, create small holes in the bottom of the larger pot. These holes will allow the water to seep out slowly and provide consistent moisture to your plants. You can drill 4-6 holes, depending on the size of the pot. The holes should be small enough to prevent soil from entering the pot.
3. Sand the Edges
After drilling the holes, use sandpaper to smooth the edges and remove any sharp edges that could tear the soil or damage your plants. This step is crucial for ensuring that your olla works effectively without any issues.
4. Join the Two Pots
Take the smaller pot and place it inside the larger pot, with the neck of the smaller pot protruding above the rim of the larger pot. The smaller pot will serve as the water reservoir, and the larger pot will distribute water to the soil. Seal the edges where the two pots meet with a waterproof sealant or silicone to prevent any leaks.
5. Bury the Olla in the Garden
Dig a hole in your garden large enough to accommodate the olla, leaving the neck of the smaller pot above the soil level. Bury the olla so that it’s partially submerged in the soil, with only the neck sticking out. This will help ensure that the water seeps out evenly and efficiently.
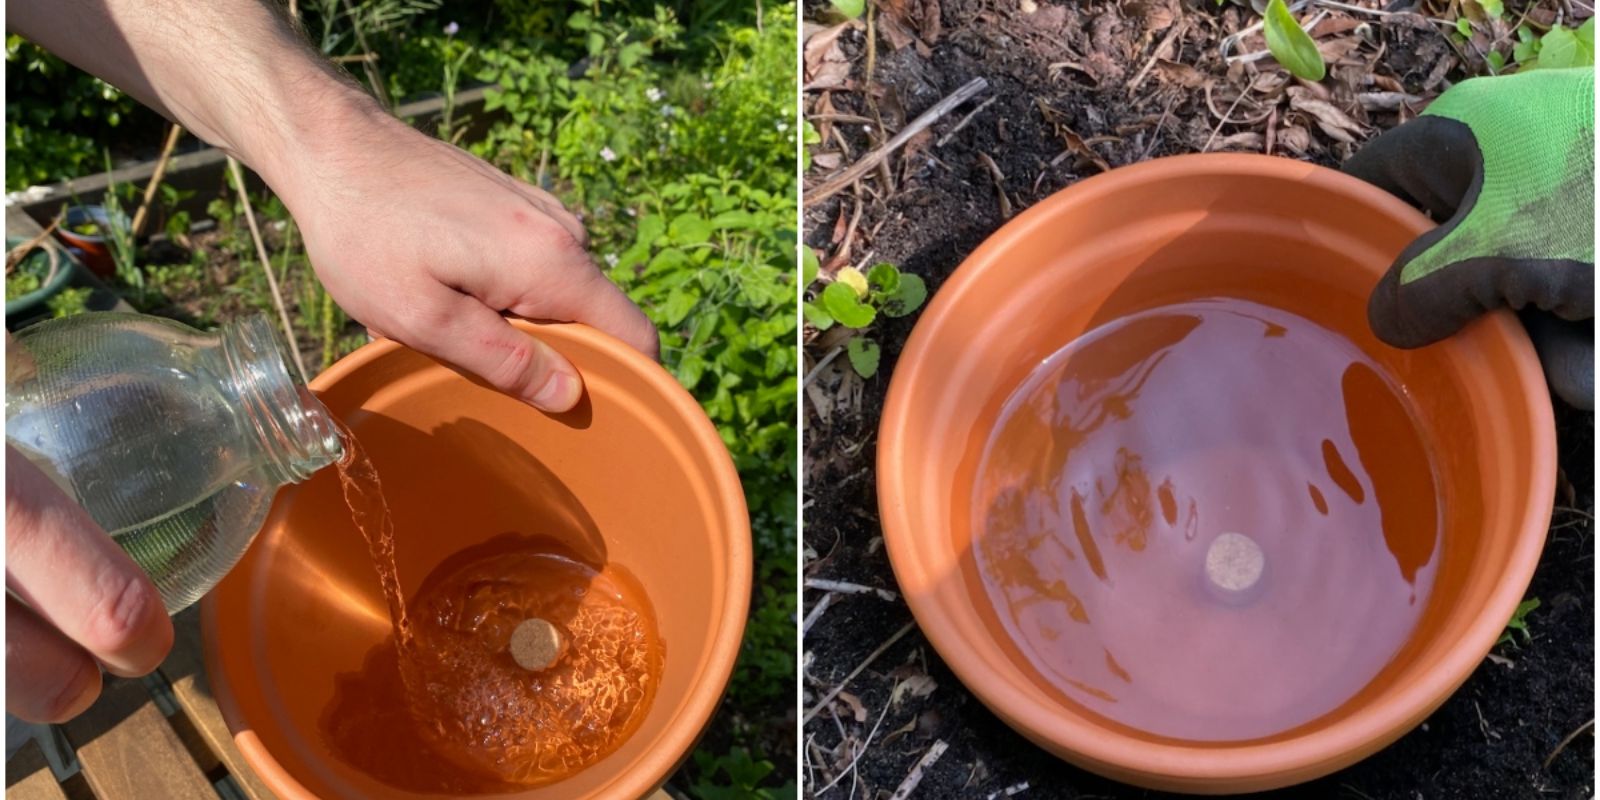
6. Fill the Olla with Water
Once the olla is in place, fill the smaller pot with water. As the water inside the pot is absorbed by the soil, the olla will gradually release moisture to the plants. Be sure to check the water level regularly and refill the olla as needed.
Tips for Using Ollas in Your Garden
- Placement: Place ollas near the root zones of your plants to ensure they get the most benefit. For larger plants, use bigger ollas or multiple smaller ollas.
- Mulching: After burying the olla, cover the soil with mulch to help retain moisture and prevent evaporation.
- Water Quality: Use clean water in your ollas. If you’re using tap water, consider letting it sit for a while to allow chlorine to dissipate before filling the olla.
- Monitor Soil Moisture: While ollas are efficient, it’s still important to monitor your soil’s moisture level. If the weather is especially dry, you may need to refill the olla more frequently.
Conclusion
Ollas are an ancient and highly effective irrigation system that can help gardeners conserve water and promote healthy plant growth. By using homemade ollas, you can easily create a low-maintenance and eco-friendly watering system that will save you time, effort, and resources. Whether you have a large garden or a small balcony, ollas can be a game-changer in how you irrigate your plants.
If you’re looking for a way to make your gardening more sustainable and water-efficient, give ollas a try. By using simple materials and following a few easy steps, you can make your own homemade ollas and start reaping the benefits of this low-tech irrigation solution.