
Transplanting pepper plants is one of the most crucial steps in growing a successful pepper crop. Whether you are a seasoned gardener or a beginner, understanding the proper methods and techniques for transplanting peppers will significantly improve the health and productivity of your plants. Pepper plants, both sweet and hot varieties, thrive when given the right conditions during the transplanting process, from soil preparation to proper care after planting.
In this article, we will provide you with an in-depth, step-by-step guide to transplanting pepper plants, ensuring that your peppers grow strong and healthy throughout the growing season. We will also cover the best timing, location, and aftercare practices to guarantee that your transplanting efforts lead to a fruitful harvest.
Why Transplanting Is Crucial for Pepper Plants
Transplanting is an essential part of the pepper-growing process because it helps the seedlings transition from a controlled indoor environment to the outdoor garden. It ensures that the young plants have ample space to develop robust root systems and thrive in nutrient-rich soil. Proper transplanting encourages strong growth, helps prevent disease, and ultimately leads to an abundant harvest.
Pepper plants are sensitive to their growing environment, and poor transplanting techniques can lead to stunted growth or transplant shock. By following a few key steps and principles, you can minimize the risk of these issues and set your peppers on a path to success.
When to Transplant Pepper Plants
Timing is critical when transplanting pepper plants. While peppers can be started indoors and grown as seedlings, they should not be transplanted too early or too late. The general rule of thumb is to wait until the threat of frost has passed and the soil temperature has warmed up to about 60°F (15°C) or higher. Peppers are warm-season plants and thrive in temperatures between 70°F and 85°F (21°C to 29°C). If you transplant them too early, the cool soil and air can slow down their growth or shock the plants.
Typically, pepper seedlings are ready to be transplanted when they are 6-8 weeks old and have a strong, sturdy stem with a few sets of leaves. At this stage, they have developed enough roots and structure to adapt to the outdoors.
Step-by-Step Guide to Transplanting Pepper Plants
Here is a detailed, step-by-step guide on how to transplant pepper plants to give them the best possible chance of success.
1. Prepare the Soil
The first step in transplanting pepper plants is preparing the soil. Peppers prefer well-draining, slightly acidic soil with a pH of 6.0 to 7.0. Before transplanting, you should amend the soil by adding compost or organic matter to ensure it’s rich in nutrients and provides adequate drainage. Well-amended soil also helps retain moisture, which is important for the peppers during their early stages of growth.
- Test the Soil: If you are unsure about your soil’s pH and nutrient content, you can have it tested to determine if any adjustments are needed.
- Loosen the Soil: Use a garden fork or tiller to break up compacted soil and allow the roots to grow freely.
- Add Fertilizer: Peppers are heavy feeders, so it’s a good idea to mix in balanced fertilizer, such as a 10-10-10 mix, into the soil to promote healthy growth.
2. Harden Off Seedlings
Hardening off seedlings is an essential process that helps prepare your pepper plants for the transition to the outdoor environment. Gradually introducing the seedlings to the outdoor conditions reduces the risk of transplant shock and helps them acclimate to temperature fluctuations, wind, and sunlight.
To harden off your pepper seedlings:
- Start Early: Begin hardening off your seedlings about 7-10 days before you plan to transplant them outdoors.
- Gradually Expose: Place the seedlings outside for a few hours each day, gradually increasing the time they spend outdoors. Start with a shaded area and slowly move them into direct sunlight for short periods.
- Monitor Weather Conditions: Avoid exposing seedlings to extreme conditions, such as strong winds or temperatures lower than 50°F (10°C), as this can damage the young plants.
By the end of the hardening off period, your seedlings should be ready for full outdoor exposure.
3. Choose the Right Planting Location
Selecting the right location for your peppers is essential to ensure they get enough sunlight, warmth, and space to grow. Peppers need a minimum of 6-8 hours of direct sunlight per day to grow successfully. A sunny garden bed, raised bed, or container is ideal for growing peppers.
- Full Sun Exposure: Peppers thrive in full sun. Choose a location where the plants will receive adequate sunlight throughout the day.
- Well-Draining Soil: Make sure the soil drains well to prevent root rot. Avoid low-lying areas where water may pool.
- Space Between Plants: Peppers need enough space to grow. Plant them 18-24 inches apart to allow air circulation and prevent overcrowding. If you are growing peppers in containers, make sure the container is large enough to accommodate their roots.
4. Dig the Planting Hole
When transplanting pepper plants, you need to dig a hole that’s large enough to accommodate the plant’s root ball. The hole should be deep enough to cover the roots but not so deep that the seedling is buried too deeply.
- Size of the Hole: The hole should be about 2-3 times wider than the root ball of your pepper plant.
- Spacing: As mentioned earlier, space your plants 18-24 inches apart, depending on the variety of pepper you are growing. Larger varieties of peppers, such as bell peppers, may need more space than smaller varieties like chili peppers.
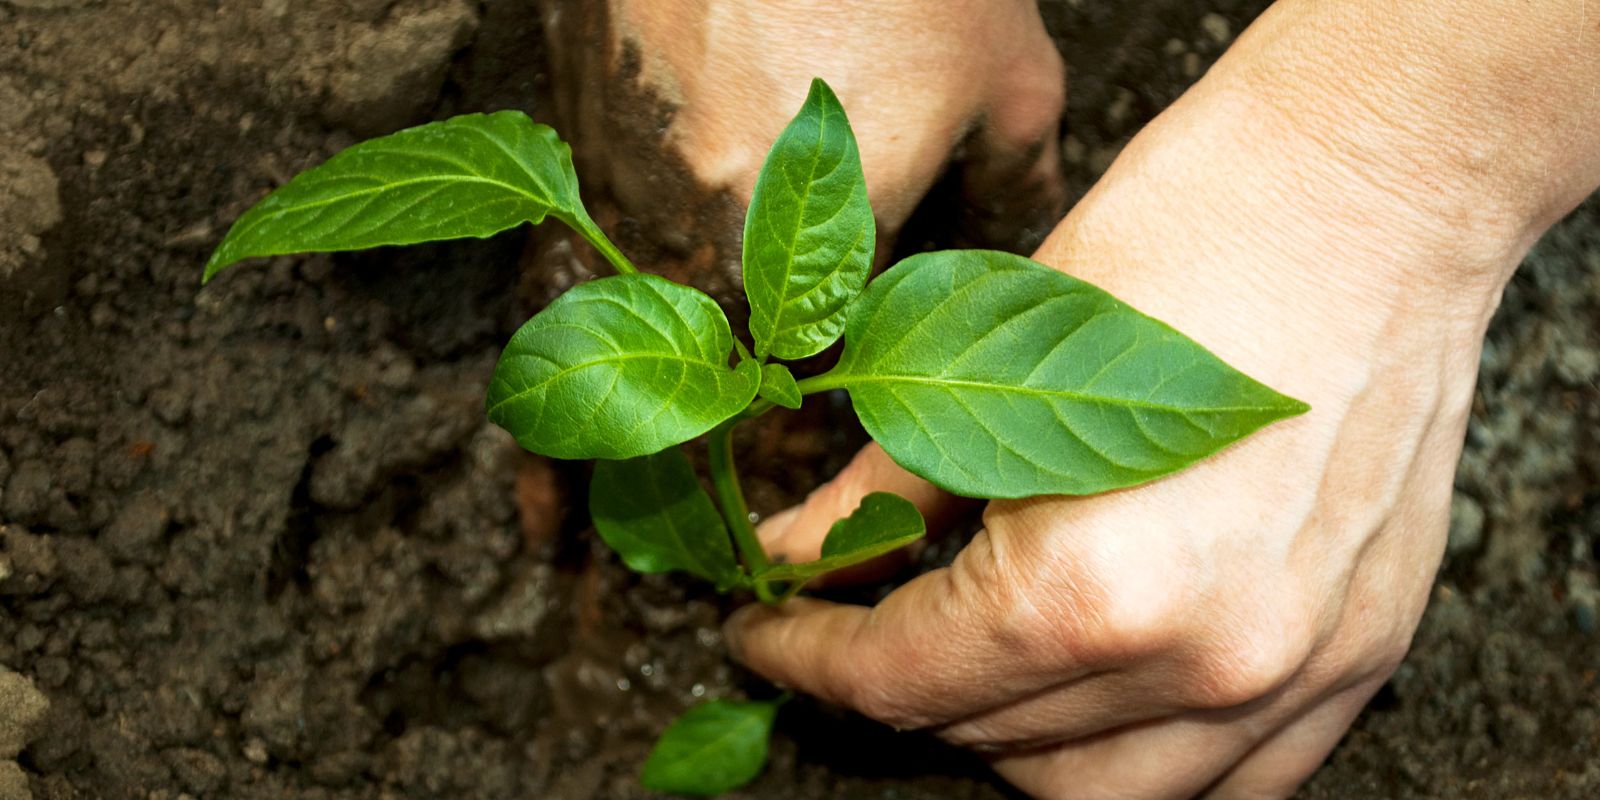
5. Place the Seedling in the Hole
Once the hole is ready, gently remove the pepper seedling from its pot or tray. Be careful not to disturb the roots too much. If the plant is in a peat pot, you can plant it directly in the soil, as the peat pot will break down over time.
- Check the Root Ball: If the roots are circling the bottom of the pot, gently loosen them with your fingers to encourage outward growth.
- Position the Plant: Place the seedling in the hole, ensuring the top of the root ball is level with the surrounding soil. If the seedling is too deep, it could result in rotting, while planting it too shallow may stress the plant.
- Backfill the Hole: Fill the hole with soil, pressing it gently around the plant to eliminate air pockets.
6. Water Thoroughly
Once your pepper plant is in place, water it thoroughly to help settle the soil around the roots. Watering immediately after transplanting reduces transplant shock and ensures that the soil is properly moistened.
- Keep Soil Moist: After transplanting, keep the soil moist but not waterlogged, especially in the first few weeks. This will help the plant establish itself in its new location.
- Avoid Overwatering: Overwatering can cause root rot, so make sure the soil drains well and doesn’t remain soggy.
7. Add Mulch
Mulch helps to retain moisture, keep soil temperatures stable, and prevent weed growth. After transplanting your pepper plants, add a layer of mulch around the base of each plant.
- Types of Mulch: Organic mulches like straw, shredded leaves, or wood chips work well for peppers.
- Depth of Mulch: Apply a 2-3 inch layer of mulch around the plant, taking care not to pile it up around the stem.
8. Monitor and Care for Transplanted Peppers
After transplanting, it’s important to keep an eye on the peppers and make sure they are adapting well to their new environment. In the first few weeks, pepper plants may be susceptible to pests and diseases, so regular care and maintenance are essential.
- Support the Plants: As the pepper plants grow, provide support if needed, especially for taller varieties. Use stakes or cages to keep the plants upright.
- Water Regularly: Peppers need consistent moisture, so water regularly, especially during dry spells.
- Fertilize: About 4-6 weeks after transplanting, you can begin fertilizing your peppers with a balanced fertilizer to encourage strong growth.
Conclusion
Transplanting pepper plants is an important step that requires careful attention to timing, soil preparation, and post-transplant care. By following these detailed steps and tips, you’ll give your peppers the best chance of thriving in their new environment, leading to a successful and bountiful harvest. Remember to start with strong, healthy seedlings, prepare the soil well, and ensure the plants receive adequate sunlight and water. With the right care, your peppers will grow into productive plants that provide you with delicious, flavorful fruits all season long.
Happy gardening, and may your pepper harvest be plentiful!
#PepperTransplanting #GardenTips #GrowingPeppers #PepperHarvest #OrganicGardening #HomeGarden #PepperPlants #GreenThumb #GardeningHacks #PlantCare #HomeGrown