
Tree collards are a unique and robust vegetable plant that every gardener should consider adding to their garden. Known for their nutrient-dense leaves and ability to thrive in various climates, tree collards are perennial plants that continue to provide greens year after year. What makes them particularly exciting for gardeners is how easy it is to propagate them from cuttings, making them a sustainable option for food production. In this comprehensive guide, we will explore how to propagate tree collards from cuttings, the benefits of doing so, and some tips for ensuring success.
What Are Tree Collards?
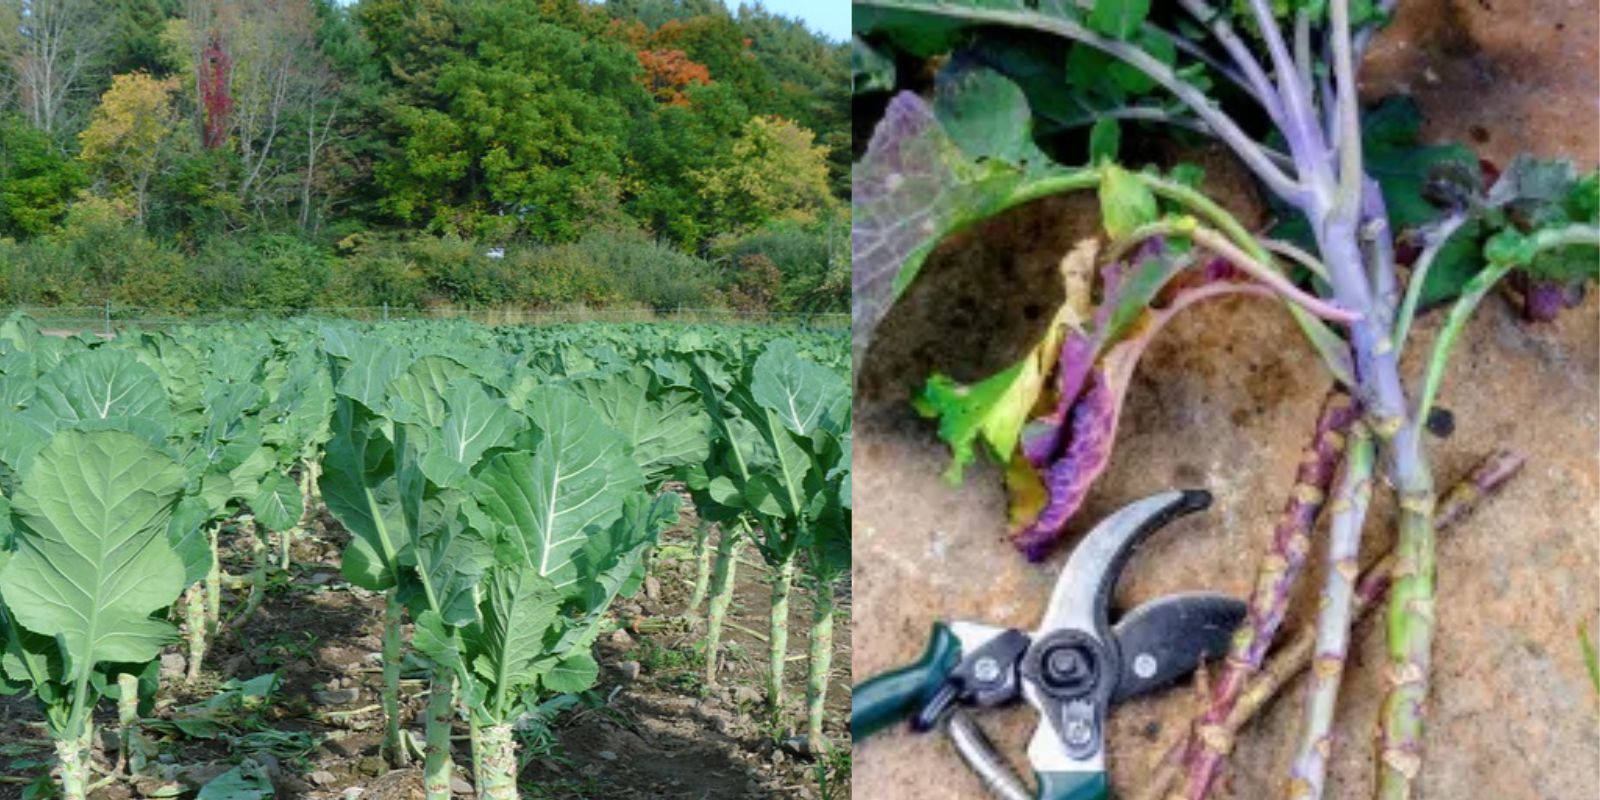
Tree collards (Brassica oleracea var. acephala) are a member of the cabbage family, known for their large, bluish-green leaves that can be harvested year-round. Unlike typical leafy greens, tree collards grow vertically, reaching heights of up to 6-10 feet. With their deep roots, they can survive cold winters and hot summers, making them a versatile addition to any garden. The leaves are rich in vitamins A, C, and K, and the plant continues to produce for many years, making it a favorite among permaculture enthusiasts.
Why Propagate Tree Collards from Cuttings?
Tree collards rarely produce viable seeds, making propagation through cuttings the best way to reproduce them. Propagating from cuttings ensures that you are growing a genetically identical plant to the parent, preserving the unique traits that make tree collards so desirable. Additionally, propagating through cuttings is an affordable and sustainable way to expand your garden, as you can create multiple new plants from just one mother plant. Here are the key benefits of propagating tree collards from cuttings:
- Sustainability: Propagating your own plants reduces the need to purchase new ones, contributing to a more sustainable gardening practice.
- Genetic Continuity: You maintain the same robust characteristics of the parent plant, such as disease resistance and cold hardiness.
- Cost-Efficient: You save money by producing your own plants instead of purchasing seedlings or seeds.
When to Propagate Tree Collards
While you can propagate tree collards almost any time of the year, the best time to take cuttings is during the spring and early summer. During these months, the plant is in its most active growth phase, which means the cuttings are more likely to root successfully. If you live in a warmer climate, you can also try propagating in the fall, but avoid doing so during extreme temperatures, such as the peak of summer or winter.
How to Propagate Tree Collards from Cuttings
Let’s break down the process of propagating tree collards into easy-to-follow steps. Follow these instructions closely to ensure a successful propagation experience:
1. Selecting Healthy Cuttings
The first and most crucial step in propagating tree collards is choosing the right cutting. Ideally, you want to select a cutting that is healthy, strong, and disease-free. Look for a cutting from a mature tree collard plant that is about 6-8 inches in length. It should have a few nodes, which are small bumps along the stem where leaves or roots can form.
- Tip: Avoid taking cuttings from the top of the plant, where the growth is often too tender. Choose stems from the middle or lower part of the plant for the best results.
2. Preparing the Cutting
Once you’ve selected a suitable cutting, it’s time to prepare it for rooting. Use clean, sharp garden shears to cut the stem at an angle, just below a node. Remove any leaves from the lower part of the cutting, leaving only a few at the top. Removing the lower leaves helps the cutting focus its energy on producing roots rather than maintaining foliage.
- Tip: If the cutting has any flowers or buds, remove them as well. Flowers can sap energy from the cutting and slow down the rooting process.
3. Rooting Medium Options
Now that your cutting is ready, you need to decide how to root it. There are two common methods: rooting in soil or water. Each has its benefits, so you can choose the one that best suits your gardening style.
- Rooting in Soil: This method is often preferred as it mimics the plant’s natural environment. Use a well-draining potting mix, ideally a mix of compost and perlite or vermiculite. Stick the prepared cutting about 2-3 inches into the soil, ensuring that at least one node is below the surface. Water the soil lightly, keeping it moist but not soggy.
- Rooting in Water: If you prefer to monitor the rooting process, you can place the cutting in a jar of water. Fill the jar with enough water to cover the bottom nodes. Place the jar in a bright location but out of direct sunlight, and change the water every few days to prevent stagnation.
4. Providing Proper Conditions
After planting the cutting, you’ll want to ensure it receives the right conditions for successful root development. Place the pot in a location with bright, indirect sunlight. Direct sunlight can dry out the cutting or cause heat stress, while too little light can prevent root growth.
- Humidity: High humidity can help prevent the cutting from drying out. You can create a mini greenhouse by covering the cutting with a plastic bag or placing it in a propagator. Be sure to provide ventilation to avoid mold growth.
- Temperature: Keep the cutting in an environment that is consistently warm, ideally between 65°F and 75°F (18°C to 24°C). Cooler temperatures may slow the rooting process, while excessive heat can cause wilting.
5. Transplanting Your Rooted Cuttings
After 4-6 weeks, your cutting should have developed a healthy root system. Gently tug on the cutting to test for resistance, indicating that roots have formed. If you rooted the cutting in water, you should see visible roots emerging. Once the cutting has strong roots, it’s time to transplant it into a larger pot or directly into your garden.
- Tip: If you live in a cooler climate, consider keeping the plant in a container so it can be moved indoors during the winter.
Caring for Your New Tree Collards
After transplanting, your new tree collard plant will require the same care as a mature plant. Here are a few essential care tips to ensure your tree collards thrive:
1. Watering
Tree collards prefer consistent moisture, but they don’t like to sit in soggy soil. Water them deeply, allowing the top 2 inches of soil to dry out between watering sessions. Mulching around the base of the plant helps retain moisture and prevents weeds from competing with the plant for nutrients.
2. Fertilizing
Because tree collards are heavy feeders, they benefit from regular fertilization. You can use an organic compost tea or a balanced, slow-release fertilizer every few months to ensure they receive the nutrients they need for robust growth.
3. Pruning
Regular pruning encourages bushier growth and prevents the plant from becoming too leggy. Prune any yellowing or damaged leaves and trim back stems to maintain a manageable height.
Common Problems and Solutions
Although tree collards are generally low-maintenance, they can encounter a few common issues:
- Pests: Aphids, caterpillars, and other pests may target the leaves. Use organic methods like neem oil or insecticidal soap to keep pests at bay.
- Diseases: Tree collards can occasionally suffer from fungal infections, particularly in humid conditions. Ensure proper airflow around the plant and avoid overhead watering to prevent fungal growth.
- Root Rot: Overwatering or poor drainage can lead to root rot. Always use a well-draining soil mix and allow the soil to dry slightly between watering.
Conclusion
Tree collards are a fantastic addition to any garden, providing year-round greens with minimal effort. By propagating tree collards from cuttings, you can enjoy an endless supply of this nutrient-packed vegetable without the need to buy new plants. Follow the steps outlined in this guide to ensure successful propagation, and soon you’ll have a thriving patch of tree collards in your garden. Whether you’re a seasoned gardener or just getting started, tree collards are a rewarding plant that will keep giving for years to come.
Ready to try propagating your own tree collards? Let’s get growing!