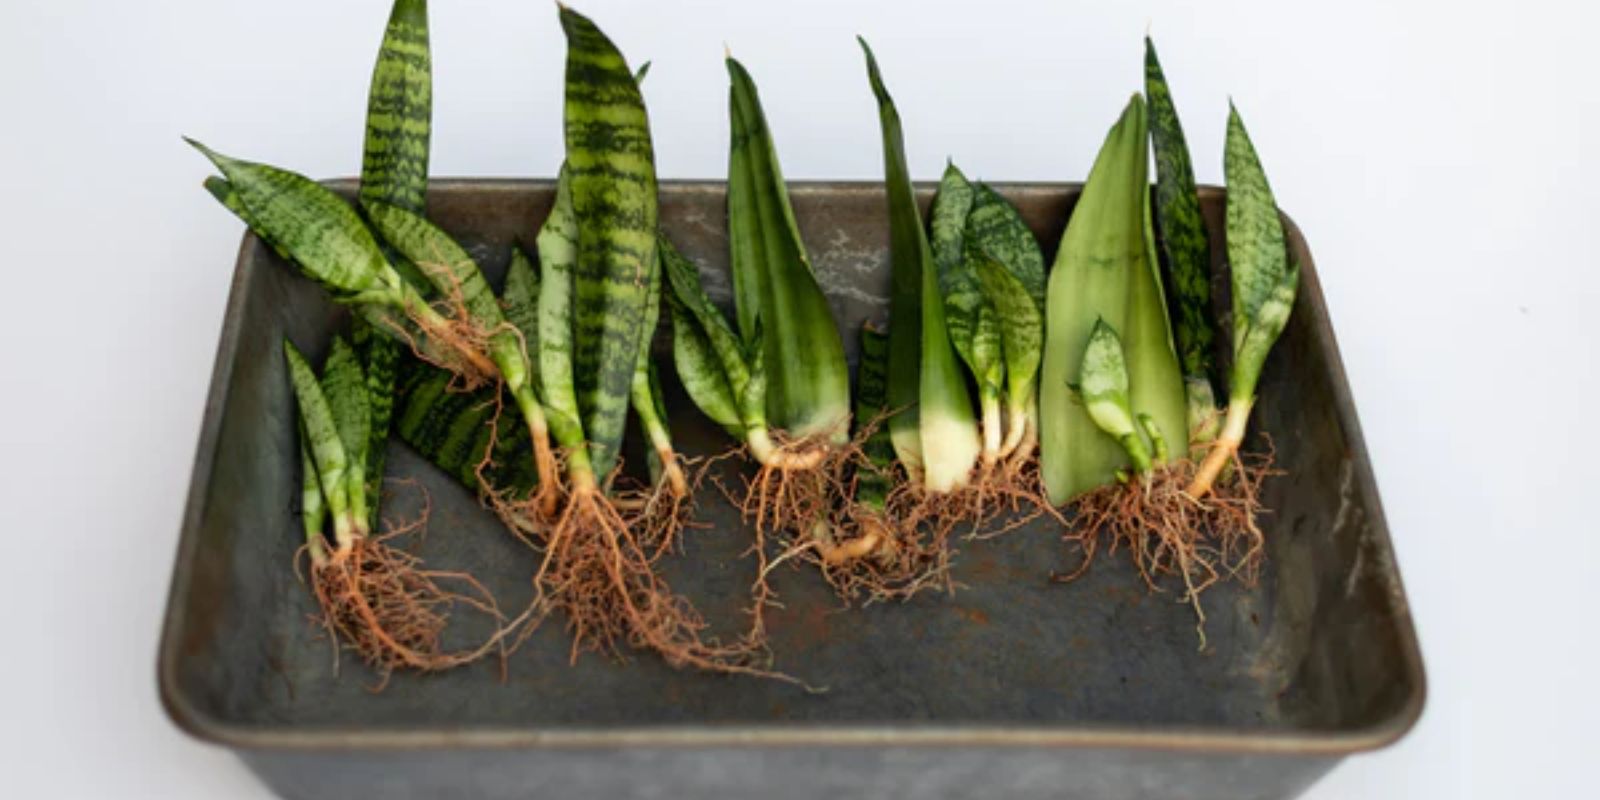
Snake plants, or Sansevieria, are among the most popular houseplants due to their striking appearance and remarkable air-purifying qualities. With their tall, sword-like leaves and vibrant green color, they make a bold statement in any room. One of the best aspects of snake plants is their ease of propagation, especially in water. This method not only allows you to create new plants but also adds an aesthetic element as the roots develop in a clear container. In this guide, we’ll explore everything you need to know about propagating snake plants in water, from the initial steps to advanced tips for success.
Why Propagate Snake Plants?
Before we dive into the propagation process, let’s discuss why you might want to propagate snake plants.
- Cost-Effective: Instead of purchasing new plants, you can create as many as you want from existing ones.
- Enhances Your Collection: Propagation allows you to expand your indoor garden, introducing more greenery to your living space.
- Gift Potential: New snake plants make great gifts for friends and family who appreciate plants.
- Improved Air Quality: Snake plants are known for their ability to filter indoor air pollutants, making them a valuable addition to any home.
Choosing the Right Snake Plant for Propagation
Not all snake plants are created equal when it comes to propagation. Here are a few things to consider:
- Health of the Plant: Always choose a healthy parent plant. Look for one with vibrant leaves free from spots or pests.
- Variety: There are several varieties of snake plants, such as the popular Sansevieria trifasciata (Mother-in-Law’s Tongue) and the more compact Sansevieria laurentii. Choose a variety that you love and want to propagate.
Materials Needed for Propagation
To successfully propagate snake plants in water, you’ll need the following materials:
- Healthy Snake Plant: A mature, healthy leaf from the parent plant.
- Sharp Scissors or Knife: Ensure it’s clean to prevent introducing bacteria.
- Clear Glass or Jar: This allows you to see the root development.
- Water: Use distilled or tap water that has been allowed to sit for 24 hours to let chlorine evaporate.
Step-by-Step Guide to Propagating Snake Plants in Water
Step 1: Selecting and Cutting the Leaf
- Choose a Leaf: Look for a healthy, mature leaf from the parent plant. Ideally, choose a leaf that is at least 4-6 inches long.
- Make the Cut: Using your clean scissors or knife, cut the leaf into sections that are 4-6 inches long. Be sure to cut straight across to avoid damaging the leaf.
Step 2: Preparing the Container
- Fill with Water: Take your clear glass or jar and fill it with water, ensuring it’s deep enough to submerge the cut ends of the leaves.
- Choose the Right Location: Place the container in an area that receives bright, indirect sunlight. Direct sunlight may overheat the water or damage the leaves.
Step 3: Inserting the Cuttings
- Place the Cuttings: Insert the cut ends of the snake plant leaves into the water. Make sure the cut side is submerged while the top remains above the water.
- Spacing: If you’re propagating multiple cuttings, make sure they are spaced apart to allow for proper root development.
Step 4: Caring for the Cuttings
- Change the Water: Refresh the water every couple of weeks to prevent algae growth and keep it oxygenated.
- Monitor Growth: After a few weeks, you should start to see roots developing. This is an exciting stage, as it indicates your propagation efforts are successful.
Step 5: Transplanting to Soil
- Ready for Soil: Once the roots are several inches long, it’s time to transplant the cuttings into soil.
- Prepare Potting Mix: Use a well-draining potting mix, ideally a cactus or succulent mix.
- Gently Remove from Water: Carefully take the rooted cuttings out of the water. Handle them by the leaves, not the roots, to avoid damage.
- Plant in Soil: Plant the cuttings in small pots, burying them just deep enough to cover the roots. Water lightly and place them in a bright, indirect light location to encourage further growth.
Advanced Tips for Successful Propagation
- Use a Clear Container: This allows you to monitor root growth and the water quality.
- Temperature Control: Snake plants prefer warmer temperatures, ideally between 70-90°F (21-32°C). Keep them in a warm spot to encourage growth.
- Avoid Overwatering: When transplanting to soil, be cautious not to overwater. Snake plants are susceptible to root rot, so ensure the pot has drainage holes.
- Be Patient: Root development can take time, so be patient and keep caring for your cuttings.
Troubleshooting Common Issues
Problem: No Roots Developing
If you don’t see roots after a few weeks, consider the following:
- Insufficient Light: Ensure the container is receiving adequate bright, indirect light.
- Water Quality: Make sure the water is clean and refreshed regularly.
Problem: Leaves Turning Yellow
Yellowing leaves can indicate a few issues:
- Overwatering: Ensure you’re not keeping the cuttings submerged for too long.
- Insufficient Light: Move the container to a brighter location.
The Benefits of Using Water Propagation
- Visual Appeal: Watching roots develop in water can be visually satisfying and engaging.
- Easier Monitoring: It’s easy to see the health of the cuttings and the quality of the water.
- Fewer Diseases: Water propagation can reduce the risk of soil-borne diseases affecting your cuttings.
Conclusion
Propagating snake plants in water is a rewarding and simple process that allows you to expand your indoor garden effortlessly. With just a few materials and a bit of patience, you can create stunning new plants that will thrive in your home. Whether you’re a seasoned gardener or a beginner, this method is accessible and effective. So grab your scissors, choose a healthy leaf, and start your propagation journey today!
Feel free to share your experiences and results with propagating snake plants using the hashtag #SnakePlantPropagation #IndoorGardening #PlantParenthood! 🌱💚

