
Curry leaves (Murraya koenigii) are more than just a culinary delight; they are a key ingredient in many dishes, particularly in Indian cuisine, where their unique flavor enhances everything from curries to rice. If you love cooking with fresh curry leaves, why not grow your own? This comprehensive guide will walk you through the process of propagating curry leaves from seeds and cuttings, ensuring you have a continuous supply right at your fingertips.
Understanding the Curry Leaves Plant
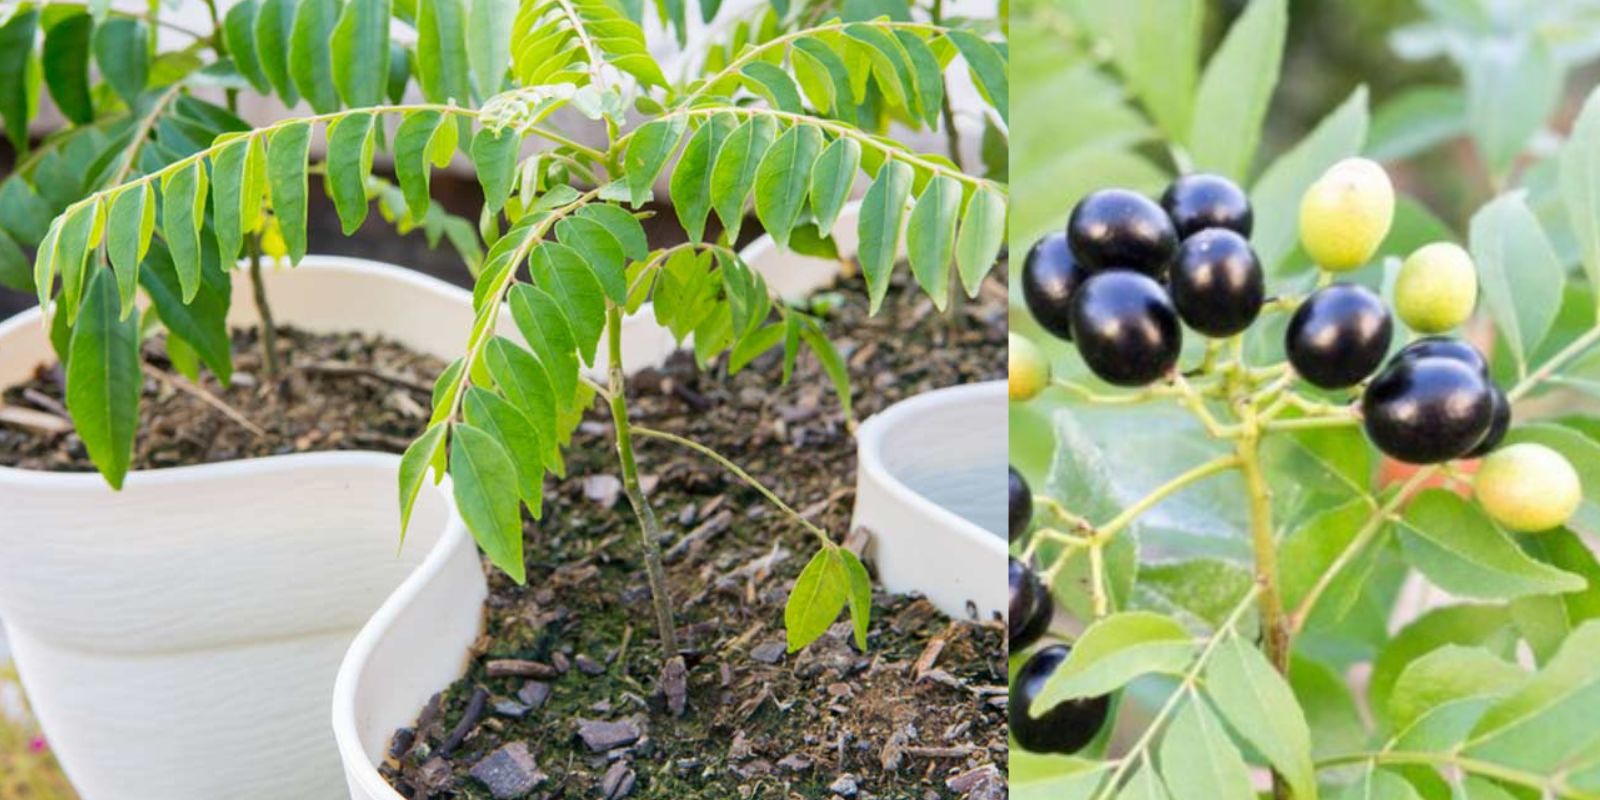
Before diving into propagation, let’s understand the plant itself. The curry leaves plant is a tropical to subtropical evergreen shrub that thrives in warm climates. It can grow up to 6-12 feet tall, featuring aromatic, feathery leaves that are a rich green color. Aside from their culinary uses, these leaves have numerous health benefits, including aiding digestion and having antioxidant properties.
Why Propagate Your Own Curry Leaves?
Growing curry leaves at home offers several advantages:
- Freshness: Harvesting fresh leaves ensures maximum flavor in your dishes.
- Cost-Effective: Growing your own reduces grocery bills over time.
- Satisfaction: There’s a sense of accomplishment in nurturing plants from seeds or cuttings.
- Availability: You can have a consistent supply, especially in regions where curry leaves are not readily available.
Propagating Curry Leaves from Seeds
Step 1: Seed Selection
Choose fresh, mature seeds from a healthy curry leaves plant. Look for seeds that are plump and dark in color. If you don’t have access to fresh seeds, local nurseries or online gardening stores often carry them.
Step 2: Soaking the Seeds
Soak the seeds in water for 24 hours. This softens the tough outer coat and helps improve the germination rate. Make sure to change the water halfway through if it becomes murky.
Step 3: Preparing the Soil
Curry leaves thrive in well-draining soil. Use a potting mix that contains a blend of organic matter, sand, and perlite. This combination ensures adequate drainage while retaining moisture. Fill a seed tray or small pots with this mixture.
Step 4: Planting the Seeds
Plant the soaked seeds about 1 inch deep in the soil, spacing them 2-3 inches apart. Cover them lightly with soil and press down gently to ensure good contact.
Step 5: Watering
After planting, water the soil gently to keep it moist but not waterlogged. Overwatering can lead to rot, so it’s crucial to strike the right balance.
Step 6: Providing Warmth and Light
Place the pot or seed tray in a warm location with indirect sunlight. Ideal temperatures for germination range between 70°F to 85°F (21°C to 29°C). The seeds should germinate in about 2-3 weeks.
Step 7: Transplanting Seedlings
Once your seedlings are 3-4 inches tall and have developed a few leaves, it’s time to transplant them. Carefully lift each seedling, ensuring you don’t damage the roots. Transfer them to larger pots or directly into the garden, spacing them at least 2-3 feet apart to allow for their mature size.
Propagating Curry Leaves from Cuttings
If you already have a curry leaves plant, propagating from cuttings is another effective method.
Step 1: Choosing Healthy Cuttings
Select a healthy stem from an existing curry leaves plant. Aim for a stem that is 6-8 inches long and has several leaf nodes. The best time to take cuttings is during the growing season, typically in spring or early summer.
Step 2: Preparing the Cuttings
Using sharp, sterilized scissors or pruners, cut the stem just below a leaf node. Remove the lower leaves to expose the stem and promote rooting. Leave a few leaves at the top for photosynthesis.
Step 3: Using Rooting Hormone (Optional)
To encourage quicker root development, you can dip the cut end in rooting hormone. This step is optional, but it can improve your success rate.
Step 4: Planting the Cuttings
Insert the cut end of the stem into a well-draining potting mix. Bury it about 2 inches deep. Water the soil lightly to help settle it around the cutting.
Step 5: Covering the Cuttings
To retain humidity, you can cover the pot with a plastic bag or place it in a mini greenhouse. This creates a greenhouse effect that helps the cutting retain moisture.
Step 6: Light and Temperature
Place the pot in a warm location with bright, indirect sunlight. Keep the soil moist, but again, avoid overwatering. Roots should begin to develop within 4-6 weeks.
Step 7: Transplanting Cuttings
Once roots have developed and you notice new growth, it’s time to transplant your cuttings. Move them to larger pots or the garden, ensuring they have ample space to grow.
Care for Your Curry Leaves Plants
Once you have successfully propagated your curry leaves plants, proper care is essential for healthy growth.
Watering
Curry leaves prefer consistently moist soil, but be cautious not to overwater. Water deeply but infrequently, allowing the top inch of soil to dry out between watering.
Fertilizing
Feed your curry leaves plants with a balanced, organic fertilizer every 4-6 weeks during the growing season. This encourages robust growth and healthy leaves.
Pruning
Regular pruning helps maintain the shape of the plant and promotes bushier growth. Remove any dead or damaged leaves, and consider pinching back the tips to encourage branching.
Sunlight
Curry leaves thrive in full sunlight. Ensure your plants receive at least 6 hours of direct sunlight each day for optimal growth.
Pest Control
Watch for common pests like aphids and spider mites. If you notice infestations, treat them with insecticidal soap or neem oil, following the instructions on the product label.
Common Problems and Solutions
1. Yellowing Leaves
Cause: Overwatering or nutrient deficiencies.
Solution: Check the soil moisture and adjust your watering schedule. Consider fertilizing if the soil lacks nutrients.
2. Wilting Plants
Cause: Underwatering or extreme heat.
Solution: Ensure consistent moisture and provide shade during the hottest part of the day.
3. Pest Infestations
Solution: Regularly inspect your plants and treat any pests promptly with organic methods.
Conclusion
Propagating curry leaves from seeds or cuttings is a rewarding process that not only enhances your culinary experiences but also adds beauty to your garden. With the right techniques and care, you can enjoy a thriving supply of fresh curry leaves all year round. Whether you’re an experienced gardener or a beginner, growing your own curry leaves is an achievable and enjoyable endeavor.
So, grab your seeds or cuttings, and start your journey toward growing your own aromatic curry leaves today! 🌱✨
Now that you have the ultimate guide to propagating curry leaves, why not share your journey with fellow gardening enthusiasts? Don’t forget to use #CurryLeaves #GardeningGoals #HomeGrown #PlantPropagation!