
The Peace Lily, also known as Spathiphyllum, is one of the most beloved indoor plants worldwide due to its stunning white blooms and ability to purify the air. Not only does it offer a touch of elegance to your space, but it’s also relatively low-maintenance, making it an ideal choice for both novice and seasoned gardeners. However, like any plant, the Peace Lily requires specific care, including proper pruning, maintenance, and occasional division, to remain healthy and continue flourishing.
In this comprehensive guide, we will explore the essential steps to care for, prune, and divide your Peace Lily to ensure it grows vigorously and blooms beautifully year after year.
1. Understanding Peace Lily Basics
Before diving into care and maintenance tips, it’s important to understand a few key characteristics of the Peace Lily. Native to tropical regions of the Americas and Southeast Asia, Peace Lilies thrive in warm, humid environments with filtered or indirect light. Their signature glossy green leaves and elegant white spathes (often mistaken for flowers) make them a standout in any room.
2. Choosing the Right Location for Your Peace Lily
One of the most critical factors in Peace Lily care is choosing the proper location for the plant. Here’s how to pick the perfect spot for your Peace Lily to thrive:
- Light: Peace Lilies are shade-loving plants that do well in low to medium light. Direct sunlight can scorch their leaves, so avoid placing them in windows with strong sunlight. Instead, opt for bright, indirect light, such as near a window covered by sheer curtains or in a well-lit room that doesn’t receive direct sun.
- Temperature and Humidity: Peace Lilies prefer temperatures between 65°F and 80°F (18°C and 27°C) and thrive in humid environments. If your home is dry, especially during the winter months, consider placing your Peace Lily on a humidity tray or near a humidifier. Misting the leaves occasionally can also help maintain humidity levels.
3. Watering Your Peace Lily: Finding the Right Balance
Watering is a crucial aspect of Peace Lily care. While these plants like moisture, they are sensitive to overwatering, which can lead to root rot. Here’s how to water your Peace Lily correctly:
- Check the Soil: Allow the top inch of soil to dry out before watering. Peace Lilies prefer slightly dry soil, so let the plant dry out between waterings. However, don’t let the plant dry out completely for long periods.
- Watering Method: When you do water, ensure that the water reaches the root system. Water thoroughly until the excess drains out of the bottom of the pot. Ensure that the pot has good drainage to prevent water from accumulating at the bottom, which could cause root rot.
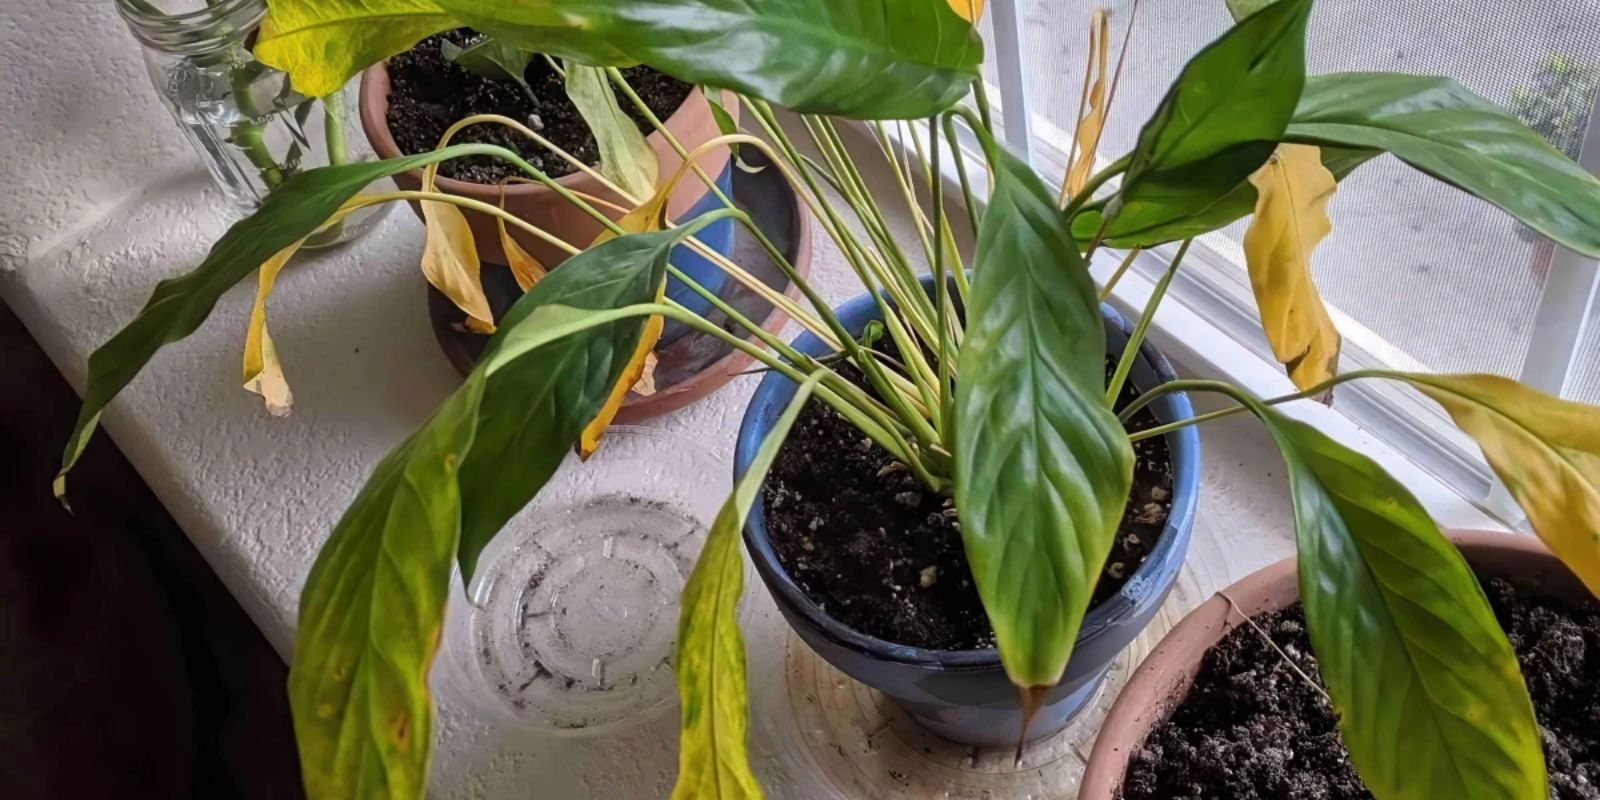
- Signs of Overwatering or Underwatering: If the leaves of your Peace Lily start turning yellow, it could be a sign of overwatering. If the plant’s leaves droop and appear limp, it may be underwatered. Adjust your watering routine accordingly based on the plant’s needs.
4. Fertilizing Your Peace Lily for Strong Growth
To ensure your Peace Lily grows healthy and vibrant, regular fertilization is essential. However, over-fertilizing can be harmful to the plant, so it’s important to follow a balanced approach:
- Type of Fertilizer: Use a balanced, water-soluble houseplant fertilizer. Peace Lilies respond well to a fertilizer with equal proportions of nitrogen (N), phosphorus (P), and potassium (K). You can also use a fertilizer specifically formulated for flowering plants.
- Frequency of Fertilization: During the growing season (spring and summer), fertilize your Peace Lily every 4-6 weeks. Reduce fertilization in the fall and winter when the plant’s growth slows down.
- Dilution: Always dilute the fertilizer to half the recommended strength. Too much fertilizer can cause fertilizer burn, which can damage the roots and leaves of your Peace Lily.
5. Pruning Your Peace Lily: Keeping It Healthy and Beautiful
Pruning is an essential part of maintaining a healthy Peace Lily. Regular pruning helps the plant grow more vigorously, encourages new blooms, and removes dead or damaged leaves. Here’s how to prune your Peace Lily:
- Removing Dead or Yellowing Leaves: If any leaves are turning yellow or brown, trim them off at the base using sharp, clean scissors. Removing dead foliage helps the plant focus its energy on producing new growth.
- Cutting Spent Blooms: Once your Peace Lily’s white spathes (the flower-like structures) begin to fade or turn brown, it’s time to remove them. Use clean scissors to cut the spent blooms off at the base, just above the stem. This will help the plant direct its energy toward producing new blooms.
- Encouraging New Growth: Regularly removing older leaves and spent blooms allows the Peace Lily to channel energy into producing fresh, lush growth and blooms.
6. Dividing Your Peace Lily: When and How to Separate It
Dividing your Peace Lily every 1-2 years helps to keep the plant healthy, encourages better blooming, and prevents it from becoming root-bound. Here’s when and how to divide your Peace Lily:
When to Divide
- Signs You Need to Divide: If you notice that the Peace Lily is becoming too large for its pot, has slowed growth, or is producing fewer flowers, it may be time to divide it. Dividing also helps rejuvenate older plants that are becoming crowded and root-bound.
- Best Time to Divide: The best time to divide your Peace Lily is in the spring or early summer when the plant is actively growing. Avoid dividing it during the dormant winter months.
How to Divide
- Prepare the Plant: Gently remove the Peace Lily from its pot and shake off excess soil around the root ball.
- Separate the Plant: Look for natural divisions within the plant’s root system. Using a clean, sharp knife or garden scissors, carefully cut through the roots to separate the plant into smaller sections, each with a healthy root system.
- Repot the Sections: Once divided, repot the sections into separate containers with fresh, well-draining potting mix. Make sure the new pots are large enough to allow for future growth, but not too large that the roots will become waterlogged.
- Water After Dividing: Water the newly potted Peace Lilies well and keep them in a warm, bright, and humid location to help them adjust to their new homes.
7. Common Problems and Solutions
Peace Lilies are generally low-maintenance plants, but they can occasionally face problems. Here are some common issues and how to solve them:
- Yellowing Leaves: Yellowing leaves are usually a sign of overwatering or nutrient deficiencies. Check the watering habits and ensure the plant has adequate drainage. If the issue persists, consider fertilizing the plant with a balanced fertilizer.
- Brown Tips on Leaves: Brown tips can result from low humidity or underwatering. Ensure the plant is in a humid environment, and increase watering if necessary.
- No Blooms: If your Peace Lily isn’t blooming, it might not be getting enough light. Peace Lilies need bright, indirect light to flower. Also, check the plant for signs of being root-bound, which can affect blooming.
8. Peace Lily Toxicity: What You Should Know
It’s important to note that Peace Lilies are toxic to pets, particularly cats and dogs. The plant contains calcium oxalate crystals, which can cause irritation to the mouth, throat, and digestive system if ingested. Keep your Peace Lily out of reach of pets, or consider placing it in a location where pets cannot access it.
Conclusion: A Thriving Peace Lily in Every Home
Caring for a Peace Lily involves providing the right amount of light, water, nutrients, and occasional pruning and dividing. By following these simple steps, you’ll ensure that your Peace Lily remains a stunning, healthy plant that continues to bloom and purify the air in your home. Whether you’re a seasoned gardener or a beginner, Peace Lilies offer a rewarding and manageable plant to nurture.
So go ahead and bring a Peace Lily into your home, and with proper care, it will reward you with years of lush foliage and beautiful blooms. Happy gardening!