
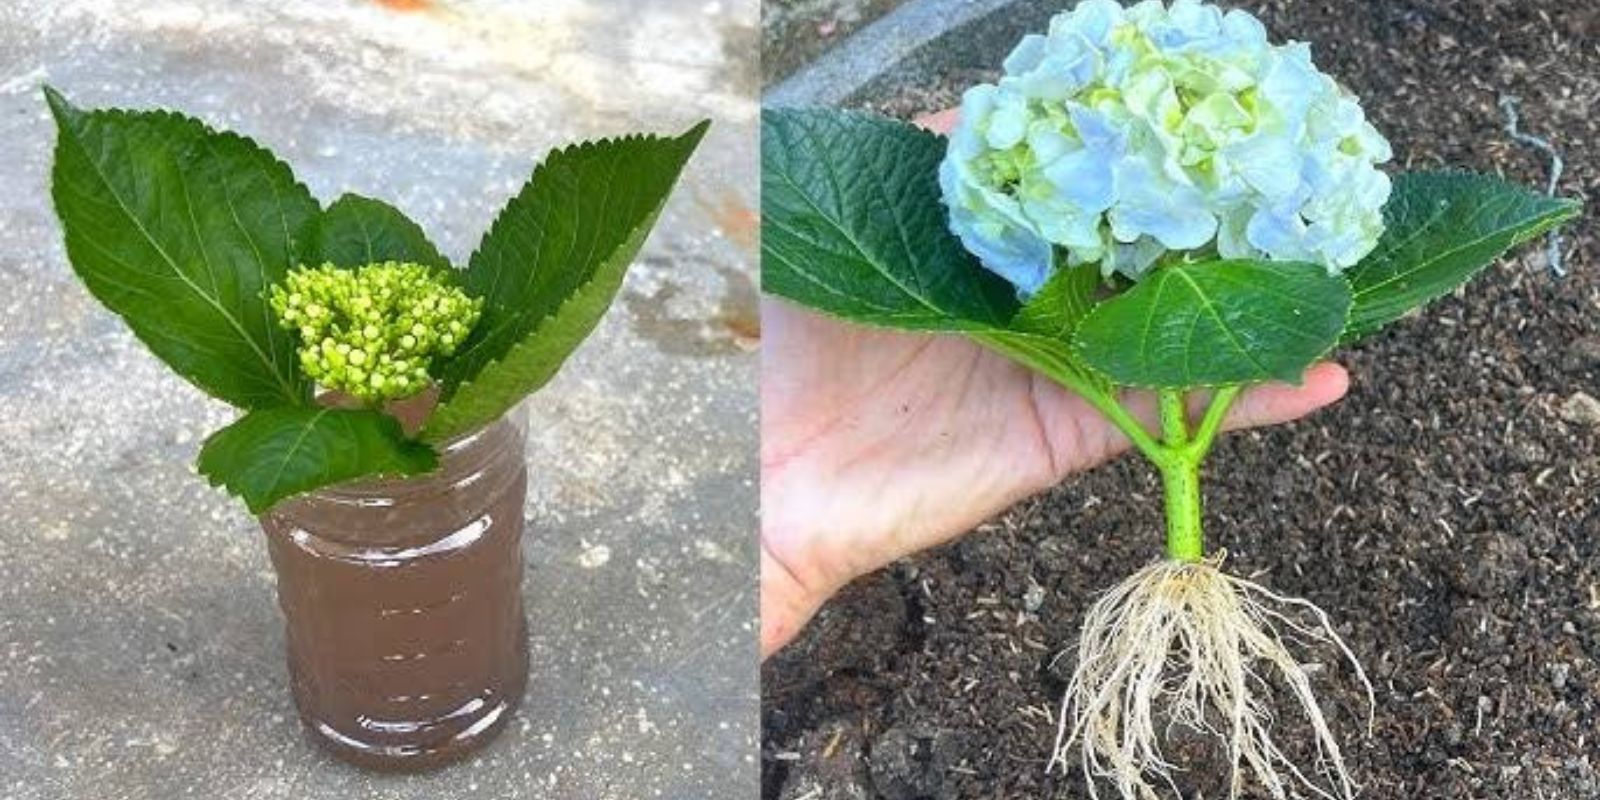
Hydrangeas are one of the most beloved flowering plants in gardens, with their vibrant blooms and lush foliage that brighten up any space. Whether you want to expand your collection, share them with friends, or sell them, the ability to propagate hydrangeas through cuttings is a powerful skill every gardener should master. The process is relatively simple, cost-effective, and can give you an endless supply of beautiful plants without having to purchase new ones.
In this article, we’ll walk you through every step of how to multiply hydrangeas by cuttings, offering tips, tools, and tricks to ensure success every time.
Why Multiply Hydrangeas by Cuttings?
Before diving into the step-by-step guide, it’s important to understand why propagating hydrangeas by cutting is such an appealing technique.
- Cost-Efficiency: Purchasing new hydrangea plants can become expensive over time. Propagating by cuttings allows you to grow more plants without spending money at the nursery.
- Genetic Uniformity: When you propagate hydrangeas by cuttings, you are ensuring the new plants are genetically identical to the parent plant. This is particularly useful if you have a variety you love and want to preserve its unique qualities.
- Garden Expansion: It’s a fantastic way to expand your garden. With the right technique, you can have a flourishing hydrangea garden in no time.
- Sharing with Friends: Propagating by cuttings also makes a perfect gift. Share your new plants with fellow gardening enthusiasts, friends, or family.
With those reasons in mind, let’s get started with the step-by-step guide to propagate hydrangeas by cuttings.
Step 1: Choose the Right Hydrangea Stem
Selecting the right cutting is critical to the success of your propagation efforts. Here’s how you can choose the best stem for taking cuttings:
- Timing: The best time to take hydrangea cuttings is in late spring or early summer when the plant is actively growing. This ensures that the stems are still soft and young, which makes them easier to root.
- Healthy Stems: Choose a stem that is healthy, free of disease, and pest damage. Look for a young stem that is firm but not too woody. Ideally, the stem should have a soft, green exterior with new growth and no signs of wilting.
- Length: Your cutting should be approximately 4 to 6 inches long. Make sure to cut just below a leaf node (where the leaf meets the stem). A healthy cutting will contain two or three leaves on the top and have no flowers.
Step 2: Cut the Stem Properly
To ensure a clean, precise cut, use a sharp, clean pair of pruning shears or scissors. Make sure the cutting tool is sterilized to prevent the spread of any disease. Here’s how to cut the stem:
- Cut the hydrangea stem at a 45-degree angle. This increases the surface area for rooting.
- Ensure that the cutting is about 4-6 inches long, making sure there is a leaf node near the base.
- Remove any leaves that are located on the lower part of the stem, leaving a few leaves at the top. The bare stem will be buried in the soil, so these leaves shouldn’t touch the soil.
By cutting the hydrangea stem properly, you provide the cutting with the best chance for successful rooting.
Step 3: Optional – Use Rooting Hormone
Rooting hormone is not a necessity but can speed up the process and increase the chances of success, particularly if you’re propagating a difficult variety. Rooting hormones are available in powder, liquid, or gel form, and they help stimulate root growth in cuttings.
Here’s how to apply rooting hormone:
- Dip the cut end of the hydrangea stem into the rooting hormone, covering it completely.
- Tap the cutting gently to remove any excess hormone.
If you prefer a more natural approach, skip the rooting hormone and rely on the hydrangea’s natural ability to produce roots.
Step 4: Prepare the Planting Medium
The next step is to prepare the right growing medium for your hydrangea cutting. The soil must be well-draining to prevent the cutting from rotting. Here are a few options for the growing medium:
- Standard Potting Mix: Use a lightweight, well-draining potting mix designed for cuttings. You can also mix standard potting soil with perlite or sand to improve drainage.
- Cactus or Succulent Mix: These types of soil provide excellent drainage and are ideal for rooting hydrangea cuttings.
- Peat and Perlite Mix: If you want a more specialized mix, you can combine equal parts of peat moss and perlite. This helps retain moisture while promoting drainage.
Fill a small pot with the medium, leaving about an inch or two from the top to avoid soil spillage.
Step 5: Plant the Cutting
Once you have your cutting and soil ready, it’s time to plant the hydrangea cutting.
- Create a small hole in the soil using a stick or pencil, and insert the cutting into the hole. Be sure the cutting is buried deep enough to cover the leaf node, but not too deep that the leaves are submerged.
- Gently pack the soil around the cutting to ensure it stands upright and has good soil contact.
- Water the cutting lightly, ensuring the soil is moist but not soggy.
Step 6: Create a Humid Environment
Cuttings need a humid environment to thrive, as this prevents dehydration and encourages root growth. To create the perfect conditions for your hydrangea cutting:
- Cover with a Plastic Bag or Dome: Place a clear plastic bag or a plastic cloche over the pot to maintain high humidity. This will trap moisture and create a greenhouse effect.
- Ventilation: Make sure to leave a small gap or hole in the plastic for ventilation. Without air circulation, mold can develop, so it’s essential to allow some airflow.
- Place in a Bright Location: Hydrangea cuttings need bright, indirect light to encourage root development. Avoid placing them in direct sunlight, as this can dry them out too quickly.
- Mist Regularly: Mist the cutting lightly every few days to maintain the humidity level. Keep an eye on the cutting to ensure it doesn’t dry out.
Step 7: Wait for Roots to Develop
Patience is key when propagating hydrangeas by cuttings. Root development can take anywhere from 4 to 6 weeks, depending on the variety and environmental conditions.
To check if your cutting has rooted:
- Gently tug on the cutting. If you feel resistance, the roots have developed.
- Check the soil occasionally to see if the cutting is getting established.
Once you notice new growth or roots, it’s time to transplant your cutting into a larger pot or directly into your garden.
Step 8: Transplant the New Plant
After the cutting has rooted and new growth appears, you can transplant it into a larger pot or your garden. Follow these steps for a successful transplant:
- Choose a Pot: Select a pot that is slightly larger than the one the cutting was in. Make sure it has drainage holes to allow excess water to escape.
- Prepare the Soil: Use a rich, well-draining soil mix designed for hydrangeas or general garden plants.
- Transplant: Carefully remove the cutting from its original pot and place it in the new container. Fill the rest of the space with soil, and water gently to settle the plant in.
- Acclimatization: If transplanting directly into the garden, choose a sunny spot with well-draining soil. Water thoroughly after planting and continue to care for the plant as it grows.
Tips for Success
- Keep an eye on the new plants for any signs of pests or disease.
- Water consistently, but avoid over-watering, as hydrangeas are susceptible to root rot.
- Be patient! Not all cuttings will root, but with practice, you’ll increase your success rate over time.
Conclusion
Propagating hydrangeas from cuttings is an easy and rewarding gardening technique that can yield an endless supply of beautiful plants. Whether you want to expand your garden, share plants with friends, or preserve your favorite varieties, this process is simple and effective. By following the steps outlined in this guide, you can have your hydrangeas blooming and thriving in no time. With a little patience and care, you’ll soon be able to multiply your hydrangeas for years to come, creating a lush and colorful garden.
Happy gardening!