Gardening starts with healthy seeds and soil. One of the best ways to ensure your seeds germinate and grow strong is by using a high-quality seed starting mix. While commercial options are available, making your own seed starting mix at home is cost-effective, customizable, and guarantees a healthy foundation for your plants. This comprehensive guide will walk you through the benefits, ingredients, steps, and tips for crafting the perfect seed starting mix.
Why Make Your Own Seed Starting Mix?
Store-bought mixes are often expensive and may include unwanted chemicals. Creating your own allows you to:
- Save Money: Homemade mixes cost a fraction of store-bought options.
- Control Ingredients: Ensure your mix is free from synthetic additives.
- Tailor to Your Needs: Adjust for specific plants or growing conditions.
- Eco-Friendly: Use sustainable and reusable materials like coconut coir or compost.
Homemade seed starting mix is light, aerated, and nutrient-rich—everything young plants need to thrive.
Key Ingredients in a Seed Starting Mix
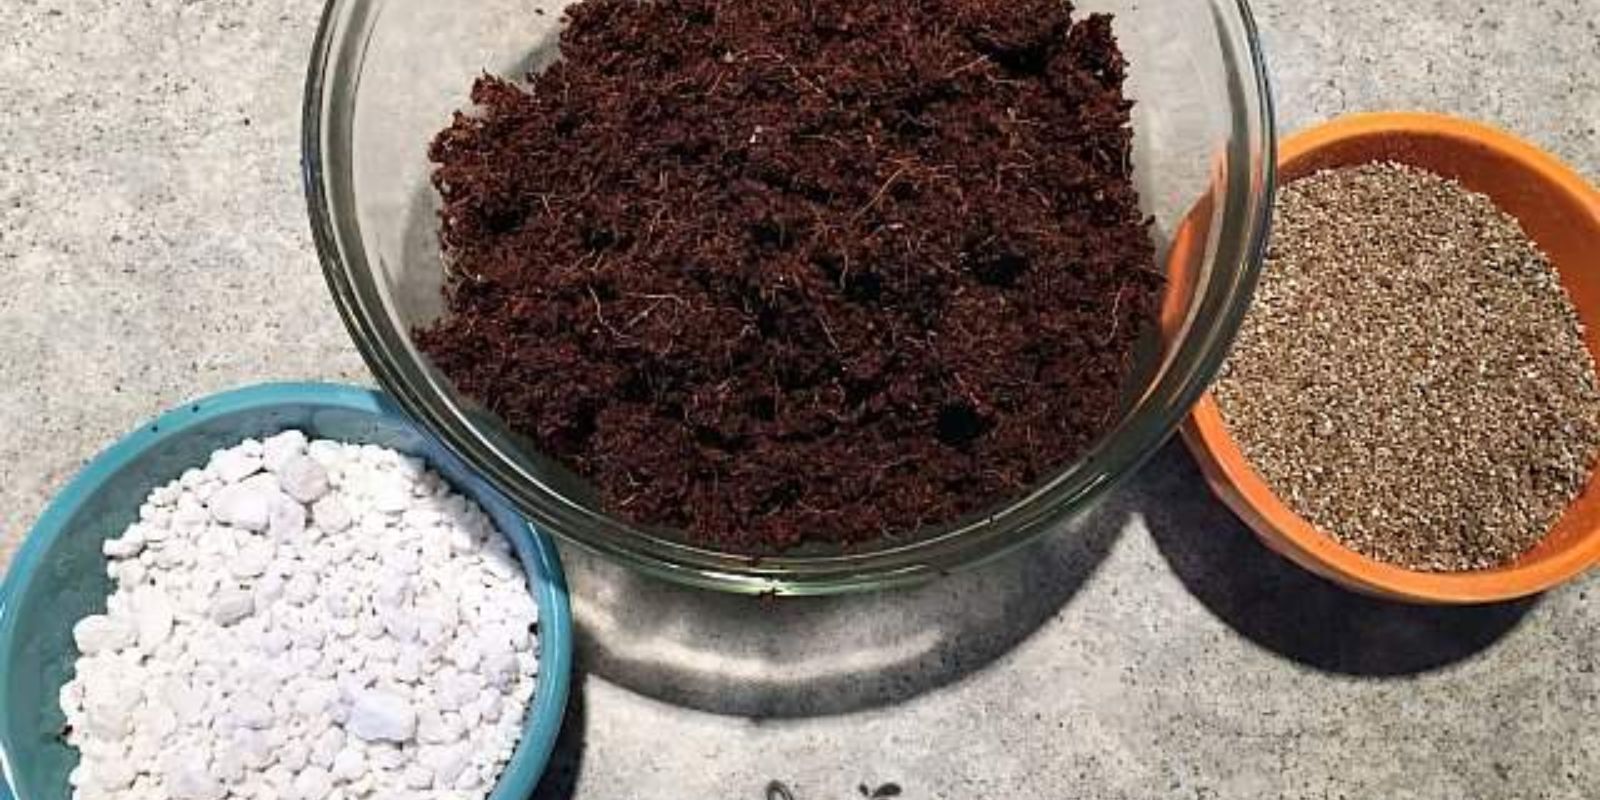
To make a seed-starting mix, you need three primary components:
- Base Ingredient (Moisture Retention):
- Coconut coir: Sustainable and retains water effectively.
- Peat moss: Lightweight and retains moisture but is less eco-friendly.
- Compost: Provides nutrients and organic matter for young plants.
- Aeration (Drainage and Root Health):
- Perlite: A volcanic rock that improves drainage and prevents waterlogging.
- Vermiculite: Lightweight and holds both water and nutrients.
- Nutrients (Plant Growth):
- Worm castings: Provide essential minerals and nutrients.
- Organic fertilizer: Offers a balanced nutrient boost for seedlings.
- Optional Additives:
- Sand: For additional drainage.
- Lime: To balance the pH if using acidic peat moss.
Step-by-Step Guide to Making Your Own Seed Starting Mix
Step 1: Gather Your Materials
Before you begin, ensure you have the following:
- Your chosen base (e.g., coconut coir or peat moss).
- Aeration materials (perlite or vermiculite).
- Nutrient sources (worm castings or organic fertilizer).
- A large mixing container or tub.
Step 2: Prepare the Base
If you’re using coconut coir or peat moss, hydrate it before use. Coconut coir often comes in compressed bricks that need to be soaked in water to expand. Use warm water and let it sit for 15–20 minutes until it fluffs up.
Step 3: Mix for Aeration
Add perlite or vermiculite to your hydrated base. The ideal ratio is:
- 60% base material.
- 20% aeration material.
This balance ensures the mix retains enough water for seedlings while allowing excess moisture to drain away.
Step 4: Add Nutrients
Incorporate organic nutrients to support seedling growth. Use about 10–20% worm castings or a small handful of organic fertilizer for every gallon of the mix. Stir thoroughly to distribute evenly.
Step 5: Adjust pH (if needed)
If your mix includes acidic ingredients like peat moss, add a tablespoon of garden lime per gallon to balance the pH.
Step 6: Sterilize the Mix (Optional)
To ensure the mix is free from pests, fungi, and weeds, sterilize it by baking in an oven:
- Spread the mix on a baking sheet.
- Bake at 180°F (82°C) for 30 minutes.
- Let it cool completely before using.
Step 7: Store Properly
Place your finished mix in an airtight container or a sturdy bag to keep it fresh and free from contaminants. Store in a cool, dry place until you’re ready to use it.
How to Use Your Seed Starting Mix
- Fill Your Containers: Use small pots, trays, or biodegradable seedling cells.
- Plant Your Seeds: Place seeds at the recommended depth.
- Water Gently: Use a spray bottle to keep the mix moist but not soggy.
- Provide Light: Place the containers in a sunny window or under grow lights.
- Monitor Growth: Check for sprouting and adjust water and light as needed.
Tips for Success with Your DIY Seed Starting Mix
- Avoid Overwatering: Too much water can lead to damping-off disease, which kills seedlings.
- Label Your Seeds: Keep track of what you’ve planted.
- Transplant Carefully: Once seedlings develop true leaves, transplant them into larger pots or your garden.
- Reuse Ingredients: Leftover coconut coir, perlite, or compost can be stored for future mixes.
Common Mistakes to Avoid
- Skipping Sterilization: While optional, skipping this step may introduce pests or diseases.
- Too Much Fertilizer: Excess nutrients can harm tender seedlings.
- Using Heavy Soil: Garden soil is too dense for seed starting and can suffocate roots.
Why Your Seedlings Will Love This Mix
Homemade seed starting mix is:
- Lightweight: Easy for roots to penetrate.
- Moisture-Retentive: Prevents seeds from drying out.
- Nutrient-Rich: Supports growth from germination to transplanting.
Eco-Friendly Gardening with Homemade Mix
Making your own seed starting mix reduces waste, supports sustainable gardening practices, and allows you to repurpose organic materials like compost and coconut coir. Every small step toward sustainability makes a big difference for the planet and your garden.
Conclusion: Grow Strong with DIY Seed Starting Mix
Crafting your own seed starting mix is an empowering step in your gardening journey. It’s simple, affordable, and tailored to your plants’ needs. Whether you’re a beginner or an experienced gardener, this mix ensures your seeds have the best possible start.
💬 We’d love to hear from you! Have you tried making your own seed starting mix? Share your experience in the comments below!
#SeedStarting #GardeningTips #DIYGardening #GrowYourOwnFood #SustainableGardening #GardeningHacks #EcoFriendlyGardening

