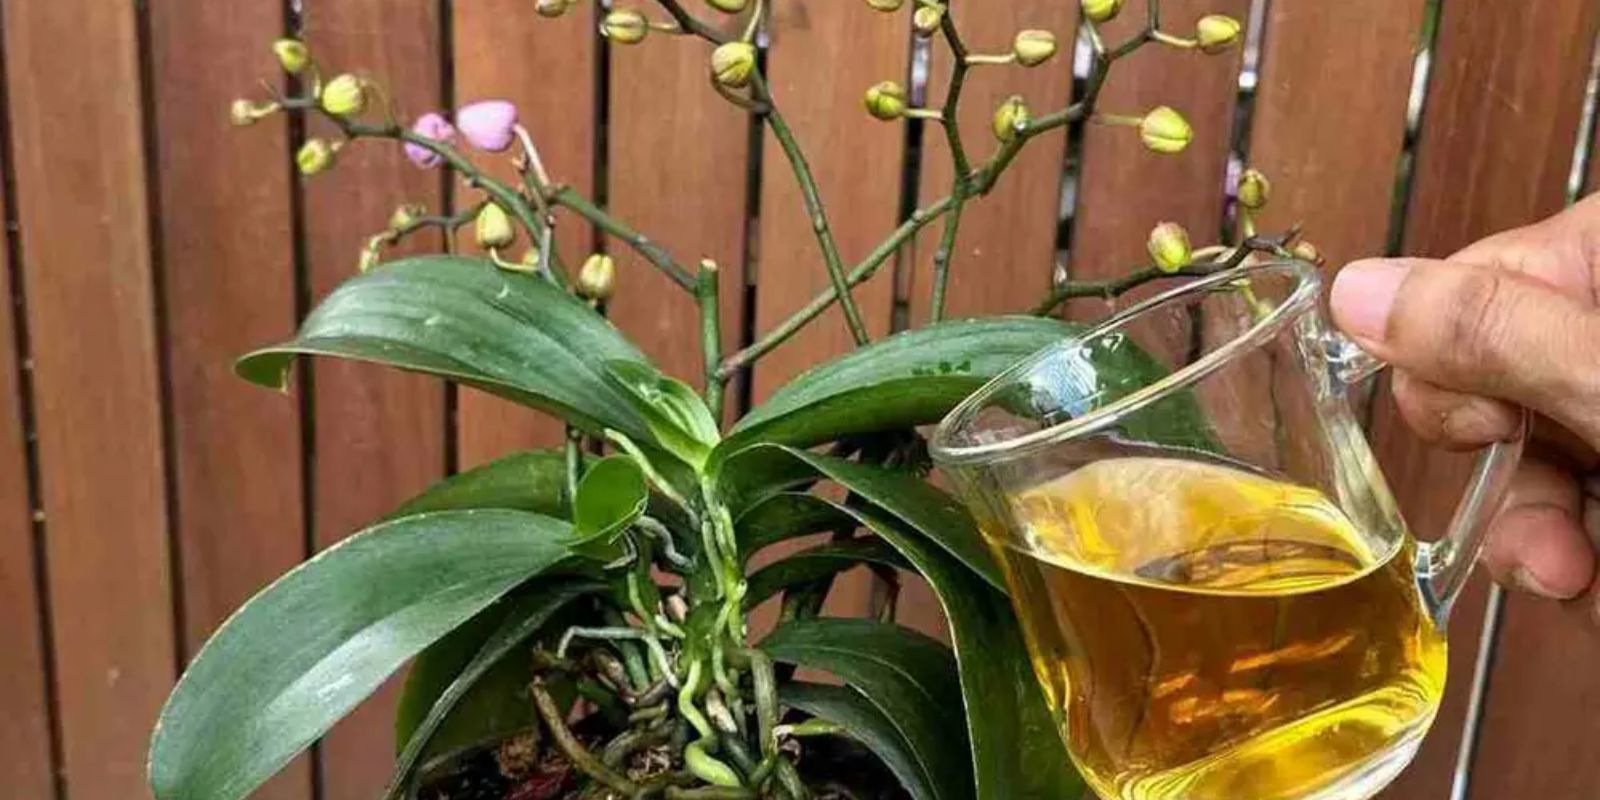
Orchids, with their exotic beauty and delicate blooms, are often seen as the crown jewels of houseplants. Yet, many orchid enthusiasts face the same challenge: how to make these stunning plants bloom consistently throughout the year. The good news is that with a simple monthly routine and the right care, you can turn even the driest orchid into a thriving, flower-covered masterpiece. This guide will walk you through the steps to achieve non-stop blooms and maintain the health of your orchids.
Why Orchids Stop Blooming
Before diving into the solution, it’s essential to understand why orchids sometimes fail to flower:
- Lack of Nutrients: Orchids need specific nutrients to produce flowers, and traditional watering might not supply enough.
- Improper Lighting: While orchids love bright light, too much direct sunlight can scorch their leaves, while too little prevents blooming.
- Low Humidity: Orchids are tropical plants that thrive in high humidity. Dry air can stunt their growth.
- Stress from Overwatering or Underwatering: Orchids have delicate roots that can rot if overwatered or dry out if neglected.
Understanding these challenges is the first step in transforming your orchid care routine.
The Monthly Secret to Non-Stop Blooms
The star of this technique is a nutrient-rich solution you apply just once a month. This method revitalizes the plant, stimulates flower production, and ensures your orchids remain vibrant.
Step-by-Step Orchid Blooming Routine
- Prepare the Magic Solution:
- Ingredients:
- 1 tablespoon of Epsom salt (provides magnesium and sulfur, essential for chlorophyll production and healthy growth).
- 1 liter of water (preferably room temperature and distilled or rainwater for purity).
- Optional: A pinch of cinnamon powder (acts as a natural antifungal and pest deterrent).
- Mix these ingredients thoroughly in a container until the salt dissolves.
- Apply the Solution:
- Water your orchid with this solution once a month. Pour it evenly over the potting mix, ensuring it reaches the roots but doesn’t pool around the crown or leaves.
- Light and Placement:
- Orchids need bright, indirect light to thrive. Place them near an east-facing window or use sheer curtains to diffuse harsh sunlight.
- Rotate the pot occasionally to ensure even exposure to light.
- Humidity and Air Circulation:
- Maintain humidity levels around 50–70% using a humidity tray or misting the air (avoid misting the leaves directly).
- Ensure proper air circulation by using a fan or keeping the room well-ventilated to prevent fungal growth.
- Prune and Trim:
- Regularly inspect your orchid for dead or damaged roots. Use sterilized scissors to trim them away to keep the plant healthy.
- After a bloom cycle, cut the flower spike about an inch above a node to encourage new flower spikes.
- Monitor and Adjust:
- Keep an eye on your orchid’s leaves and roots. Healthy roots are plump and green, while the leaves should be firm and vibrant.
- Adjust watering schedules or lighting conditions if the plant shows signs of stress.
Benefits of the Epsom Salt Solution
This simple mixture works wonders for orchids:
- Magnesium Boost: Promotes healthy green leaves and robust flower spikes.
- Sulfur Support: Enhances overall plant health and boosts flowering potential.
- Fungal Prevention: The optional cinnamon powder protects against root rot and other fungal issues.
Common Mistakes to Avoid
While this technique is highly effective, avoiding certain pitfalls will ensure success:
- Overwatering: Orchids don’t like soggy roots. Allow the potting mix to dry slightly between waterings.
- Using Tap Water: Chlorinated water can harm your orchids. Always use distilled or rainwater.
- Ignoring Root Health: Neglected roots can rot and compromise the plant’s ability to absorb nutrients.
- Inconsistent Care: Orchids thrive on routine. Skipping the monthly treatment or neglecting light and humidity needs can disrupt blooming.
How Long Until Results?
With consistent application of this technique, you should notice improvements in your orchid’s health within a few weeks. Leaves will become greener and more robust, and flower spikes may appear within 1–2 months, depending on the plant’s condition.
Why This Method Works
Orchids, especially popular varieties like Phalaenopsis, rely heavily on proper nutrition and environmental conditions to bloom. The Epsom salt solution provides the exact nutrients needed for healthy growth and flowering. Combined with optimal lighting and care, it creates the perfect environment for non-stop blooms.
Transform Your Orchid Care Routine
With this simple yet powerful monthly technique, you can ensure your orchids bloom year-round, adding elegance and beauty to your home. Whether you’re an experienced gardener or a beginner, these steps are easy to follow and yield stunning results.
💬 Ready to try this method? Let us know how it works for you! Share your orchid stories and photos in the comments. 🌺

