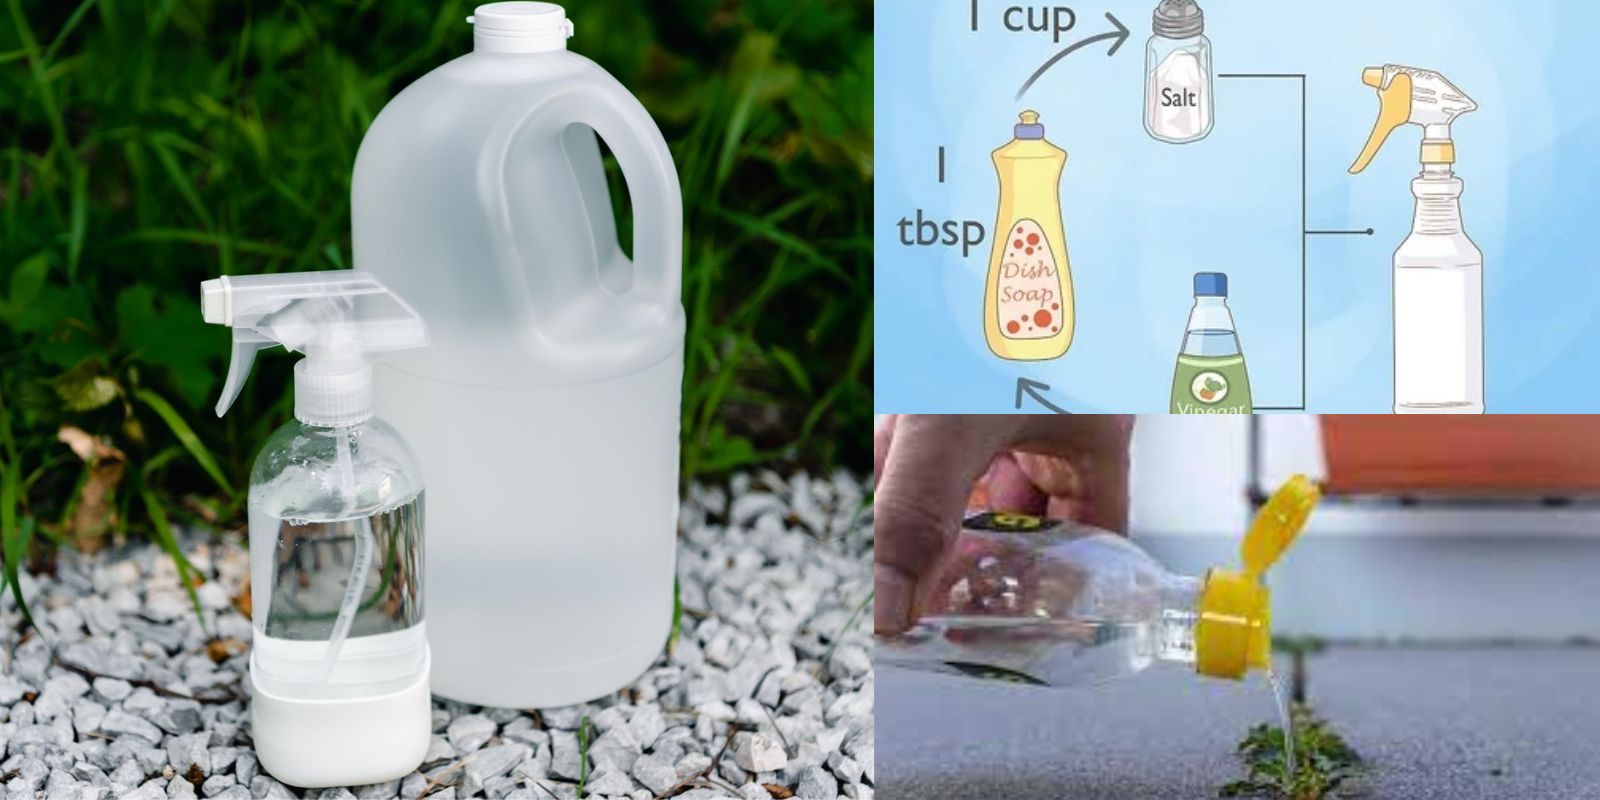
Maintaining a thriving garden is no easy feat, especially when weeds and pests seem to conspire against your efforts. What if you could tackle both problems with a single solution? Enter the world of natural gardening with a DIY weed killer that also acts as an insect repellent. Not only is this method cost-effective and eco-friendly, but it also ensures your garden remains free of harsh chemicals that might harm the environment or beneficial organisms.
In this comprehensive guide, we’ll walk you through the process of creating and using a powerful, dual-purpose weed and insect killer, ensuring your garden remains lush and healthy.
Why Go Natural?
Commercial weed killers and insecticides are effective but often come with a hidden cost. Chemicals can leach into the soil, harm beneficial insects like bees, and even pose risks to pets and children. By making your own solution, you gain control over what goes into your garden, ensuring a safer and more sustainable environment.
Ingredients for Success
Here’s what you’ll need to create your DIY weed killer and insect repellent:
- White Vinegar: The acidity of vinegar makes it a natural herbicide, killing weeds by breaking down their cell membranes.
- Salt: Enhances the weed-killing power by dehydrating plants.
- Dish Soap: Acts as a surfactant, helping the solution stick to leaves for better effectiveness.
- Neem Oil (Optional): Known for its insect-repelling properties, neem oil adds an extra layer of protection against pests.
- Chili Powder or Garlic Extract (Optional): Natural pest repellents that can deter insects without harming your plants.
Step-by-Step Guide
1. Gather Your Supplies
Ensure you have the following tools ready:
- A large container or bucket for mixing.
- Measuring cups for accurate ingredient proportions.
- A spray bottle or garden sprayer for application.
2. Mix the Ingredients
- Pour 1 gallon of white vinegar into your container.
- Add 1 cup of salt and stir until dissolved.
- Add 1 tablespoon of dish soap to the mix and stir gently.
- For added pest control, mix in a few drops of neem oil or a teaspoon of chili powder/garlic extract.
3. Prepare the Spray
Transfer the mixture into a spray bottle for small gardens or a garden sprayer for larger areas. Ensure the solution is well-mixed before use.
4. Choose the Right Time to Apply
- Apply the solution on a sunny day, as the heat helps the vinegar and salt penetrate weed leaves more effectively.
- Avoid windy days to prevent the solution from spreading to desirable plants.
5. Apply Strategically
- Spray directly onto weeds, ensuring the solution covers the leaves and stems.
- For insect control, lightly spray the mixture around the base of plants and on areas where pests are commonly found.
- Be cautious not to overspray, as this mixture can harm your garden plants if applied excessively.
6. Monitor the Results
Check treated areas after 24–48 hours. You’ll notice weeds wilting and drying out, and a reduction in visible pests.
7. Reapply as Needed
For stubborn weeds or persistent pest issues, reapply the solution every few days until you achieve the desired results.
8. Store Properly
Store any leftover solution in a cool, dry place. Shake well before each use to ensure the ingredients remain evenly mixed.
Tips for Success
- Test Before Widespread Use
Before applying the solution to your entire garden, test it on a small patch to ensure it doesn’t harm your plants or soil. - Target Weeds and Pests Carefully
Direct the spray specifically at weeds and pest hotspots to avoid damaging beneficial plants. - Enhance Effectiveness
For added weed-killing power, apply the solution early in the morning or midday when the sun is strongest. - Be Persistent
Natural solutions may take longer to work than chemical alternatives, but persistence pays off with a healthier, toxin-free garden.
The Science Behind the Solution
Vinegar: Contains acetic acid, which destroys plant cells and dries out leaves. Its acidity also disrupts the pH levels of pests, deterring them effectively.
Salt: Draws moisture out of plants, dehydrating them. When combined with vinegar, it creates a potent herbicidal effect.
Dish Soap: Helps break down the waxy coating on leaves, allowing the solution to penetrate deeply. It also acts as a mild insecticide by suffocating small pests.
Neem Oil, Chili Powder, and Garlic Extract: These natural additives repel pests without harming beneficial insects or the environment.
Benefits of Using a DIY Solution
- Cost-Effective: All ingredients are inexpensive and readily available.
- Eco-Friendly: Reduces reliance on synthetic chemicals.
- Customizable: You can adjust the formula to suit your garden’s specific needs.
- Safe for Families and Pets: Eliminates the risk of chemical exposure.
Cautions to Keep in Mind
- Avoid overusing salt-based solutions in one area, as excessive salt can harm soil health.
- Be mindful of beneficial insects, such as ladybugs and bees, and avoid spraying directly on flowers.
- Wash any produce thoroughly before consumption if the solution is applied nearby.
Why You’ll Love This DIY Solution
By creating a natural weed killer and insect repellent, you’re not only saving money but also contributing to a healthier planet. The satisfaction of using a solution that you’ve made yourself is unparalleled. Plus, it’s incredibly rewarding to see your garden flourish without the use of harsh chemicals.
Conclusion
Taking care of your garden doesn’t have to mean resorting to synthetic products. With this simple DIY weed killer and insect repellent, you can effectively protect your garden while keeping it eco-friendly. Give it a try and share your results with fellow gardeners!
Join the Conversation: What are your favorite DIY garden hacks? Share them in the comments below and inspire others to grow green! 🌱
#DIYGardenSolutions #NaturalWeedControl #EcoFriendlyGardening #GardeningHacks #SustainableLiving #GreenThumbGoals

