Watermelons are a quintessential summer delight, loved for their refreshing sweetness and hydrating properties. Imagine the joy of growing these luscious fruits in your own backyard, harvesting them at peak ripeness, and savoring their vibrant taste. If this idea excites you, then this comprehensive guide will walk you through everything you need to know about growing watermelons successfully.
Understanding Watermelons: A Quick Overview
Watermelons (Citrullus lanatus) are warm-season crops that thrive in sunny conditions and sandy, well-drained soil. These sprawling plants belong to the gourd family and can produce fruits of various shapes, sizes, and even colors, depending on the variety you choose.
Why Grow Watermelons at Home?
- Freshness and Flavor: Homegrown watermelons are far superior in taste to store-bought ones.
- Health Benefits: Packed with vitamins, antioxidants, and hydration, they’re a guilt-free indulgence.
- Sustainability: Growing your own food reduces your carbon footprint and connects you with nature.
Choosing the Right Watermelon Variety
Before you plant, decide on the variety that best suits your needs and space:
- Sugar Baby: A small, round variety perfect for compact spaces.
- Crimson Sweet: Known for its classic taste and medium size.
- Charleston Gray: A long, large variety with a light green rind.
- Yellow Doll: A unique variety with yellow flesh and a sweet flavor.
Step-by-Step Guide to Growing Watermelons
1. Selecting the Perfect Location
Watermelons need full sun, at least 6-8 hours daily. Choose an open spot where the vines have room to sprawl, or consider vertical gardening for smaller varieties. Ensure the area is free of shade from nearby trees or structures.
2. Preparing the Soil
Watermelons prefer sandy loam soil with a pH between 6.0 and 6.8. Follow these steps to prepare your soil:
- Test the Soil: Use a pH testing kit to ensure optimal conditions.
- Amend the Soil: Add organic compost or well-rotted manure to improve fertility and drainage.
- Create Mounds: Form small hills or mounds to enhance drainage and warmth for the seeds.
3. Planting Watermelon Seeds
Watermelons can be started from seeds or transplants, but seeds are often preferred for direct sowing.
- Timing: Plant seeds after the last frost date when the soil temperature is consistently above 70°F (21°C).
- Depth and Spacing: Sow seeds about 1 inch deep and space mounds 3-4 feet apart for smaller varieties or 6 feet for larger ones.
4. Watering for Success
Consistent watering is critical for healthy growth.
- During Germination and Growth: Keep the soil evenly moist but not waterlogged.
- At Flowering and Fruiting Stages: Increase watering as the fruit forms but reduce it slightly before harvesting to enhance sweetness.
- Best Practices: Water deeply at the base to encourage deep root growth and avoid wetting the foliage to prevent disease.
5. Feeding Your Watermelons
Feed your watermelon plants with a balanced fertilizer to support their rapid growth.
- Before Planting: Enrich the soil with a nitrogen-rich fertilizer.
- During Flowering: Switch to a fertilizer higher in phosphorus and potassium to promote blooms and fruit development.
6. Providing Mulch and Support
Apply organic mulch around the plants to:
- Retain soil moisture.
- Suppress weeds.
- Regulate soil temperature.
For compact spaces, train smaller watermelon varieties to climb trellises. Use slings made of old fabric to support the fruit and prevent them from falling.
7. Pollination: Nature’s Role
Watermelon flowers require pollination to set fruit. Bees and other pollinators play a crucial role, so encourage their activity by planting nearby flowers. If pollination is insufficient, hand-pollinate using a small brush to transfer pollen from male to female flowers.
8. Pest and Disease Management
Common watermelon pests include aphids, cucumber beetles, and squash bugs. To combat these:
- Use organic insecticidal soap or neem oil.
- Introduce beneficial insects like ladybugs.
- Cover plants with row covers to deter pests early in the season.
To prevent diseases like powdery mildew or anthracnose:
- Avoid overhead watering.
- Ensure proper spacing for airflow.
- Remove any infected leaves promptly.
9. Harvesting Watermelons
Knowing when to harvest is key to enjoying perfectly ripe watermelons. Look for these signs:
- The tendril nearest the fruit turns brown and dries up.
- The bottom of the melon (where it touches the ground) changes to a creamy yellow color.
- The fruit emits a hollow sound when tapped.
Cut the watermelon from the vine with a sharp knife, leaving a short stem attached.
Troubleshooting Common Challenges
- Fruit Not Setting: May indicate poor pollination. Try hand-pollination.
- Yellowing Leaves: Could be nutrient deficiency or overwatering; check soil and adjust.
- Split Fruits: Often caused by irregular watering. Maintain consistent moisture levels.
Growing Watermelons in Containers
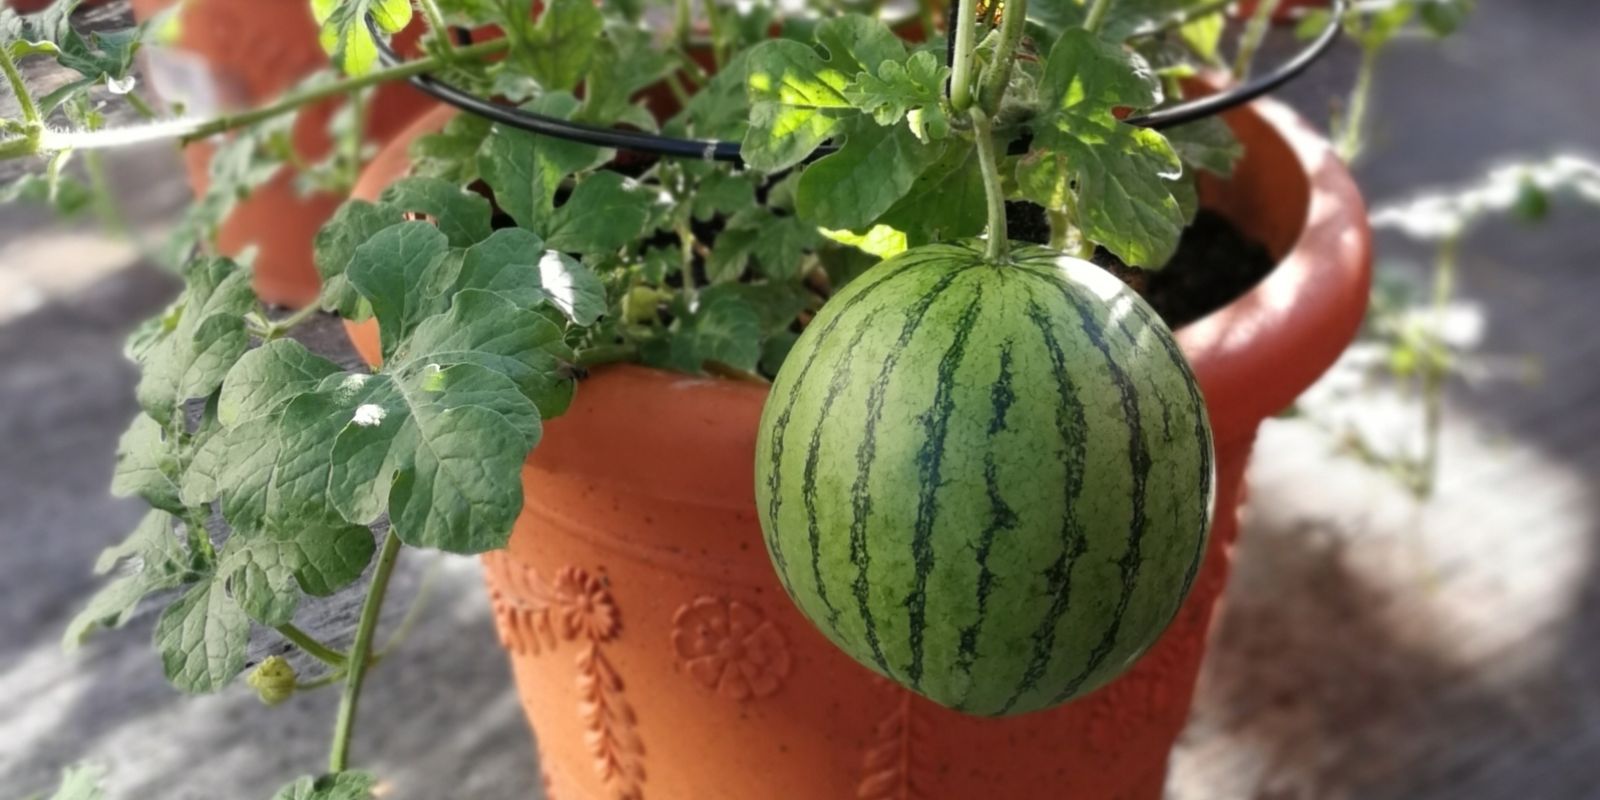
If space is limited, you can grow smaller varieties in large containers. Use a pot at least 18 inches wide with drainage holes. Fill it with nutrient-rich potting mix and provide sturdy support for the vines.
Tips for a Bountiful Watermelon Harvest
- Rotate crops each season to prevent soil-borne diseases.
- Companion plant with marigolds or nasturtiums to deter pests naturally.
- Avoid overcrowding plants to reduce competition for nutrients and sunlight.
Motivation to Get Started
Growing watermelons is more than just a gardening project—it’s a journey of patience, learning, and reward. The satisfaction of slicing into your first homegrown melon, bursting with sweetness, is unmatched.
Conclusion
With a little planning and care, you can grow watermelons that rival those of the finest farms. Whether you’re a beginner or an experienced gardener, these steps will guide you toward success. So grab some seeds, head to your garden, and start growing your own slice of summer paradise!
🌱🍉 #GrowYourOwnFood #WatermelonHarvest #HomeGardeningTips #SweetSummerTreats #OrganicGardeningLove #BackyardFarming #ViralGardeningSecrets

