
Mint is one of the most versatile herbs in the kitchen, perfect for everything from teas and cocktails to salads and sauces. However, if you’re short on space or just looking for a cost-effective and eco-friendly way to grow it, you might be wondering if there’s an easy method to grow mint without using large garden beds or expensive planters. The solution? Growing mint in a plastic cup! This simple and space-saving method will not only give you a steady supply of fresh mint, but it’s also perfect for beginners and anyone wanting to grow herbs indoors or in small areas. In this article, we’ll walk you through everything you need to know to grow mint in a plastic cup, from gathering materials to nurturing your new mint plants.
Why Grow Mint in a Plastic Cup?
Before we dive into the how-to guide, let’s explore why this method is so effective and popular among gardeners. Growing mint in a plastic cup is:
- Eco-Friendly: By recycling plastic cups that might otherwise be thrown away, you’re making an environmentally conscious decision. It’s an excellent way to reduce waste while cultivating your own fresh herbs.
- Cost-Effective: If you’re trying to grow mint on a budget, plastic cups are an inexpensive solution. You likely already have a few cups lying around, so it’s a fantastic way to repurpose household items.
- Space-Saving: Not everyone has access to a large garden or even a balcony, but mint can thrive in small spaces. A plastic cup is the perfect size to grow mint, and it can fit almost anywhere — from a windowsill to a desk.
- Good Drainage: Proper drainage is key when growing mint. Plastic cups can be easily modified to create drainage holes, ensuring that excess water can escape and prevent root rot.
- Convenient: Growing mint in a cup makes it easy to move the plant around and adjust its placement depending on the amount of sunlight it needs. Whether you want to take it outside on a sunny day or move it indoors during colder months, a plastic cup gives you flexibility.
Materials You’ll Need
To start growing mint in a plastic cup, you’ll need a few basic materials. Luckily, everything is easy to find and budget-friendly. Here’s what you’ll need:
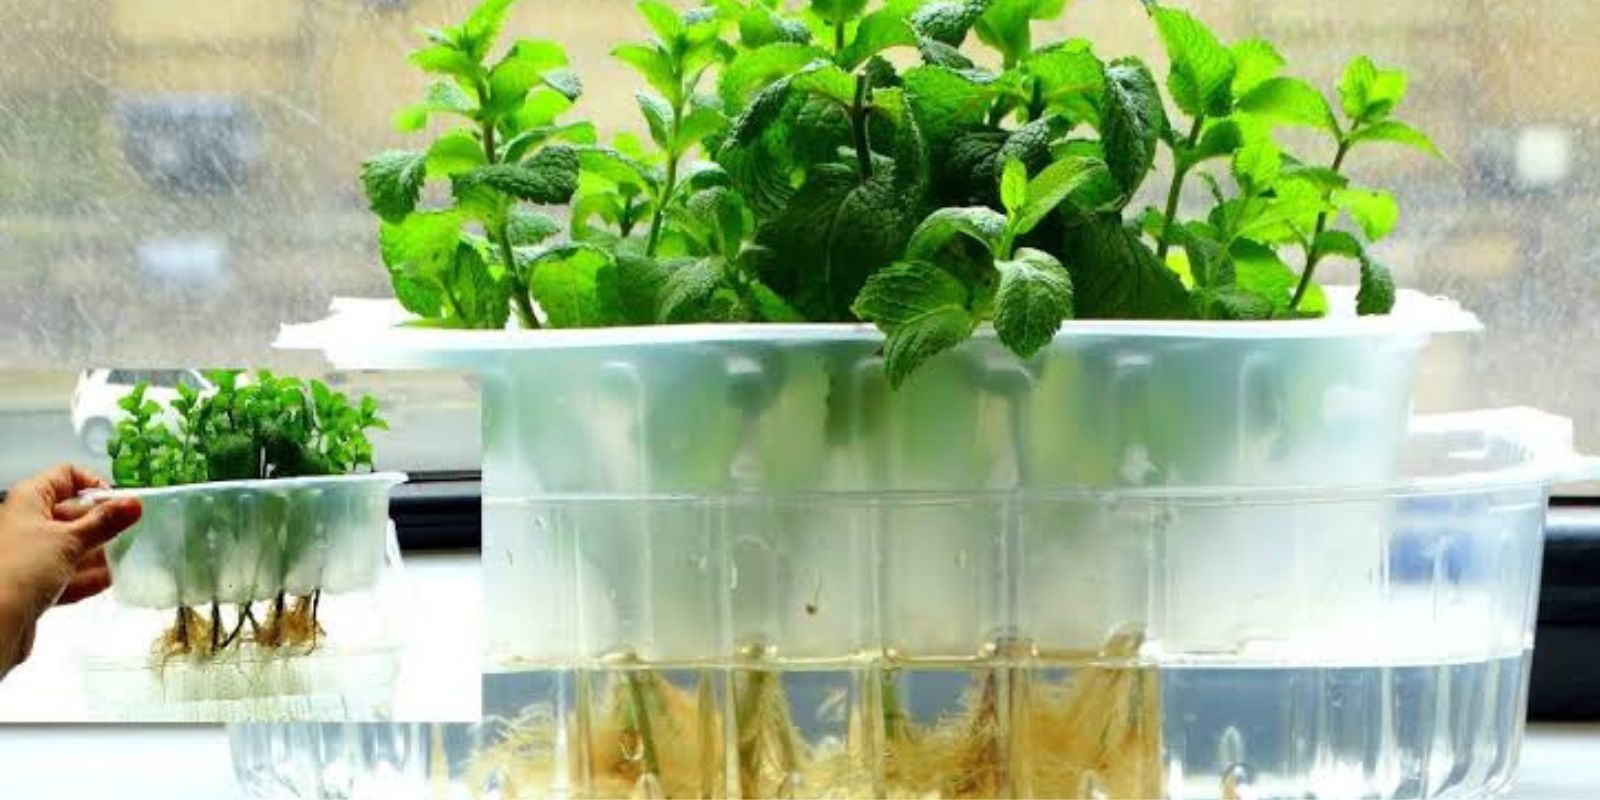
- Plastic Cup: It’s best to use a transparent cup so you can see the roots as they develop, but an opaque one will work too. Make sure the cup is at least 8 ounces or larger to give the mint plenty of room to grow.
- Mint Cuttings: You’ll need a few healthy stems of mint. You can either buy mint cuttings from a garden center or take cuttings from an existing mint plant.
- Potting Soil: Mint prefers well-draining soil. A good-quality potting mix that retains moisture without becoming waterlogged is ideal.
- Water: Fresh, clean water to keep the soil moist.
- Scissors or Pruners: To trim the mint cuttings to the appropriate length.
- A Small Knife or Drill: To make drainage holes in the bottom of the cup.
Step-by-Step Instructions for Growing Mint in a Plastic Cup
Follow these simple steps to start your very own mint plant in a plastic cup:
1. Prepare the Plastic Cup
The first step is to prepare your plastic cup for planting. Mint requires well-drained soil, so it’s important to create drainage holes in the bottom of the cup. This can be easily done using a small knife or drill to make 3-5 small holes. If the cup is transparent, you’ll also be able to monitor the water level and root health, which can help prevent issues like overwatering.
2. Take the Mint Cuttings
To start growing mint, you’ll need a healthy cutting. Mint grows best from cuttings rather than seeds, as it roots quickly and grows vigorously. Choose a healthy mint plant and cut a 4-6 inch stem from it. Make sure to cut just below a leaf node, which is the point where leaves grow from the stem. Trim away any lower leaves, leaving just a few leaves at the top.
3. Plant the Cuttings
Fill the plastic cup about halfway with potting soil. It’s best to use a well-draining mix, as mint doesn’t like to sit in soggy soil. Create a small hole in the soil with your finger or a pencil and insert the mint cutting into the hole. Bury the stem up to the leaf nodes, which will encourage the roots to grow from the buried part of the stem.
After planting the cuttings, gently pack the soil around the base of the stem to ensure good contact between the soil and the cutting.
4. Water the Cuttings
Once your mint cuttings are planted, it’s time to water them. Gently water the soil, making sure it’s moist but not soaking wet. Overwatering can lead to root rot, so be sure to water sparingly. If you used a plastic cup with drainage holes, the excess water will easily drain out, which will help prevent waterlogging.
5. Place the Cup in a Bright Location
Mint thrives in bright, indirect sunlight, so find a spot that receives plenty of light but doesn’t have direct sun exposure for extended periods of time. A windowsill or a bright corner in your home will work well. Avoid placing the cup in areas with extreme temperature fluctuations or drafts, as mint prefers a stable environment.
6. Maintain Moisture and Care for Your Mint
Mint cuttings will root in about 2-3 weeks, and you’ll start to see new growth. Keep the soil consistently moist but not drenched. Mint plants do best with regular watering, but be sure not to overdo it. You may also want to lightly mist the leaves from time to time to maintain humidity around the plant.
As your mint grows, you can trim back the leaves to encourage bushier growth. Mint is a hardy herb that responds well to regular pruning, so don’t be afraid to cut back stems if they start to get too long or leggy.
7. Harvest Your Mint
After about 4-6 weeks, your mint will be ready to harvest. Once the plant has grown large enough, simply snip off the leaves as needed. Mint leaves can be used fresh or dried, depending on your preference. The more you trim your mint, the bushier it will become, so regular harvesting will keep the plant healthy and productive.
Additional Tips for Growing Mint in a Plastic Cup
- Repotting: As your mint plant grows, it may outgrow the plastic cup. If this happens, you can transplant it to a larger container. Just be sure to choose a pot with good drainage.
- Pests: Keep an eye on your mint for common pests such as aphids or spider mites. If you notice any, remove them by gently wiping the leaves or spraying the plant with water.
- Winter Care: If you’re growing mint indoors, you can continue to harvest it year-round. However, if you’re growing it outdoors, bring it inside during the winter months to protect it from frost.
Benefits of Growing Mint in a Plastic Cup
- Space-Saving: Perfect for apartments or small homes, this method allows you to grow mint without needing a large garden bed.
- Fresh Supply: Having mint on hand ensures you’ll always have fresh herbs for your cooking, tea, or cocktails.
- Low Maintenance: Mint is an easy-to-care-for herb, making it an ideal choice for beginner gardeners or those looking for a low-maintenance plant.
Conclusion
Growing mint in a plastic cup is a simple, cost-effective, and eco-friendly way to cultivate fresh herbs at home. With just a few materials and basic steps, you can enjoy a thriving mint plant in no time. Whether you’re looking to save space, reduce waste, or have fresh mint on hand for culinary delights, this method is a great way to make the most of your indoor gardening efforts. So, grab a plastic cup, some mint cuttings, and start growing today — you’ll be amazed at how easy it is to grow your own fresh mint!