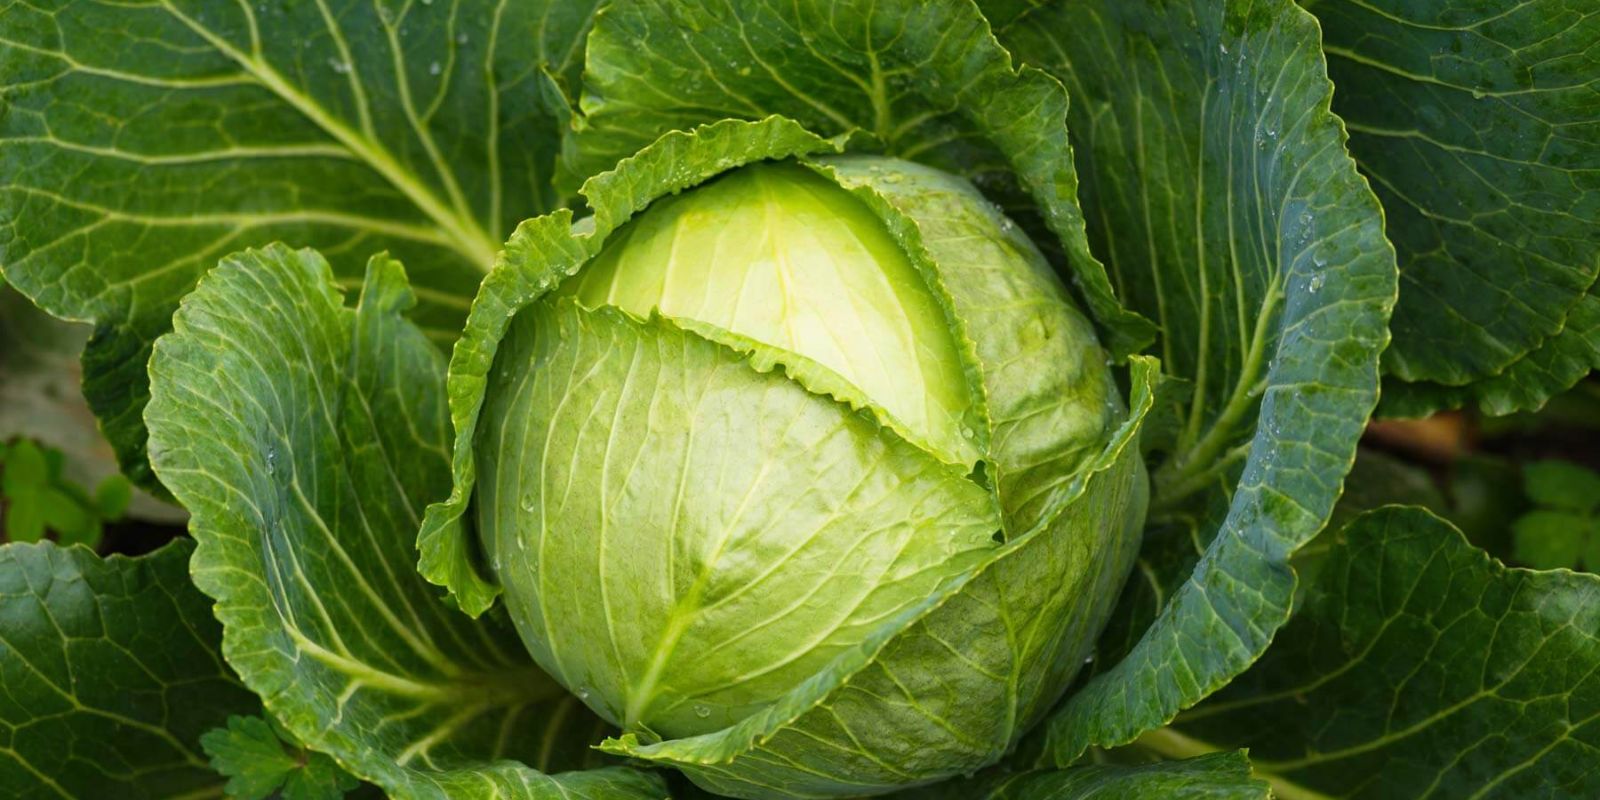
Cabbages are a staple in many gardens due to their versatility and the ability to store well for extended periods. However, cultivating healthy, pest-free cabbages requires more than just planting and watering. With the right techniques and strategies, you can ensure your cabbage plants are robust, nutritious, and free from common pests and diseases. This guide will walk you through the essential steps to achieve a bountiful harvest of healthy, pest-free cabbages.
Understanding Cabbage Growth and Requirements
Before diving into the specifics, it’s crucial to understand what cabbages need to thrive. Cabbages are cool-season crops that prefer temperatures between 60°F and 70°F (15°C to 21°C). They are sensitive to heat and can bolt or go to seed prematurely if exposed to high temperatures. Proper preparation and care are key to growing successful cabbages.
Step 1: Selecting the Right Variety
Choosing the right variety of cabbage is the first step towards a successful harvest. Here are some popular varieties:
- Early Jersey Wakefield: Ideal for cooler climates and early harvests.
- Savoy Cabbage: Known for its crinkled leaves and tolerance to cold weather.
- Green Acre: A disease-resistant variety with good storage capabilities.
Select a variety that suits your climate, growing season, and desired harvest time.
Step 2: Preparing the Soil
Cabbages thrive in well-draining, fertile soil. Follow these steps to prepare the soil:
- Test the Soil: Conduct a soil test to determine pH levels and nutrient content. Cabbages prefer a pH range of 6.0 to 7.0.
- Improve Soil Structure: If your soil is heavy clay or sandy, amend it with organic matter such as compost or well-rotted manure. This improves soil texture and fertility.
- Fertilize: Use a balanced fertilizer or compost to provide essential nutrients. Cabbages are heavy feeders and require ample nitrogen, phosphorus, and potassium.
- Prepare Beds: Create raised beds or rows to ensure good drainage. Space rows 24 to 36 inches apart to allow ample room for growth.
Step 3: Starting Seeds Indoors or Direct Sowing
You can start cabbage seeds indoors or sow them directly in the garden:
- Starting Indoors: Sow seeds 6 to 8 weeks before the last frost date. Use seed trays or pots filled with seed-starting mix. Keep the soil moist and provide adequate light.
- Direct Sowing: Once the soil temperature reaches around 45°F (7°C), sow seeds directly into prepared beds. Space seeds 1 inch apart in rows.
Step 4: Transplanting Seedlings
When seedlings have at least two sets of true leaves, they are ready to be transplanted outdoors:
- Harden Off: Gradually acclimate seedlings to outdoor conditions over a week to minimize transplant shock.
- Planting: Transplant seedlings 12 to 18 inches apart in prepared beds. Ensure the soil is moist at the time of planting.
- Watering: Water seedlings thoroughly after transplanting. Maintain consistent moisture throughout the growing season.
Step 5: Regular Care and Maintenance
Maintaining healthy cabbage plants involves regular care and attention:
- Watering: Cabbages need consistent moisture. Water deeply and regularly, especially during dry periods. Avoid overhead watering to minimize disease risk.
- Fertilizing: Apply a balanced fertilizer or compost every 4 to 6 weeks. Avoid over-fertilizing, as it can lead to excessive leaf growth and reduced head development.
- Weeding: Keep weeds under control, as they compete with cabbages for nutrients and water. Use mulch to suppress weed growth and retain soil moisture.
Step 6: Managing Pests and Diseases
Pests and diseases can be major threats to cabbage plants. Use the following methods to keep them in check:
- Common Pests:
- Cabbage Worms: These pests can be controlled with organic insecticides like Bt (Bacillus thuringiensis) or by hand-picking.
- Aphids: Use insecticidal soap or neem oil to manage aphid infestations.
- Slugs and Snails: Place slug traps or use diatomaceous earth around plants to deter these pests.
- Disease Prevention:
- Downy Mildew: Prevent downy mildew by ensuring good air circulation around plants and avoiding overhead watering.
- Clubroot: Practice crop rotation and avoid planting cabbages in the same location consecutively to prevent clubroot.
- Beneficial Insects: Encourage natural predators like ladybugs and lacewings, which feed on common pests.
Step 7: Harvesting Cabbages
Cabbages are ready to harvest when heads are firm and fully developed. Here’s how to harvest:
- Check Firmness: Gently squeeze the cabbage head. If it feels firm and solid, it’s ready to be picked.
- Cutting: Use a sharp knife to cut the head from the plant. Leave the outer leaves and roots in the soil; new heads may form.
- Storage: Store harvested cabbages in a cool, dry place. They can last for several weeks to months, depending on the variety and storage conditions.
Conclusion
Growing healthy, pest-free cabbages requires attention to detail and consistent care. By selecting the right variety, preparing the soil properly, and managing pests and diseases effectively, you can enjoy a bountiful harvest of crisp, nutritious cabbages. Remember, gardening is a learning experience, and each season brings new opportunities to refine your techniques and enjoy the fruits of your labor.
Motivation
Transform your garden into a thriving cabbage haven with these tips. Share your gardening successes and inspire others with #HealthyCabbages #PestFreeGarden #CabbageHarvest #GardeningTips #HomeGrowers. Keep growing and enjoy the rewards of a beautiful, bountiful garden!

