
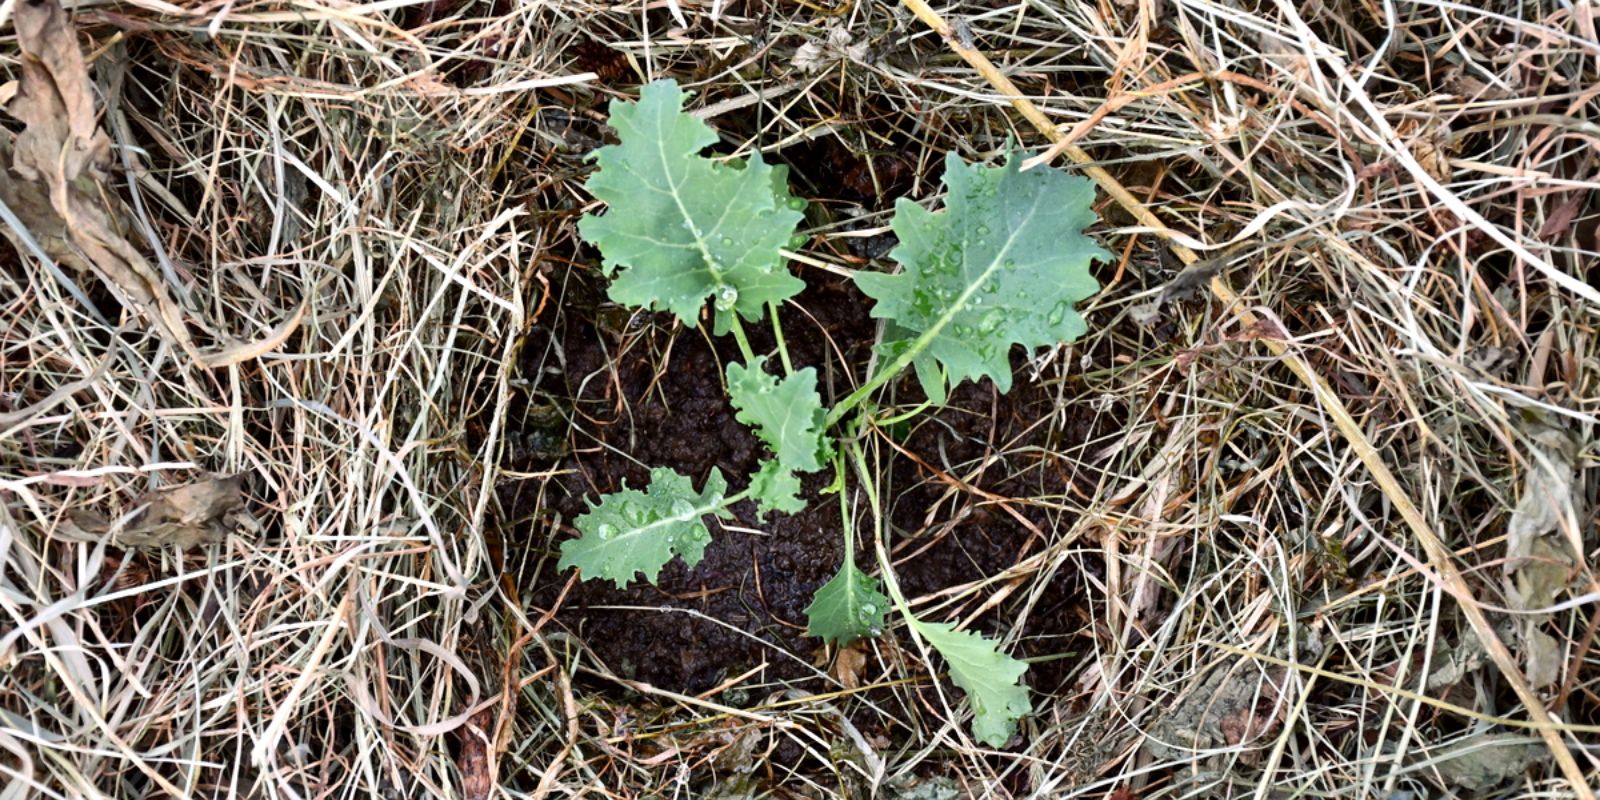
Growing your own vegetables can be an incredibly fulfilling endeavor, and kale is one of the most rewarding crops to cultivate. Not only is it packed with nutrients, but its versatility in the kitchen makes it a popular choice among health-conscious eaters. One of the best methods for growing kale is the “cut and come again” technique. This approach allows gardeners to harvest leaves continuously, ensuring a steady supply of fresh greens throughout the season. In this article, we’ll explore everything you need to know about growing cut and come again kale, from choosing the right varieties to harvesting techniques.
Understanding Cut & Come Again Kale
The cut and come again method is based on the principle of harvesting outer leaves while allowing the inner leaves to continue growing. This technique promotes a longer harvest period and encourages healthy, bushy plants. By regularly cutting the leaves, you stimulate new growth, which means you can enjoy fresh kale for months.
Benefits of Growing Cut & Come Again Kale
- Continuous Harvest: Unlike traditional harvesting methods where the entire plant is removed, this method allows for ongoing production.
- Nutrient-Rich: Kale is a nutritional powerhouse, high in vitamins A, C, and K, as well as antioxidants and fiber.
- Space-Efficient: This method is perfect for small gardens or container gardening, as it allows you to maximize your yield in limited space.
- Versatile Uses: Kale can be used in a variety of dishes, from salads and smoothies to soups and stir-fries.
Choosing the Right Varieties
When selecting kale for the cut and come again method, it’s important to choose varieties known for their ability to produce leaves continuously. Here are a few popular options:
- Lacinato Kale: Also known as Dinosaur Kale, Lacinato has dark green, wrinkled leaves and a rich flavor.
- Winterbor Kale: This variety is hardy and can withstand colder temperatures, making it suitable for fall and winter harvesting.
- Red Russian Kale: With its unique purple veins and soft, tender leaves, Red Russian kale is a favorite for salads.
- Siberian Kale: Known for its sweet flavor and ability to thrive in cold weather, Siberian kale is another great choice.
Preparing Your Garden for Kale
1. Selecting the Right Location
Kale thrives in full sun but can tolerate partial shade. Choose a location that receives at least 4-6 hours of sunlight daily. Good air circulation is also essential to prevent diseases.
2. Soil Preparation
Kale prefers well-draining, nutrient-rich soil with a pH of 6.0 to 7.0. Follow these steps for optimal soil preparation:
- Test the Soil: Use a soil test kit to check pH and nutrient levels.
- Add Organic Matter: Incorporate compost or well-rotted manure to improve soil structure and fertility.
- Tilling: Till the soil to a depth of about 12 inches to ensure good aeration.
Sowing Seeds
1. Timing
Kale can be planted in early spring or late summer for a fall harvest. For continuous harvest, consider succession planting every few weeks.
2. Direct Seeding
- Planting Depth: Sow seeds about ¼ to ½ inch deep.
- Spacing: Space seeds approximately 12 inches apart to allow for adequate growth.
- Row Spacing: If planting in rows, maintain a distance of 18 to 24 inches between rows.
3. Transplanting Seedlings
If you prefer starting your kale indoors, you can transplant seedlings once they have developed a few true leaves. Harden them off by gradually exposing them to outdoor conditions before planting.
Watering
1. Consistent Moisture
Kale requires consistent moisture for optimal growth. Water deeply and regularly, especially during dry spells. A good rule of thumb is to provide about 1 inch of water per week.
2. Morning Watering
Water in the morning to allow the leaves to dry throughout the day. This practice helps prevent fungal diseases and ensures that the plants have enough moisture during the heat of the day.
Fertilizing Your Kale
Kale is a heavy feeder, so regular fertilization is key to ensuring healthy growth.
1. Initial Fertilization
At planting time, incorporate a balanced fertilizer into the soil. Look for options with equal parts nitrogen, phosphorus, and potassium (N-P-K), such as a 10-10-10 formula.
2. Side-Dressing
About four weeks after planting, apply a side-dressing of nitrogen-rich fertilizer (like blood meal or fish emulsion) to encourage leafy growth.
3. Organic Options
Consider using organic fertilizers such as compost tea, worm castings, or well-rotted manure to provide essential nutrients.
Thinning Seedlings
Once your kale seedlings are about 2-3 inches tall, it’s time to thin them out to prevent overcrowding.
1. Importance of Thinning
Thinning ensures that each plant has enough space to grow and receive adequate sunlight. This step helps prevent disease and promotes healthy, robust plants.
2. How to Thin
Carefully remove the weaker seedlings, leaving the strongest plants spaced about 12 inches apart. You can use scissors to cut them at the soil line to avoid disturbing the roots of the remaining plants.
Pest and Disease Management
Kale can be susceptible to various pests and diseases. Here are some common issues and their solutions:
1. Common Pests
- Aphids: These small insects can be controlled with insecticidal soap or neem oil.
- Cabbage Worms: Hand-picking or using row covers can help protect your plants from these pests.
- Flea Beetles: Use diatomaceous earth or neem oil to deter these insects.
2. Diseases
- Downy Mildew: Prevent this fungal disease by ensuring good air circulation and avoiding overhead watering.
- Powdery Mildew: Apply a fungicide at the first signs of powdery mildew.
Harvesting Cut & Come Again Kale
1. Timing Your Harvest
You can begin harvesting kale leaves when they are about 6-8 inches tall. Younger leaves tend to be more tender and flavorful.
2. How to Harvest
- Use Scissors: Cut the outer leaves at the base, leaving the inner leaves and crown intact to continue growing.
- Leave Enough Leaves: Always leave at least 4-6 outer leaves on the plant to ensure continued growth.
3. Frequency of Harvest
Regular harvesting will encourage new growth. Aim to harvest every 1-2 weeks, depending on your consumption and growth rate.
Enjoying Your Fresh Kale
Kale is incredibly versatile and can be enjoyed in various ways:
- Salads: Toss fresh kale with your favorite dressing for a nutritious salad.
- Smoothies: Blend kale into smoothies for added nutrients.
- Sautéed: Quickly sauté kale with garlic and olive oil for a delicious side dish.
- Soups: Add kale to soups and stews for a hearty boost.
Conclusion
Growing cut and come again kale is an excellent way to enjoy fresh greens throughout the growing season. With just a few simple steps—selecting the right variety, preparing the soil, and practicing proper care—you can have a flourishing kale patch in your garden. This method not only provides a continuous supply of nutritious greens but also contributes to a sustainable gardening practice. So, grab your seeds and start your kale-growing journey today!
Remember, gardening is not just about the end result; it’s about the journey and the joy of nurturing plants. Happy gardening!
Call to Action
Get started on your cut and come again kale journey today! Share your progress and tips using #CutAndComeAgainKale #HomeGardening #GrowYourOwnFood #HealthyEating #SustainableGardening. Let’s grow together!