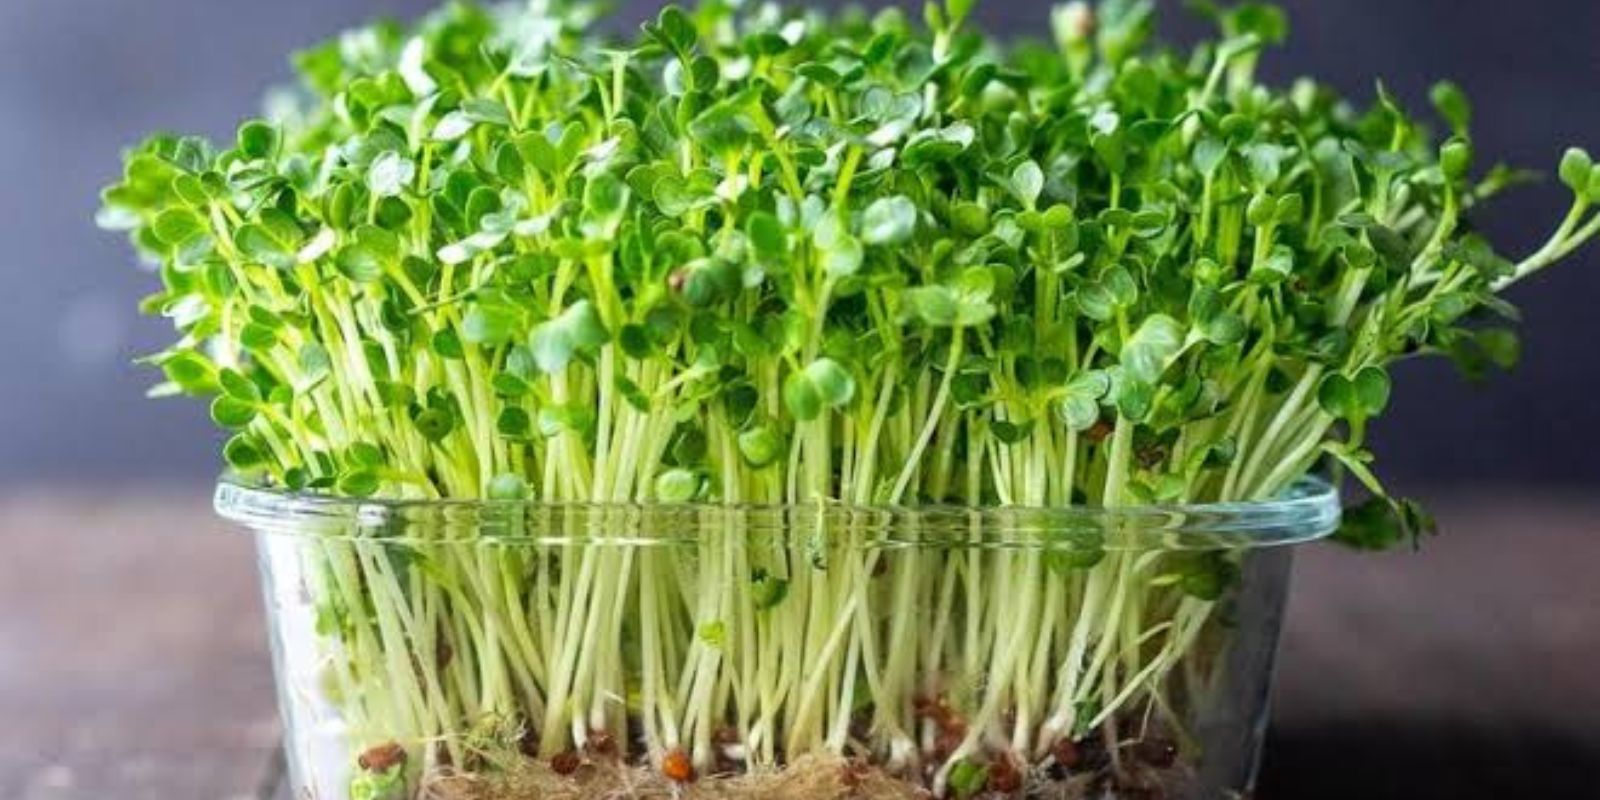
Microgreens have taken the gardening and culinary world by storm. Among them, chia microgreens stand out as a highly nutritious, fast-growing, and versatile addition to your meals. Packed with essential vitamins, minerals, and antioxidants, chia microgreens are not only easy to grow but also provide an incredible boost to your diet. Whether you’re a seasoned gardener or a complete beginner, this guide will walk you through everything you need to know to cultivate chia microgreens successfully.
Why Grow Chia Microgreens?
Chia microgreens are an excellent choice for indoor gardening for several reasons:
- Nutritional Powerhouse: These tiny greens are rich in omega-3 fatty acids, protein, fiber, and essential vitamins.
- Quick Growth: Chia microgreens are ready to harvest in just 7-10 days.
- Space-Saving: You don’t need a large garden; a small tray on your windowsill will do.
- Year-Round Cultivation: Unlike outdoor crops, chia microgreens thrive indoors at any time of year.
Now that you know why chia microgreens are a fantastic choice, let’s dive into the step-by-step process of growing them at home.
Step 1: Gather Your Supplies
To get started, you’ll need the following:
- Chia seeds: Purchase organic, untreated chia seeds for the best results.
- Growing tray: A shallow tray with drainage holes works best, but you can also use a flat dish if holes aren’t available.
- Growing medium: Organic potting soil, coconut coir, or damp paper towels.
- Spray bottle: For misting the seeds and maintaining moisture.
- Plastic wrap or a lid: To cover the tray during the germination phase.
- Scissors: For harvesting your microgreens.
Step 2: Prepare the Tray
Select a shallow tray or dish that’s easy to manage. If your tray has drainage holes, place it on a waterproof surface or use a second tray underneath to catch any water runoff.
- For Soil or Coconut Coir: Fill the tray with about an inch of your growing medium. Smooth it out to create an even surface.
- For Paper Towels: Lay a few layers of damp paper towels on the bottom of the tray, ensuring they’re evenly moist but not dripping.
Step 3: Plant the Seeds
Spread the chia seeds evenly across the surface of your growing medium. Chia seeds are small and sticky, so take your time to distribute them without clumping. Avoid overcrowding, as this can hinder airflow and lead to mold.
Step 4: Water and Cover
Once the seeds are evenly spread, use a spray bottle to mist them thoroughly. The seeds will absorb water and begin to form a gel-like coating, which is normal for chia seeds.
Cover the tray with plastic wrap or a lid to create a humid environment that encourages germination. Place the tray in a warm, dark location for the first 2-3 days.
Step 5: Maintain Moisture
During the germination phase, check the tray daily to ensure the seeds remain moist. Mist them lightly as needed, but be careful not to overwater, as excess moisture can lead to mold growth.
Step 6: Expose to Light
After 2-3 days, you’ll notice the seeds have sprouted tiny shoots. At this stage, remove the cover and move the tray to a well-lit area. Indirect sunlight is ideal, but a grow light can also work if natural light is limited.
Step 7: Monitor Growth
Chia microgreens grow rapidly. Continue to mist them daily to keep the growing medium moist but not soggy. Ensure the tray has proper ventilation to prevent mold and encourage healthy growth.
Step 8: Harvest Your Microgreens
In 7-10 days, your chia microgreens should be about 2-3 inches tall and ready to harvest. Use clean scissors to snip them at the base, just above the growing medium.
Step 9: Rinse and Enjoy
Rinse your harvested microgreens under cold water to remove any residual soil or debris. Pat them dry gently with a paper towel before using them in your meals.
How to Use Chia Microgreens
Chia microgreens have a mild, nutty flavor that pairs well with a variety of dishes. Here are a few ideas:
- Add them to salads for a fresh crunch.
- Use them as a topping for sandwiches and wraps.
- Blend them into smoothies for an extra nutrient boost.
- Sprinkle them over soups, omelets, or pasta dishes for added flavor and texture.
Common Problems and Solutions
Growing chia microgreens is generally trouble-free, but here are a few common issues and how to address them:
- Mold Growth: Ensure good airflow and avoid overwatering. Use a fan to improve ventilation if needed.
- Uneven Germination: Spread seeds evenly and ensure consistent moisture during the germination phase.
- Yellowing Leaves: Move the tray to a brighter location to provide sufficient light.
Why Chia Microgreens Are Worth the Effort
Chia microgreens are more than just a gardening project; they’re a step toward healthier living. Their quick growth, minimal space requirements, and incredible nutritional value make them a must-try for anyone looking to add fresh greens to their diet.
Final Thoughts
Growing chia microgreens at home is a rewarding experience that brings fresh, nutrient-packed greens to your table in just days. With a simple setup and a little care, you can enjoy the satisfaction of cultivating your own superfood.
Are you ready to give chia microgreens a try? Let us know in the comments if you have any questions or share your experiences with growing microgreens!
Hashtags to Boost Engagement
🌱 #GrowChiaMicrogreens #MicrogreensAtHome #HealthyLiving #SuperfoodGarden #UrbanGardening #GrowYourOwnFood #GreenThumbJourney

