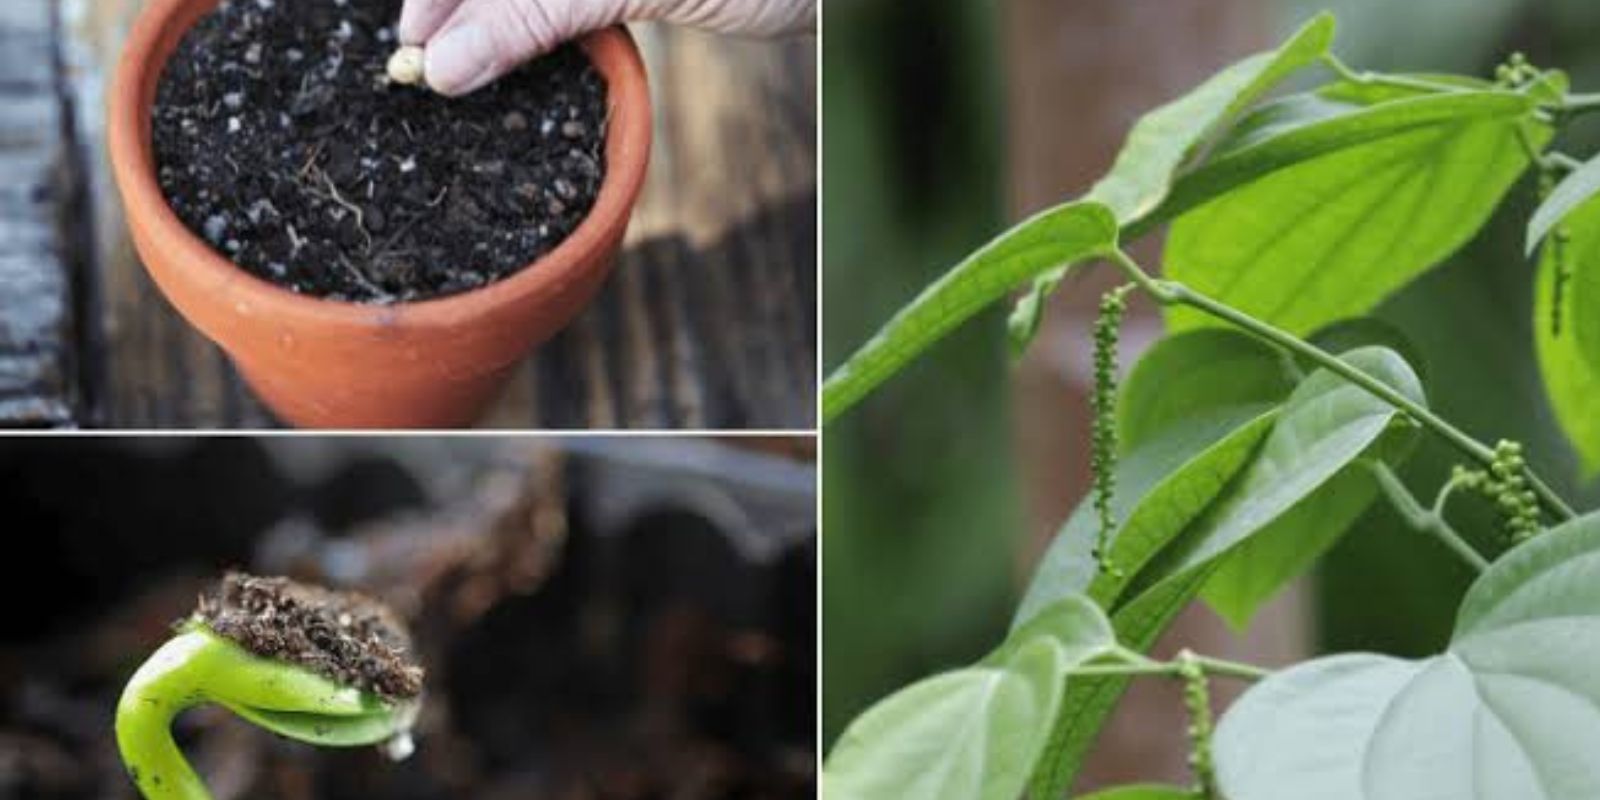
Black pepper, famously known as the “king of spices,” is a staple in kitchens around the globe. It’s not just a versatile spice but also a plant with a long history of medicinal and cultural significance. Surprisingly, black pepper (Piper nigrum) can be grown in your garden or even in pots at home. With patience and the right care, you can cultivate your own supply of fresh, flavorful peppercorns. Here’s an in-depth guide to growing black pepper from seed to harvest.
Why Grow Black Pepper at Home?
Growing black pepper offers several benefits:
- Fresh Supply: Homegrown peppercorns are fresher and more aromatic than store-bought ones.
- Cost-Effective: A single plant can produce a good amount of peppercorns over its lifetime.
- Therapeutic Value: Gardening itself is a relaxing and rewarding activity.
- Sustainable Living: By growing spices at home, you reduce your reliance on commercially processed products.
Understanding Black Pepper Plants
Black pepper is a perennial climbing vine native to tropical climates. It thrives in warm, humid environments and produces small, round peppercorns that can be harvested and processed into black, white, or green pepper.
Step-by-Step Guide to Growing Black Pepper
1. Choosing Seeds or Cuttings
- Seeds: Use fresh peppercorns that are not heat-treated. These are typically green or black peppercorns sold for planting.
- Cuttings: If available, opt for stem cuttings from an existing healthy black pepper plant. Cuttings tend to grow faster and are less labor-intensive than seeds.
2. Preparing the Soil
Black pepper plants prefer well-draining, fertile soil with a slightly acidic pH of 5.5–6.5.
- Amendments: Add compost, organic matter, or coconut coir to improve soil texture and drainage.
- Location: Choose a location with partial shade and indirect sunlight, mimicking its natural tropical habitat.
3. Choosing the Right Pot or Garden Spot
- Pots: Use a pot that’s at least 12–18 inches deep and wide. Ensure it has good drainage holes.
- Garden: If planting outdoors, pick a spot with access to a vertical structure like a trellis or fence for the vine to climb.
4. Planting the Pepper
- Seeds: Soak peppercorns in water for 24 hours to encourage germination. Plant them 1/2 inch deep in seed-starting trays or directly into the soil.
- Cuttings: Plant cuttings 2–3 inches deep into the soil, ensuring that nodes are buried to encourage root development.
5. Supporting the Climbing Vine
Black pepper vines require support to grow. Install a trellis, pole, or nearby tree to allow the vine to climb and spread. This support mimics their natural environment and ensures optimal growth.
6. Watering the Plant
- Consistency: Black pepper plants prefer consistently moist soil but cannot tolerate waterlogging.
- Frequency: Water when the topsoil feels dry to the touch. Avoid letting the plant sit in standing water.
7. Fertilizing for Growth
- Organic Options: Use compost, manure, or vermicompost to enrich the soil every 2–3 months.
- Commercial Fertilizers: If using store-bought fertilizers, choose a balanced NPK (Nitrogen, Phosphorus, Potassium) formula.
8. Managing Temperature and Humidity
- Ideal Conditions: Black pepper plants thrive in temperatures between 75°F and 85°F with high humidity.
- Indoor Tips: Use a humidifier or mist the plant regularly if you’re growing it indoors.
9. Pruning and Maintenance
- Prune the plant regularly to remove dead or overcrowded branches.
- Pruning encourages airflow, reduces the risk of pests, and promotes healthier fruiting.
10. Pollination
Black pepper plants are self-pollinating but benefit from a little help.
- Gently shake the plant to aid the transfer of pollen.
- Outdoors, natural pollinators like bees will assist with this process.
11. Harvesting Peppercorns
- Timeline: It can take 2–3 years for black pepper plants to start producing fruit.
- Signs of Maturity: The peppercorns grow in small clusters. Harvest them when they turn red or yellow.
- Processing:
- Black Pepper: Boil the harvested peppercorns briefly, then dry them in the sun.
- White Pepper: Soak the peppercorns to remove the outer skin before drying.
- Green Pepper: Use fresh or freeze for later.
Common Challenges and Solutions
1. Pests and Diseases
- Aphids and Mites: Spray neem oil or insecticidal soap to manage infestations.
- Fungal Issues: Ensure proper airflow and avoid overwatering to prevent root rot and mildew.
2. Slow Growth
- Black pepper plants are slow growers, especially in cooler climates. Be patient and provide optimal conditions.
3. Nutrient Deficiency
- Yellowing leaves may indicate a lack of nutrients. Supplement with fertilizers or compost.
Creative Uses for Homegrown Black Pepper
- Culinary Delight: Freshly ground black pepper elevates the flavor of any dish.
- Home Remedies: Use it for colds, digestion, and skin health.
- DIY Gifts: Share your homegrown spice with friends in decorative jars.
Conclusion
Growing black pepper at home may take time and effort, but the rewards are worth it. With a steady supply of fresh, aromatic peppercorns, you’ll elevate your cooking and connect with the age-old tradition of spice cultivation.
💬 Are you excited to grow black pepper? Share your gardening journey below!
🌱 #GrowBlackPepper #SpiceGarden #HomeGardening #GardeningTips #OrganicGardening

