
Alliums, known for their stunning, globe-like clusters of flowers, are a favorite among gardeners looking to add vibrant color and texture to their landscapes. These plants, which belong to the onion family, are some of the easiest to grow and offer impressive blooms with very little effort. Whether you’re an experienced gardener or just starting, alliums are a perfect addition to any garden. With the right care, these plants will flourish and return year after year, rewarding you with breathtaking flowers each spring.
In this guide, we’ll explore how to grow alliums successfully, from choosing the right variety to caring for them throughout the year. By the end of this article, you’ll have all the tools and knowledge you need to grow a beautiful allium garden with minimal maintenance.
1. Why Alliums Are Perfect for Your Garden
Before diving into the growing process, let’s first discuss why alliums are such a great addition to any garden. Alliums are not only known for their beauty but also for their low-maintenance nature. These plants are resilient and can thrive in a variety of conditions, making them ideal for beginner gardeners.
Some key benefits of growing alliums include:
- Minimal Maintenance: Alliums are low-maintenance, making them perfect for busy gardeners or those who are just starting out.
- Perennial Blooms: Once planted, alliums can return for many years, blooming every spring with minimal intervention.
- Diverse Varieties: Alliums come in various shapes and sizes, from the giant Allium giganteum to the smaller, more delicate Allium sphaerocephalon, giving you plenty of options to suit your garden’s style.
- Attractive to Pollinators: Allium flowers attract bees and butterflies, helping to promote biodiversity in your garden.
- Long-lasting Cut Flowers: Alliums make excellent cut flowers that can last for weeks in a vase, adding a touch of elegance to your home.
2. Choosing the Right Allium Variety for Your Garden
There are over 700 species of alliums, and choosing the right variety depends on your garden’s needs and your personal aesthetic preferences. Some allium varieties are smaller and suited for borders, while others are much larger and make stunning focal points in a garden. Here are a few popular varieties to consider:
- Allium giganteum: Known for its large, globe-shaped blooms that can reach up to 6 inches in diameter. These alliums grow tall, up to 4 feet, and make a dramatic statement in the garden.
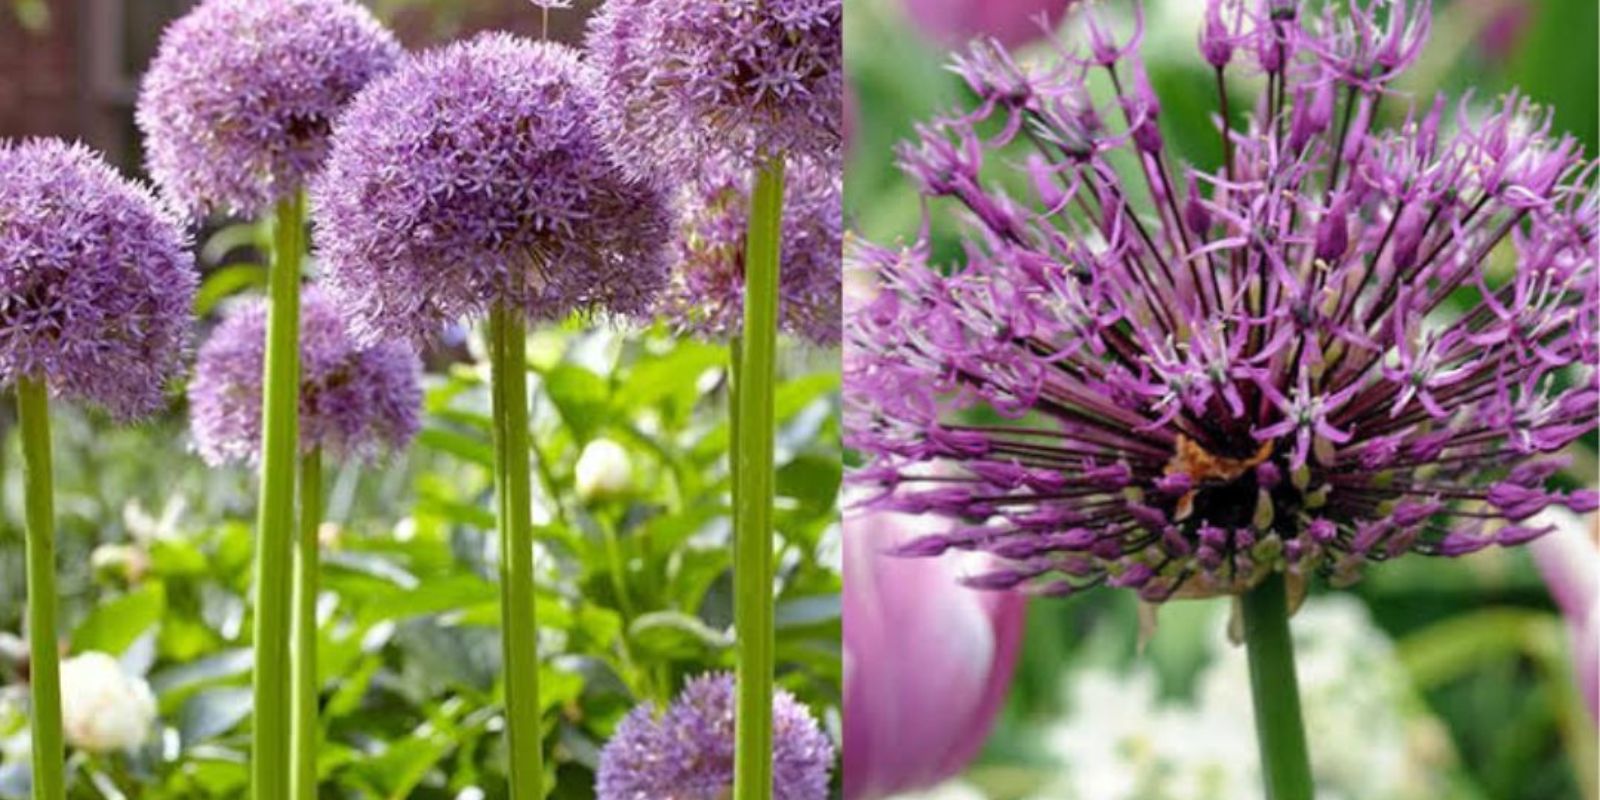
- Allium ‘Purple Sensation’: This variety is a favorite for its vibrant, purple globes that sit atop tall, sturdy stems. It’s perfect for adding a pop of color to any garden.
- Allium sphaerocephalon: Also called the drumstick allium, this variety has smaller, more delicate flower heads. The flowers start off purple and turn to a reddish-brown color as they mature.
- Allium ‘Globemaster’: Known for its giant blooms, ‘Globemaster’ can produce flower heads up to 10 inches in diameter, making it a favorite for creating bold, eye-catching displays.
- Allium hollandicum: A smaller allium variety that grows well in borders and containers, this variety produces smaller purple flowers that are ideal for more compact garden spaces.
When selecting your alliums, consider the space you have available, the color scheme you’re aiming for, and how much impact you want your plants to have.
3. Planting Alliums
One of the reasons alliums are so easy to grow is that their planting process is simple and straightforward. To get started, you’ll need to plant your allium bulbs in the fall. Here’s a step-by-step guide on how to plant alliums:
Step 1: Choose the Right Location
Alliums thrive in full sun, so choose a spot in your garden that receives at least 6 hours of direct sunlight each day. They also prefer well-drained soil, so make sure the area has good drainage to avoid waterlogged roots.
Step 2: Prepare the Soil
Before planting, loosen the soil to a depth of about 6 to 8 inches. You can add some compost or organic matter to enrich the soil and improve drainage, as alliums don’t like wet, heavy soils.
Step 3: Plant the Bulbs
Plant the allium bulbs 4 to 6 inches deep, with the pointed end facing up. Space the bulbs about 4 to 6 inches apart to give them room to grow. If you’re planting larger varieties like Allium giganteum, space the bulbs farther apart to accommodate their size.
Step 4: Water After Planting
Water the bulbs thoroughly after planting to help settle them into the soil. However, avoid overwatering, as this can cause the bulbs to rot.
Step 5: Mulch (Optional)
You can apply a layer of mulch over the planting area to help retain moisture and suppress weeds. Mulch also helps insulate the bulbs during the winter months.
4. Caring for Alliums
Once planted, alliums require very little care, making them ideal for gardeners who want beautiful blooms without a lot of maintenance. Here are a few simple steps to ensure your alliums thrive:
Watering
Alliums are fairly drought-tolerant once established, but they will benefit from occasional watering during dry spells. Be careful not to overwater, as alliums don’t like wet feet. If you live in a particularly rainy area, make sure the soil drains well to avoid waterlogging.
Fertilizing
Alliums don’t require a lot of fertilization, but a light feeding in early spring can encourage better blooms. Use a balanced, slow-release fertilizer or compost to provide essential nutrients.
Staking (If Necessary)
Some taller allium varieties may need staking to prevent the stems from falling over, especially if you live in an area with strong winds. Use garden stakes or bamboo poles to support the plants.
Deadheading
To keep your alliums looking neat, remove spent flower heads once they’ve faded. This helps prevent the plant from using energy to produce seeds, allowing it to focus on healthy growth.
Cutting Back After Blooming
Once your allium flowers have finished blooming, you can cut back the stems to about 6 inches above the ground. This will help the plant conserve energy for next year’s growth. Leave the foliage in place until it naturally dies back, as it provides energy to the bulb for the following season.
5. Overwintering Alliums
Alliums are hardy plants that can survive the winter in most climates. In colder areas, you may want to apply a layer of mulch to protect the bulbs from extreme temperatures. However, if you live in an area with mild winters, alliums will overwinter without any special care.
6. Dividing Alliums
Alliums are relatively low-maintenance, but they can become overcrowded over time. If you notice that your allium bulbs aren’t blooming as profusely or are crowding each other, it’s time to divide them. The best time to divide alliums is in the fall, just after they’ve finished flowering. Dig up the bulbs, separate them carefully, and replant them in a new location with fresh soil.
7. Common Allium Pests and Problems
While alliums are generally pest-resistant, they can sometimes be affected by a few common garden pests:
- Aphids: These small insects can sometimes infest alliums. You can remove them by spraying a solution of water and dish soap or using an insecticidal soap.
- Thrips: Thrips can cause damage to allium flowers. If you notice discolored or damaged petals, treat the plant with a pesticide or insecticidal soap.
- Fungal Diseases: Alliums are susceptible to fungal diseases like rust or downy mildew. Make sure to plant them in well-drained soil and avoid overhead watering to reduce the risk of fungal issues.
Conclusion
Alliums are a fantastic choice for gardeners looking for beautiful, low-maintenance blooms. With a bit of planning and care, you can enjoy these stunning flowers year after year, adding vibrant color and texture to your garden. Whether you choose large, dramatic alliums or smaller, delicate varieties, these plants will thrive with minimal effort and reward you with breathtaking flowers each spring.
So why not give alliums a try in your garden? With their easy care and stunning appearance, they’re sure to become a favorite in your landscape. Happy gardening!