
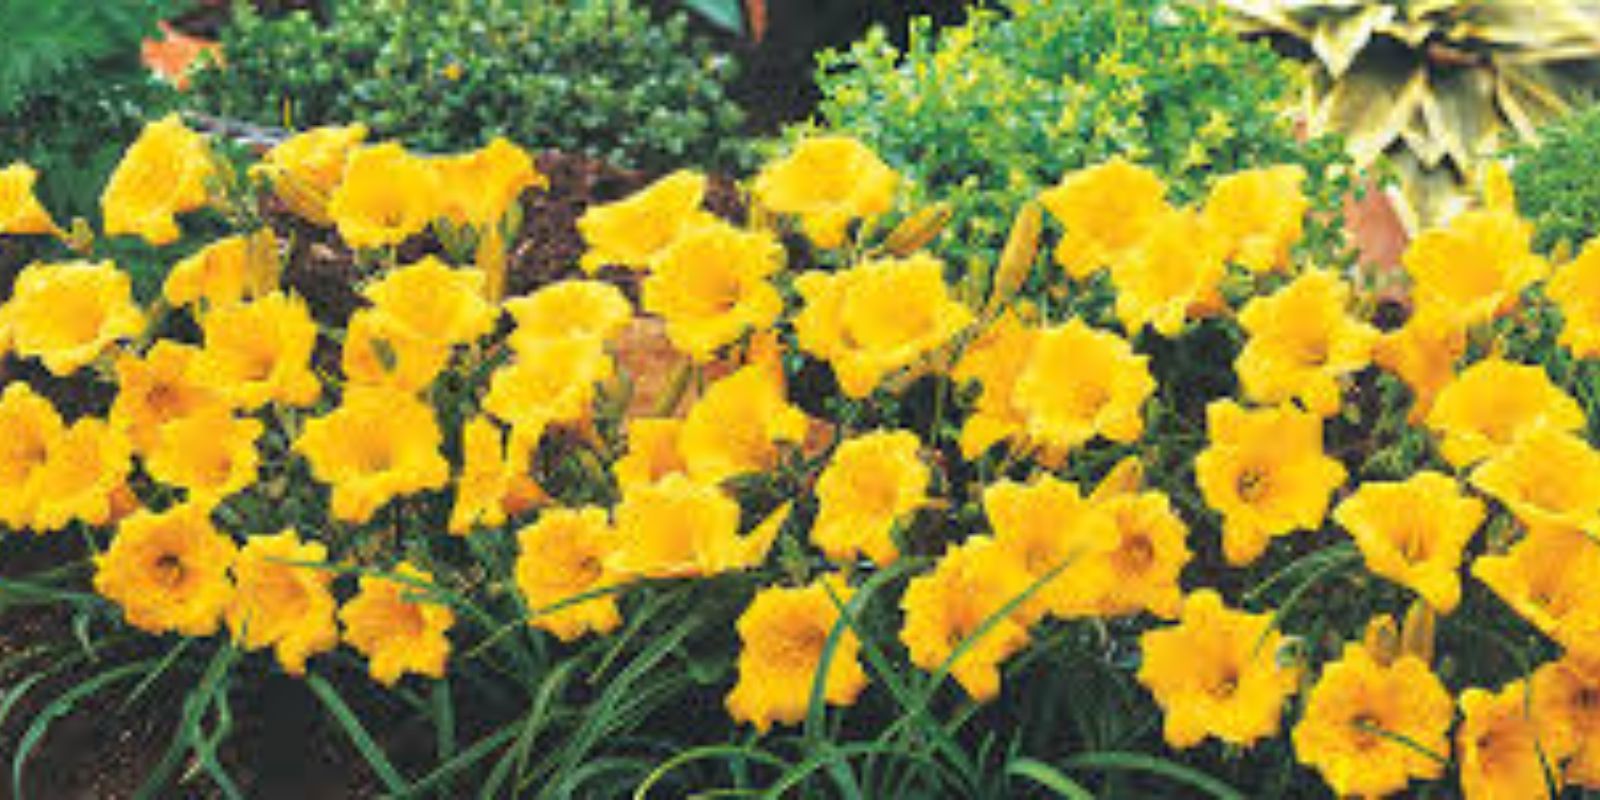
Daylilies (Hemerocallis) are a beloved addition to many gardens due to their vibrant, colorful blooms and low-maintenance care. Over time, these hardy perennials can become overcrowded, leading to decreased flowering and overall plant health. Dividing daylilies is essential not only for keeping your plants healthy but also for spreading their beauty throughout your garden. This guide will cover everything you need to know about dividing daylilies, including when to divide, the proper techniques, and expert tips for ensuring your plants thrive post-division.
Why Divide Daylilies?
Dividing daylilies every 3–5 years offers numerous benefits:
- Improved Health: Overcrowded daylilies compete for nutrients, water, and sunlight, which can weaken their growth. Dividing them ensures that each plant has enough space to flourish.
- Enhanced Blooms: By dividing daylilies, you can rejuvenate plants and encourage more vibrant, larger, and abundant blooms.
- Preventing Overgrowth: Left unchecked, daylilies can spread rapidly and choke out nearby plants. Regular division keeps them contained and controlled.
- Garden Expansion: Dividing daylilies gives you free plants to replant elsewhere in your garden or share with friends and family.
When to Divide Daylilies
Timing is crucial when dividing daylilies to ensure that the plants recover quickly and continue to thrive. The best time to divide daylilies depends on your climate and the health of your plants. Below are the two ideal periods:
1. Early Spring (Before New Growth)
In colder climates, early spring is the most favorable time to divide daylilies. By dividing just before new growth starts, you allow the plants to establish themselves before the summer bloom. The roots have enough time to settle into the soil, and the plants will recover faster.
2. Late Summer to Early Fall (After Blooming)
In warmer regions or if spring is too hectic, late summer or early fall is another excellent time for division. Daylilies have finished blooming by this point, and the cooler temperatures reduce stress on the plants. Dividing in the fall gives the plants enough time to root before the first frost.
Tip: Avoid dividing daylilies during the heat of summer or winter when the ground is frozen. Extreme temperatures can stress or damage the plants.
Tools You’ll Need for Dividing Daylilies
Before you start dividing your daylilies, gather the following tools:
- Garden Fork or Spade: For digging up the clumps of daylilies without damaging the roots.
- Sharp Knife or Pruning Shears: To cut through tough root masses cleanly.
- Bucket of Water: To keep roots moist while you work.
- Mulch and Compost: For enriching the soil and helping plants recover after division.
- Gloves: To protect your hands from soil and sharp tools.
How to Divide Daylilies: Step-by-Step Process
Now that you understand the best time to divide and have your tools ready, let’s dive into the step-by-step guide on how to divide daylilies.
1. Choose the Right Time
As mentioned earlier, choose early spring or late summer/early fall for dividing your daylilies. Ensure the weather is mild, and the ground is workable.
2. Dig Up the Clump
Using a garden fork or spade, gently dig around the base of the daylily clump. Be careful not to damage the roots while lifting the clump from the soil. It’s helpful to dig 6–8 inches away from the center of the plant to avoid cutting into the roots.
Once you’ve loosened the soil, lift the clump out of the ground. If the clump is large or heavy, you may need to divide it into sections while it’s still in the ground for easier handling.
3. Shake Off Excess Soil
Gently shake or rinse off the excess soil from the root ball to expose the roots. This will make it easier to see the natural divisions within the clump.
4. Divide the Clump
Inspect the clump for natural separations. Daylily roots typically form clusters, with each cluster containing its own crown (the area where the leaves meet the roots). Aim to divide the clump so that each new section has at least 2–3 fans of leaves and a healthy portion of roots attached.
Use a sharp knife or pruning shears to separate the clump into individual sections. If the roots are tough and tangled, you may need to use your hands to gently pull them apart.
5. Trim the Foliage
Cut back the foliage to about 6–8 inches in height. This reduces stress on the plants and encourages new root growth after division. By trimming the leaves, you allow the plant to focus on re-establishing itself in its new location.
6. Replant the Divisions
Once you’ve divided your daylilies, it’s time to replant them. Choose a location with well-draining soil and plenty of sunlight (daylilies thrive in full sun). Dig a hole large enough to accommodate the roots, ensuring the crown sits just below the soil surface.
Add a handful of compost or organic matter to the hole to give your plants a nutrient boost. Place the daylily division in the hole and cover the roots with soil, gently pressing down to remove any air pockets.
7. Water Thoroughly
After replanting, water the divisions deeply to help settle the soil around the roots. Keep the soil consistently moist for the first few weeks to encourage new root growth. Be careful not to overwater, as daylilies do not like soggy soil.
8. Mulch and Monitor
Apply a layer of mulch around the base of the plants to retain moisture and regulate soil temperature. Monitor the new divisions closely over the next few weeks, making sure they receive adequate water and aren’t stressed by weather conditions.
Tips for Thriving Daylilies Post-Division
Successfully dividing daylilies is just the beginning. Here are some expert tips for ensuring your newly divided plants thrive:
1. Choose the Right Location
Daylilies love sunlight and well-draining soil. When replanting, ensure that the location receives at least 6 hours of direct sunlight each day. Avoid planting in areas with poor drainage, as this can lead to root rot.
2. Fertilize Sparingly
Daylilies are not heavy feeders, but adding a balanced, slow-release fertilizer in spring can give them a boost. Avoid over-fertilizing, as this can lead to excessive foliage growth at the expense of flowers.
3. Deadhead Regularly
To encourage more blooms, deadhead your daylilies regularly by removing spent flowers. This prevents the plant from putting energy into seed production and directs it toward producing more flowers.
4. Control Pests and Diseases
While daylilies are generally low-maintenance, they can occasionally be affected by pests such as aphids or diseases like leaf streak. Keep an eye on your plants and address any issues promptly with organic pest control methods or appropriate treatments.
5. Water Wisely
Daylilies prefer consistent moisture but don’t like to sit in waterlogged soil. Water deeply once a week, especially during dry periods. Mulching helps retain moisture and prevent weeds from competing with your daylilies.
6. Keep an Eye on Crowding
Daylilies will eventually grow and spread again. Monitor their growth every few years and plan to divide them when they start to crowd one another.
Common Mistakes to Avoid
When dividing daylilies, gardeners sometimes make mistakes that can stress or harm the plants. Here are a few common pitfalls to watch out for:
- Dividing Too Early or Late: Dividing daylilies during extreme heat or cold can shock the plants, leading to poor recovery. Stick to spring or fall for the best results.
- Damaging Roots: Dig carefully around the clumps to avoid damaging the roots. Severely injured roots can slow down recovery and affect future growth.
- Overwatering After Division: While it’s important to keep the soil moist after dividing, be careful not to water too much. Waterlogged soil can cause root rot, especially in newly divided plants.
Conclusion
Dividing daylilies is a rewarding process that keeps your plants healthy, boosts flowering, and allows you to expand your garden. By following the proper timing, techniques, and care tips, your daylilies will not only survive but thrive after division. With just a little effort, you can ensure that your daylilies remain a stunning and vibrant feature in your garden for years to come.
Happy gardening!