
Anthuriums, often referred to as the “flamingo flower” or “laceleaf,” are admired for their glossy, heart-shaped leaves and vibrant, long-lasting flowers that can bring a tropical flair to any home or garden. With their stunning red, pink, white, or even green blooms, Anthuriums are a popular choice for plant enthusiasts who want to add a touch of elegance to their indoor or outdoor spaces. However, many plant lovers struggle to get their Anthuriums to bloom consistently and beautifully. The good news is that with the right care and attention, you can make your Anthurium flower like never before, and the blooms will last for years.
In this article, we will delve into the essential steps and secrets to ensuring your Anthurium remains healthy, vibrant, and consistently blooming. From understanding the plant’s light and water requirements to mastering the art of fertilization and repotting, you’ll learn everything you need to turn your Anthurium into a stunning, flowering masterpiece.
Introduction: The Allure of Anthuriums
Anthuriums are native to the tropical regions of Central and South America, where they thrive in warm, humid environments under the canopy of rainforests. This background gives us important clues about what they need to flourish in our homes. Known for their striking appearance, Anthuriums are a symbol of hospitality and good luck. Their waxy, brightly colored spathes (which are often mistaken for flowers but are actually modified leaves) and the spiky, central spadix make them stand out among other houseplants.
The real flower of the Anthurium is the tiny blooms that line the spadix. These plants can bloom year-round if provided with the right conditions, making them a rewarding choice for anyone looking to add some color and life to their space.
1. Understanding the Light Needs of Your Anthurium
1.1. Bright, Indirect Light: The Key to Blooming
One of the most critical factors in getting your Anthurium to bloom is providing the right amount of light. Anthuriums require bright, indirect light to produce those vibrant spathes and healthy leaves. Too little light, and your plant may become leggy and fail to bloom; too much direct sunlight, and the leaves can scorch, leading to brown, unsightly patches.
- Ideal Placement: Place your Anthurium near a north or east-facing window where it can receive plenty of light without being exposed to harsh direct sunlight. If you notice your plant isn’t blooming, try moving it to a brighter spot, but be careful not to expose it to direct rays for extended periods.
- Artificial Lighting: If natural light is insufficient, especially during the winter months, consider using fluorescent or grow lights to supplement. Ensure the light is bright but diffused to mimic natural conditions.
1.2. Signs of Light Deficiency or Excess
- Too Little Light: If the leaves are dark green and the plant isn’t blooming, it might need more light.
- Too Much Light: If the leaves are turning yellow or have brown tips, the plant is likely receiving too much direct sunlight.
2. Watering: The Balance Between Moisture and Drainage
2.1. Consistent Moisture with Good Drainage
Anthuriums love moisture, but they detest being waterlogged. The key is to keep the soil slightly moist without letting it become soggy. This balance is crucial for promoting healthy roots and vibrant blooms.
- Watering Routine: Water your Anthurium when the top inch of the soil feels dry to the touch. During the growing season (spring and summer), you may need to water more frequently, while in the fall and winter, reduce watering as the plant’s growth slows down.
- Drainage: Always ensure that the pot has good drainage to prevent water from accumulating at the bottom, which can lead to root rot. If your Anthurium is in a decorative pot without drainage, consider repotting it into a container with drainage holes or use a liner pot inside the decorative container.
2.2. Water Quality Matters
Anthuriums are sensitive to the quality of the water used. If your tap water is high in salts or chemicals like chlorine, it can harm the plant over time.
- Best Practices: Use distilled water, rainwater, or filtered water to keep your Anthurium healthy. If you must use tap water, let it sit out overnight to allow the chlorine to dissipate before watering.
3. Humidity: Emulating a Tropical Environment
3.1. Why Humidity is Essential
Given their tropical origins, Anthuriums thrive in environments with high humidity. Low humidity levels can lead to dry, brown leaf tips and reduced blooming.
- Ideal Humidity Levels: Aim for a humidity level of 60-80%. If your home is dry, especially in winter, you’ll need to take steps to increase the humidity around your plant.
- Simple Humidity Boosters: You can place a humidifier near your Anthurium, group it with other plants (which increases ambient humidity), or set the pot on a tray filled with pebbles and water (making sure the pot itself isn’t sitting directly in the water).
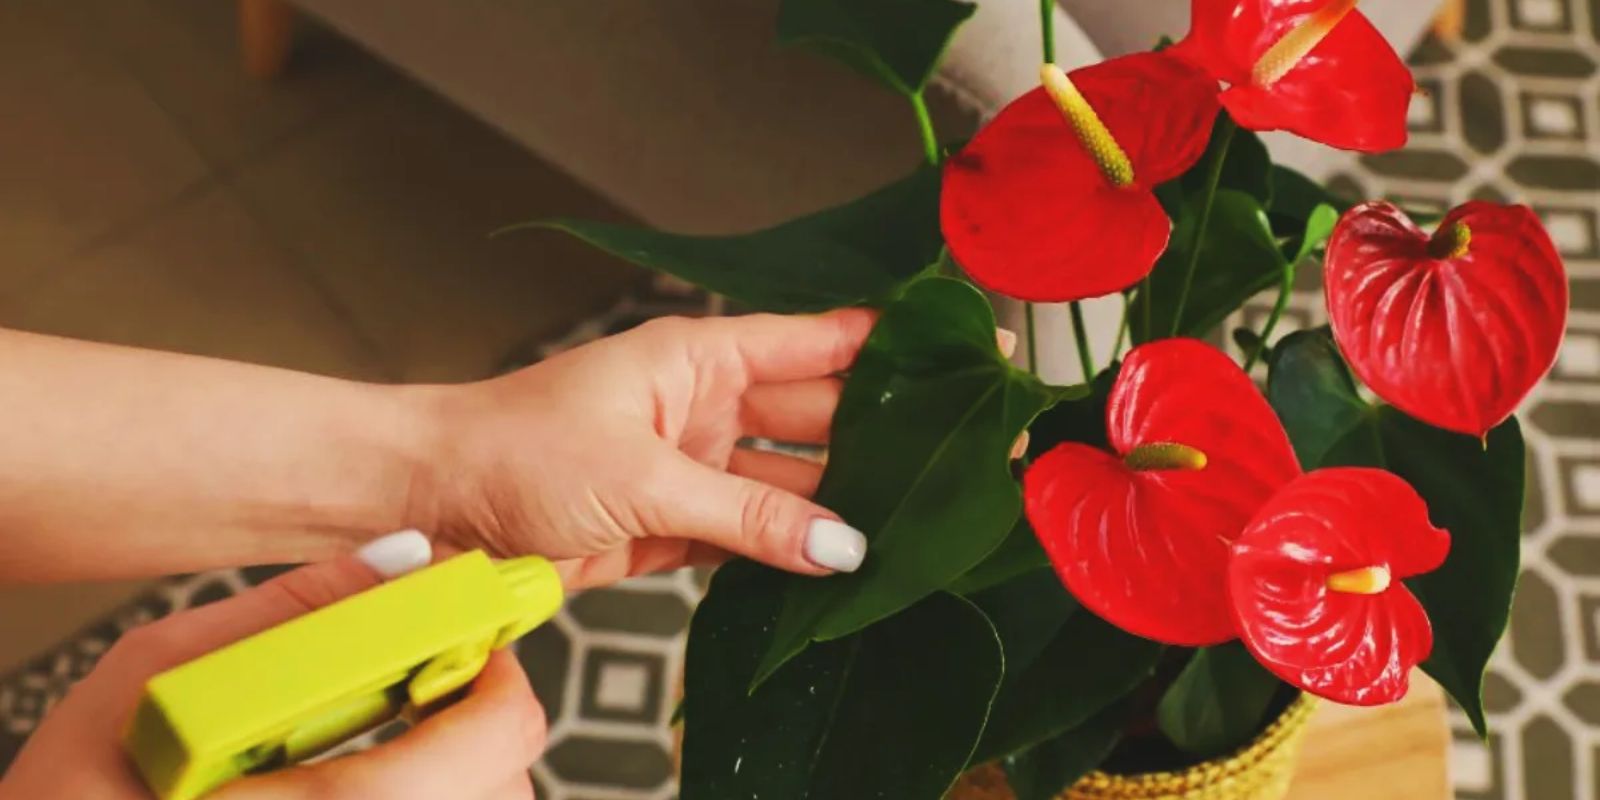
3.2. Misting: A Quick Fix
Regularly misting the leaves with room-temperature water can also help increase humidity. However, be cautious not to overdo it, as too much misting can lead to fungal issues if the leaves remain wet for extended periods.
4. Fertilization: Feeding for Vigorous Growth and Blooming
4.1. Choosing the Right Fertilizer
To encourage your Anthurium to produce its stunning blooms, regular feeding is essential. A balanced, water-soluble fertilizer with an equal ratio of nitrogen (N), phosphorus (P), and potassium (K) is ideal.
- Feeding Schedule: Fertilize your Anthurium every 6-8 weeks during the growing season (spring and summer). In the fall and winter, when the plant’s growth naturally slows down, reduce feeding to once every 10-12 weeks.
- Application: Dilute the fertilizer to half the recommended strength to avoid over-fertilizing, which can cause salt build-up in the soil and damage the plant.
4.2. Organic Fertilizer Options
For those who prefer organic gardening, you can use compost tea or a diluted fish emulsion as an alternative to synthetic fertilizers. These options provide a gentle nutrient boost and improve soil health over time.
5. Repotting: Refreshing the Soil and Encouraging Growth
5.1. When and Why to Repot
Anthuriums benefit from being repotted every 2-3 years, or when they become root-bound. Repotting not only gives the roots more room to grow but also refreshes the soil, providing the plant with fresh nutrients.
- Signs It’s Time to Repot: If you notice roots growing out of the drainage holes, or if the plant seems to be struggling despite proper care, it may be time to repot.
- Best Time to Repot: The ideal time to repot your Anthurium is in the spring or early summer when the plant is actively growing.
5.2. Choosing the Right Soil Mix
When repotting, use a well-draining, peat-based potting mix, ideally one designed for orchids or aroids. You can also create your mix by combining equal parts of peat moss, pine bark, and perlite. This mix provides the right balance of moisture retention and aeration for the roots.
5.3. How to Repot
- Step 1: Gently remove the plant from its current pot, being careful not to damage the roots.
- Step 2: Place the plant in a slightly larger pot with fresh potting mix.
- Step 3: Water lightly after repotting and place the plant in a shaded area for a few days to allow it to recover.
6. Longevity: How to Keep Your Anthurium Blooming for Years
6.1. Regular Pruning
To keep your Anthurium looking its best and encourage continuous blooming, regular pruning is essential. Remove any dead or yellowing leaves and spent flowers. This not only improves the plant’s appearance but also redirects its energy toward new growth and blooms.
6.2. Monitoring for Pests and Diseases
Anthuriums are relatively pest-resistant, but they can occasionally be affected by pests like aphids, mealybugs, and spider mites. Regularly inspect your plant, and if you notice any signs of pests, treat the plant promptly with insecticidal soap or neem oil.
- Preventing Diseases: Ensure good air circulation around the plant to prevent fungal infections, and avoid overwatering, which can lead to root rot.
7. Propagation: Expanding Your Anthurium Collection
7.1. Propagation by Division
Anthuriums can be propagated by dividing the plant during repotting. This is a simple and effective way to create new plants from your existing one.
- Step 1: Carefully separate the roots into smaller sections, each with a few leaves and roots attached.
- Step 2: Plant each division in its pot with fresh soil and water lightly.
- Step 3: Keep the new plants in a shaded area until they establish themselves.
Conclusion: The Joy of Growing Anthuriums
With their vibrant, long-lasting blooms and lush, tropical foliage, Anthuriums are a true delight for any gardener or plant enthusiast. By understanding their specific needs for light, water, humidity, and nutrients, you can ensure that your Anthurium not only thrives but also blooms prof