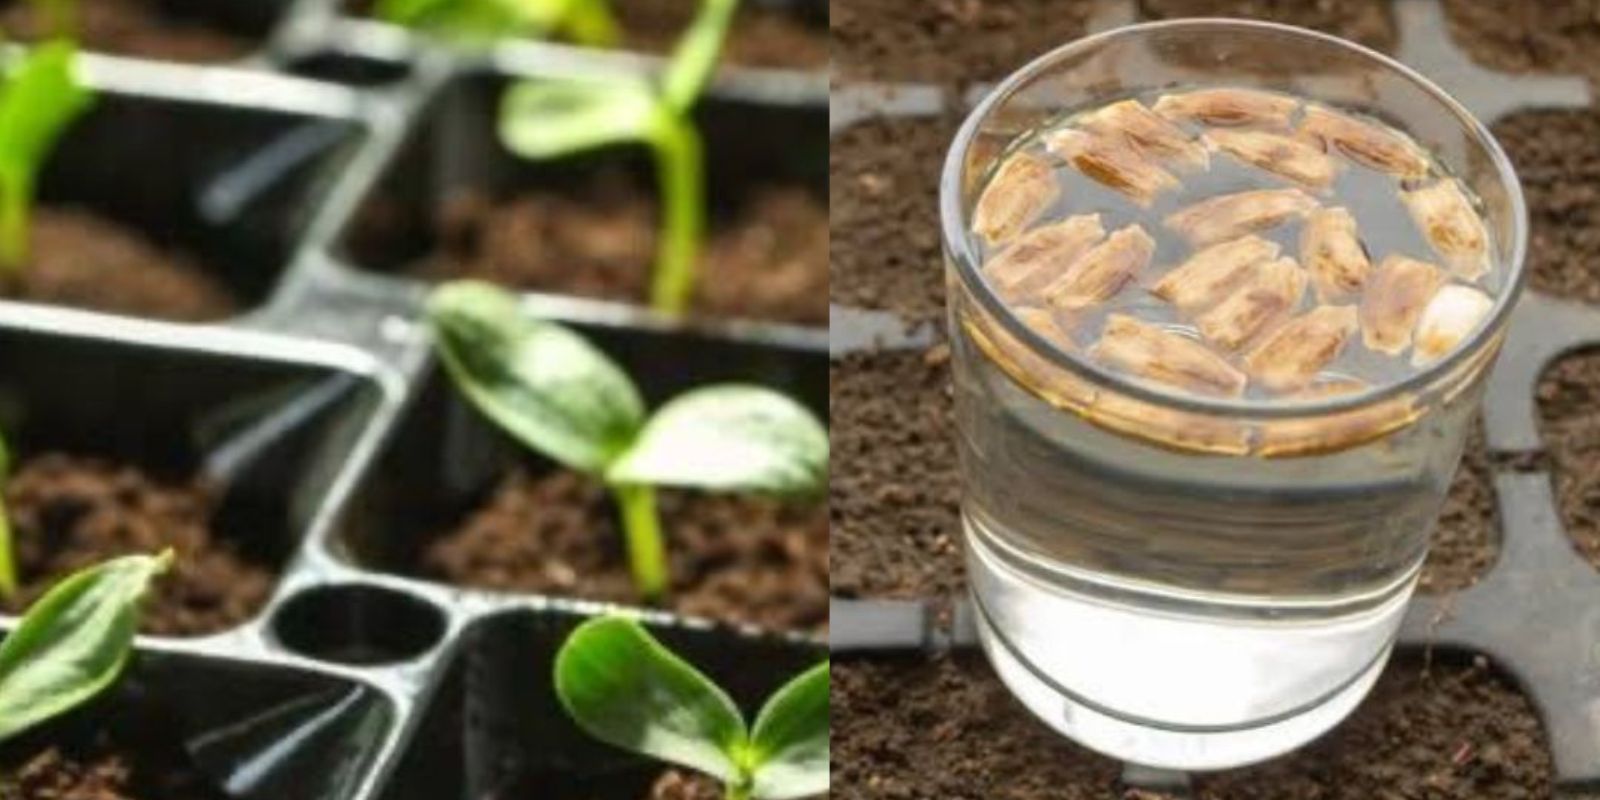
Seed germination is the first and most critical step in growing healthy plants, yet many gardeners overlook a simple technique that can dramatically improve results—soaking seeds before planting. This method, rooted in natural processes, has been a game-changer for countless gardening enthusiasts. In this comprehensive guide, we’ll explore why soaking seeds works, how to do it properly, and the benefits it brings to your garden. By the end, you’ll understand why this simple step can lead to stronger, healthier plants and a more productive garden.
Why Soak Seeds Before Planting?
Seeds have evolved to survive in challenging environments, often requiring specific conditions to break dormancy. Their hard outer shells protect them from predators and harsh weather, but these same coatings can delay or inhibit germination. Soaking seeds mimics natural conditions like prolonged rain, softening the seed coat and allowing moisture to penetrate. Here’s why this process is beneficial:
- Accelerates Germination: Soaking speeds up water absorption, activating enzymes that initiate the sprouting process.
- Improves Germination Rates: Seeds are more likely to germinate successfully when their protective layers are softened.
- Removes Dormancy Triggers: For some seeds, soaking helps wash away chemicals that inhibit germination.
- Mimics Nature: In the wild, seeds experience soaking through rain and dew. This process replicates that natural trigger.
Seeds That Benefit from Soaking
While not all seeds need to be soaked, certain types respond particularly well to this treatment. Generally, seeds with thick or hard coatings are excellent candidates. Examples include:
- Legumes: Beans, peas, lentils, and chickpeas.
- Cucurbits: Squash, pumpkins, cucumbers, and melons.
- Corn: Sweet corn and popcorn varieties.
- Root Vegetables: Beets and radishes.
- Large Flower Seeds: Sunflowers and nasturtiums.
Tiny or delicate seeds, such as lettuce or carrots, do not benefit from soaking and may become too waterlogged to plant.
Step-by-Step Guide to Soaking Seeds
Follow these simple steps to prepare your seeds for planting:
1. Select Your Seeds
Choose seeds that are suitable for soaking, typically those with hard coats or large sizes. Check the seed packet or research specific instructions for your chosen variety.
2. Use Warm Water
Fill a container with lukewarm water, as it helps soften the seed coat faster than cold water. The water should be warm to the touch but not scalding.
3. Soak the Seeds
Place the seeds in the water, ensuring they are fully submerged. Let them soak for 8-24 hours, depending on the type of seed. Larger seeds may require a full day, while smaller ones may only need a few hours.
4. Monitor the Soaking
Check the seeds periodically. You’ll notice some seeds swell as they absorb water, a clear sign that they’re ready to germinate.
5. Avoid Over-Soaking
Do not soak seeds for more than 48 hours, as prolonged exposure can cause them to rot or become waterlogged.
6. Drain and Plant
Once the soaking period is complete, drain the seeds and plant them immediately in moist soil. This ensures they stay hydrated and continue the germination process.
Tips for Successful Seed Soaking
- Add a Boost: Mix a small amount of compost tea, seaweed extract, or liquid fertilizer into the soaking water to provide extra nutrients.
- Label Your Seeds: If soaking multiple types of seeds, label containers to avoid confusion.
- Use Clean Water: Always use fresh, clean water to prevent contamination or mold.
- Experiment and Record: Try soaking some seeds while planting others dry to compare results.
The Benefits of Soaking Seeds
Soaking seeds offers numerous advantages beyond faster germination. Here are some key benefits:
1. Higher Germination Rates
Seeds that might otherwise struggle to sprout, such as older seeds or those with particularly tough coats, have a better chance of germinating when soaked.
2. Stronger Seedlings
By softening the seed coat, soaking allows seedlings to emerge more easily, resulting in healthier and more robust plants.
3. Uniform Growth
Soaking helps synchronize germination, leading to more even growth across your garden or planting trays.
4. Saves Time
By kickstarting germination, soaking reduces the time seeds spend in the soil, making it easier to manage planting schedules.
When Not to Soak Seeds
While soaking can be highly beneficial, it’s not suitable for every seed or planting scenario. Avoid soaking in these cases:
- Tiny Seeds: Small seeds like lettuce and carrots are better sown directly into the soil.
- Pre-Treated Seeds: Seeds coated with fungicides or other treatments should not be soaked.
- Dry Environments: In arid climates, soaked seeds may dry out too quickly if not planted immediately.
Common Mistakes to Avoid
- Over-Soaking: Leaving seeds in water for too long can cause them to rot.
- Planting Too Late: Soaked seeds need to be planted quickly to maintain moisture levels.
- Skipping Research: Always check specific instructions for your seed type to ensure soaking is appropriate.
Conclusion
Soaking seeds before planting is a simple, cost-effective technique that can dramatically improve your gardening success. By softening the seed coat, speeding up germination, and enhancing seedling vigor, soaking helps you get the most out of your seeds. Whether you’re growing vegetables, flowers, or herbs, this method is a valuable addition to your gardening toolkit.
Engage With Us!
Have you tried soaking seeds before planting? What results did you see? Share your experiences and tips in the comments below! Let’s grow together.
Viral Gardening Hashtags:
🌱 #SeedSoakingTips #GardeningHacks #GrowYourOwn #OrganicGardening #HomeGarden #SeedStartingMadeEasy #GardeningSecrets

