
Orchids are widely regarded as one of the most beautiful and delicate flowers in the plant world. Their vibrant colors, intricate petals, and long-lasting blooms make them a coveted addition to any garden or home. However, many gardeners find growing orchids a bit intimidating due to their reputation for being high-maintenance. The truth is, with the right care and attention, orchids can grow fast and strong, producing stunning flowers season after season.
In this article, we’ll uncover the secret to growing orchids quickly and healthily, providing expert tips that will help you cultivate orchids like a pro. Whether you’re a beginner or have experience with these unique plants, these strategies will ensure your orchids thrive and bloom beautifully.
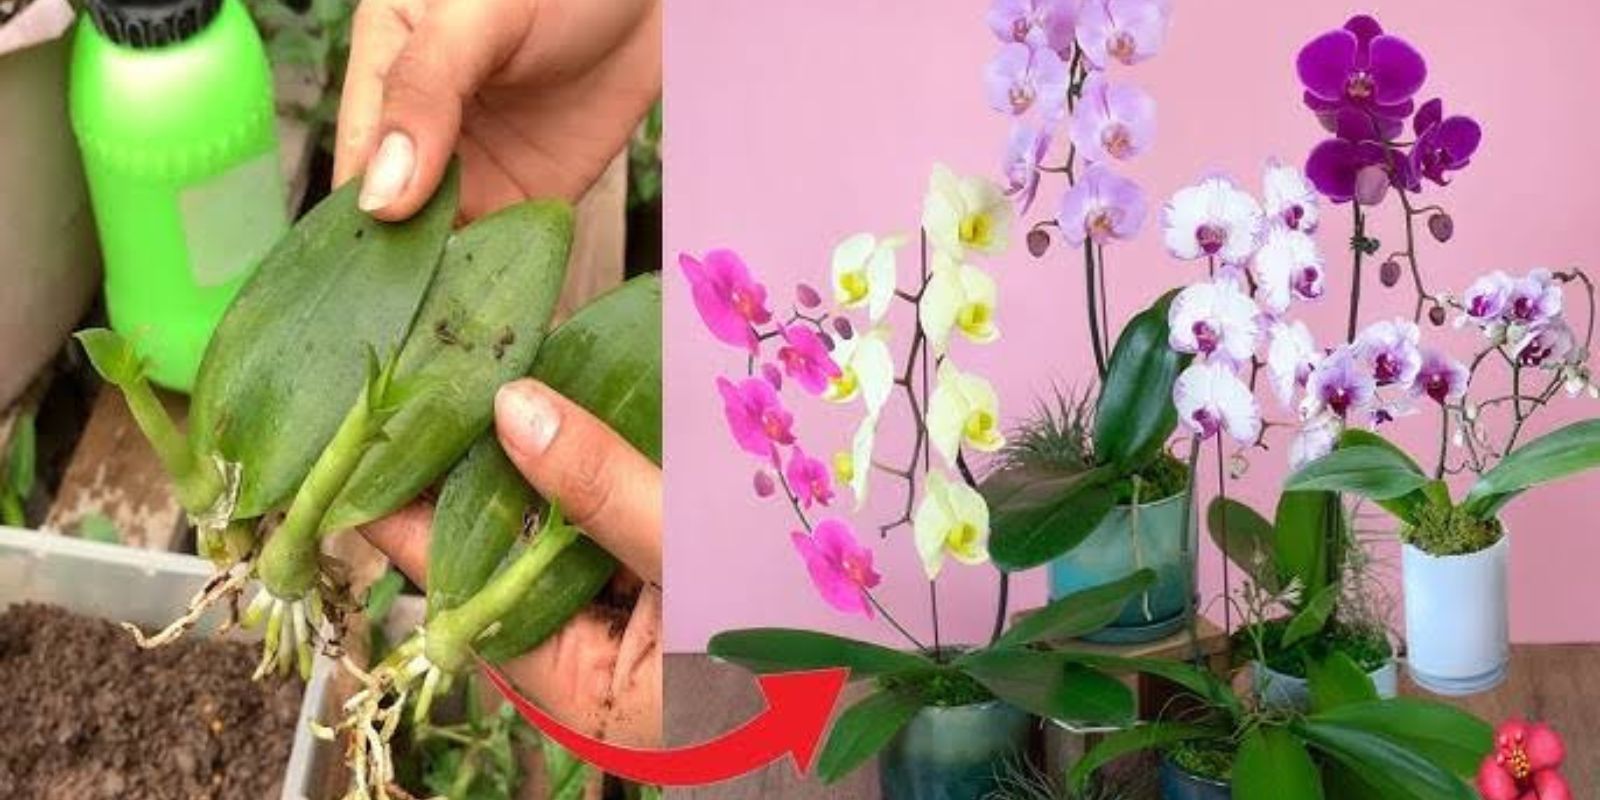
1. Choosing the Right Orchid for Your Environment
Before diving into care tips, it’s essential to choose the right type of orchid for your specific environment. While orchids come in many different varieties, the most common and easiest to care for are the Phalaenopsis (moth orchid), Cattleya, and Dendrobium. Phalaenopsis orchids are especially beginner-friendly, as they are more forgiving in terms of light and watering requirements.
When selecting your orchid, be sure to consider the following:
- Light Requirements: Some orchids, like the Cattleya, need bright, direct sunlight, while others, like the Phalaenopsis, thrive in lower light conditions.
- Temperature: Orchids generally prefer warm temperatures (65°F to 75°F during the day and 55°F to 65°F at night). However, some varieties, like the Cymbidium, can tolerate cooler temperatures.
- Humidity: Orchids love humidity levels of 40-70%. If you live in a dry climate, consider investing in a humidifier or misting your plants regularly.
2. Choosing the Right Pot and Soil
Orchids have unique root systems that require specific care. Unlike many plants, they don’t thrive in typical potting soil. Instead, they need a special orchid potting mix that ensures good drainage and air circulation to the roots. This is vital for healthy root growth and to prevent waterlogging, which can lead to root rot.
When choosing a pot, consider the following factors:
- Drainage: Orchids must be potted in containers with adequate drainage holes. Without proper drainage, water can accumulate at the bottom of the pot, leading to root rot.
- Size: Select a pot that is just slightly larger than the orchid’s root ball. Orchids prefer to be a bit root-bound, so don’t go too large—this can lead to overwatering issues.
- Materials: Terracotta or plastic pots are ideal, but clear plastic pots are a great option as they allow you to monitor the health of the roots. The roots of orchids also enjoy exposure to light, which promotes photosynthesis.
The potting mix should contain materials like bark, perlite, or sphagnum moss that allow air to reach the roots while still holding enough moisture for the plant. Avoid using regular potting soil, as it retains too much moisture and can suffocate the roots.
3. Perfecting Your Orchid’s Watering Routine
One of the most common mistakes orchid owners make is overwatering or underwatering their plants. Orchids are sensitive to water, so it’s essential to understand their needs.
- How to Water: Water your orchid when the top of the soil feels dry. The best method is to water the orchid thoroughly, letting the water run out of the drainage holes, and then allowing the pot to drain completely.
- Frequency: Orchids typically need to be watered once a week, but this may vary depending on the climate and the type of orchid. In general, orchids need less frequent watering in the winter when they are not actively growing.
- Water Quality: Orchids prefer non-chlorinated water, so if possible, use distilled or rainwater. Tap water can contain chemicals that can build up in the soil and harm the plant over time.
- Avoiding Waterlogging: Make sure the orchid’s pot has good drainage to avoid water sitting in the bottom of the pot, which can cause root rot.
4. Providing the Right Amount of Light
Light is one of the most important factors in orchid care, as it directly affects the plant’s growth and blooming potential. However, orchids can be sensitive to both too much and too little light, so finding the right balance is crucial.
- Indirect Light: Most orchids, especially Phalaenopsis, thrive in bright but indirect light. Direct sunlight can scorch the delicate leaves, so placing your orchid near a window with filtered light is ideal.
- Light Exposure: Aim for 6-8 hours of light per day. If your orchid is not blooming, it might not be getting enough light. Conversely, if the leaves turn yellow or show signs of burning, it may be getting too much sunlight.
- Artificial Light: If you don’t have access to enough natural light, consider using grow lights to supplement. These lights provide the necessary spectrum of light for orchids to thrive, especially in darker rooms or during the winter months.
5. Humidity: Key to Orchid Success
Orchids are native to tropical regions and thrive in humid conditions. Providing adequate humidity is key to helping your orchid grow strong and produce vibrant blooms. If your orchid is showing signs of yellowing leaves or poor growth, it might be due to a lack of humidity.
- Ideal Humidity: Orchids prefer humidity levels between 40-70%. If your home is dry, especially in winter, you can increase humidity by placing your orchid on a humidity tray filled with water and pebbles or using a humidifier.
- Misting: Regular misting can help increase humidity around your orchid, but be careful not to overdo it. Excess moisture on the leaves can lead to fungal issues.
- Room Placement: Place your orchids in a bathroom with good light or near a kitchen where humidity is naturally higher, but always ensure they are not exposed to direct, hot steam.
6. Fertilizing Your Orchids
Orchids require regular feeding to support their growth and blooming. Unlike other houseplants, orchids have very specific fertilizer needs.
- Orchid Fertilizer: Use a balanced, water-soluble orchid fertilizer, such as one with a ratio of 30-10-10 (Nitrogen-Phosphorus-Potassium), every two weeks during the growing season (spring and summer). During the dormant season (fall and winter), reduce feeding to once a month.
- Dilution: Always dilute the fertilizer to half the recommended strength to avoid burning the roots. Over-fertilizing can harm the plant and reduce flowering.
- Feeding Techniques: Water the orchid thoroughly before fertilizing to prevent root burn. Apply the fertilizer solution directly to the soil and not on the orchid’s leaves.
7. Repotting Orchids for Growth
Orchids are slow-growing plants, but they do need to be repotted occasionally to ensure healthy growth. Repotting is usually necessary every 1-2 years or when the potting mix breaks down and no longer drains well.
- Signs Your Orchid Needs Repotting: If the orchid roots are growing out of the pot or if the potting mix is compacted, it’s time to repot. Choose a slightly larger pot with good drainage.
- When to Repot: The best time to repot is right after the orchid has finished blooming, as this minimizes stress on the plant. Be sure to handle the roots gently and trim any that appear dead or damaged.
- Fresh Mix: Always use fresh orchid mix when repotting to ensure proper drainage and aeration for the roots.
8. Pruning and Encouraging New Blooms
Orchids need regular pruning to maintain their health and encourage new blooms. After the orchid has finished blooming, you can cut back the flower spike to promote further growth.
- Cutting Flower Stems: Once the flowers fade, cut the flower spike about 1 inch above the node where the flowers bloomed. This can encourage a secondary bloom or allow the plant to focus on new growth.
- Leaf Care: Prune any yellow or damaged leaves to improve air circulation and reduce the risk of disease.
Conclusion
Growing orchids may seem daunting at first, but with the right knowledge and care, you can cultivate beautiful, strong, and fast-growing orchids that will reward you with stunning blooms year after year. By following the tips provided in this article—choosing the right orchid, potting mix, and light conditions, as well as maintaining proper watering, humidity, and fertilizing—you’ll be on your way to becoming an orchid expert in no time. Happy gardening!