
Introduction
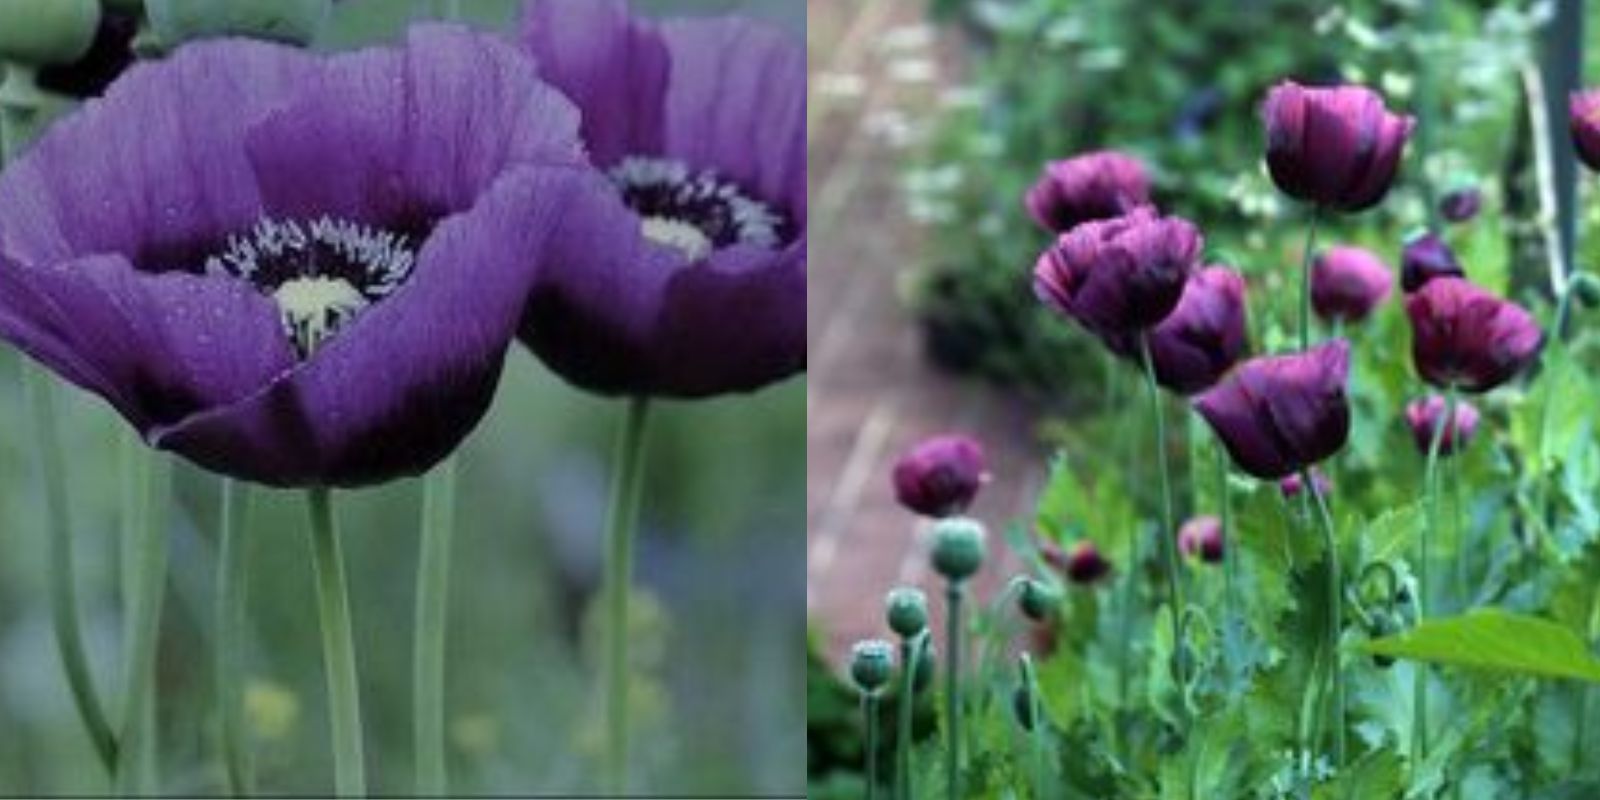
The Purple Poppy, scientifically known as Papaver somniferum, is a strikingly beautiful flower that has captivated gardeners and botanists alike. With its rich history and vibrant purple petals, this poppy is not only a stunning addition to any garden but also comes with a variety of uses. Whether you’re drawn to its aesthetic appeal or its fascinating background, cultivating purple poppies can be a rewarding experience. In this article, we’ll delve into everything you need to know about growing, caring for, and enjoying these magnificent blooms.
Understanding Purple Poppies
What Are Purple Poppies?
Purple poppies belong to the Papaveraceae family and are primarily known for their striking purple hue. They can grow up to 3 feet tall and typically bloom in late spring to early summer. The flowers can vary in size, but they often have a delicate, paper-like texture that adds elegance to any garden.
Symbolism and Historical Significance
In addition to their beauty, purple poppies carry significant symbolism. They are often associated with sleep, peace, and death, largely due to their connection with opium production. Historically, these flowers have been used in various cultures for their medicinal properties, and they played a vital role in traditional medicine.
Selecting the Right Location
Sunlight Requirements
Purple poppies thrive in full sun, which means they require at least 6-8 hours of direct sunlight each day. Choosing the right location is crucial for promoting healthy growth and vibrant blooms.
Soil Quality
Poppies prefer well-draining soil that is rich in organic matter. Sandy or loamy soils are ideal for these plants, as they prevent waterlogging and promote healthy root development. Before planting, consider testing your soil’s pH, aiming for a slightly acidic to neutral range (6.0 to 7.0).
Planting Purple Poppies
Step 1: Preparing the Soil
Before planting, it’s essential to prepare the soil properly:
- Amend the Soil: Incorporate organic compost or well-rotted manure to enrich the soil and improve drainage.
- Tilling: Loosen the soil by tilling to a depth of about 12-18 inches, which encourages root growth.
Step 2: Sowing Seeds
Purple poppies are typically direct-seeded in the garden. Here’s how:
- Timing: Sow seeds in early spring or fall, depending on your climate. In cooler regions, fall planting can lead to earlier blooms in spring.
- Seed Depth: Plant seeds about ¼ inch deep in the soil, ensuring they are not buried too deeply.
- Spacing: Space seeds about 12 inches apart to allow for adequate growth and airflow.
Step 3: Watering
Initial Watering
After sowing the seeds, keep the soil consistently moist until seedlings emerge, which usually takes about 10-14 days. Use a gentle watering method to avoid disturbing the seeds.
Ongoing Watering
Once established, purple poppies are relatively drought-tolerant. Water as needed, particularly during dry spells, but avoid overwatering, as this can lead to root rot.
Caring for Purple Poppies
Step 4: Thinning Seedlings
As seedlings begin to grow, it’s important to thin them out to promote healthy development:
- Timing: Thin seedlings when they are about 3-4 inches tall.
- Spacing: Keep only the strongest seedlings, spacing them about 12 inches apart to ensure ample room for growth.
Step 5: Fertilization
To encourage healthy growth and vibrant blooms, fertilization is essential:
- Type of Fertilizer: Use a balanced fertilizer, such as a 10-10-10 NPK formulation, or consider an organic option like compost.
- Application Timing: Apply fertilizer during the growing season, following package instructions for frequency and amount.
Step 6: Pest and Disease Management
Regular monitoring for pests and diseases is crucial for maintaining healthy purple poppies:
Common Pests
- Aphids: These small insects can cluster on the leaves and stems, sucking sap and weakening the plant. Treat infestations with insecticidal soap or neem oil.
- Slugs and Snails: These pests may feed on young plants, especially in damp conditions. Use traps or organic methods to control their population.
Disease Prevention
Ensure good air circulation by providing adequate spacing and avoid overhead watering to prevent fungal diseases. If fungal infections occur, consider applying appropriate fungicides.
Step 7: Mulching
Applying mulch around your purple poppies can provide several benefits:
- Moisture Retention: Mulch helps retain soil moisture, reducing the need for frequent watering.
- Weed Suppression: A layer of mulch can prevent weeds from competing for nutrients and water.
Use organic mulch, such as straw or wood chips, applying a layer about 2-3 inches thick around the base of the plants.
Step 8: Supporting Growth
As your purple poppies grow, they may require additional support:
- Staking: For taller varieties, consider using stakes to keep the plants upright and prevent breakage from wind or heavy rain.
Seasonal Care
Spring Care
- Monitor Growth: As temperatures rise, keep an eye on your poppies for signs of pests and water as needed.
- Fertilize: Apply fertilizer as new growth appears to promote blooming.
Summer Care
- Water Regularly: Ensure consistent moisture during hot weather, particularly if rainfall is scarce.
- Deadheading: Remove spent flowers to encourage additional blooming and maintain plant vigor.
Fall Care
- Prepare for Dormancy: As the growing season comes to an end, reduce watering and allow the plants to prepare for winter.
- Seed Harvesting: If desired, collect seeds from spent flowers for culinary use or to replant next season.
Winter Care
- Mulching: In colder climates, apply a thicker layer of mulch to protect the roots from freezing temperatures.
- Minimal Watering: During dormancy, limit watering to prevent root rot.
Harvesting Purple Poppy Seeds
One of the most appealing aspects of growing purple poppies is the ability to harvest their seeds:
- Timing: Wait until the seed pods are dry and have turned brown but before they burst open.
- Harvesting: Carefully cut the seed pods and place them in a paper bag to finish drying.
- Storage: Store seeds in a cool, dry place for future planting or culinary use.
Common Challenges and Solutions
1. Poor Flowering
If your purple poppies aren’t blooming:
- Check Sunlight: Ensure they are receiving adequate sunlight (at least 6-8 hours daily).
- Adjust Fertilization: Avoid excessive nitrogen, which can promote foliage growth at the expense of blooms.
2. Yellowing Leaves
Yellowing leaves can indicate overwatering or nutrient deficiencies:
- Check Drainage: Ensure the soil is well-draining and not waterlogged.
- Fertilize: Consider applying a balanced fertilizer to replenish nutrients.
3. Pest Infestations
To manage pests effectively:
- Regular Monitoring: Inspect plants regularly for signs of pests.
- Prompt Treatment: Treat infestations early with appropriate methods to prevent damage.
Conclusion
Purple poppies are not only visually stunning but also offer a rich tapestry of history and symbolism. By following the steps outlined in this guide, you can successfully cultivate these enchanting flowers in your garden. From their captivating blooms to their potential culinary uses, purple poppies are sure to bring joy and beauty to your outdoor space. Start your purple poppy journey today and enjoy the myriad rewards of gardening! 🌼✨