
Introduction
Aloe vera, often referred to as the “plant of immortality,” has been cherished for centuries due to its myriad uses, from medicinal to cosmetic. Growing this remarkable plant in pots is perfect for urban gardeners or those with limited outdoor space. Aloe vera is not only low-maintenance but also adds a touch of greenery to your home while offering a natural remedy for burns, cuts, and other skin conditions.
In this comprehensive guide, we’ll explore everything you need to know about successfully growing aloe vera in pots—from selecting the right container to ongoing care.
Why Choose Aloe Vera for Potted Gardening?
Aloe vera is ideal for pots because:
- It’s drought-tolerant and thrives in controlled indoor or outdoor environments.
- Potted aloe vera can be moved around for optimal sunlight exposure.
- Its compact size makes it perfect for apartments, offices, or patios.
- Aloe vera’s gel can be used for skincare, health, and home remedies.
Step 1: Choosing the Right Pot
The success of your potted aloe vera starts with the pot. Consider these tips:
- Material: Terracotta or clay pots are the best choice because they allow better air circulation and prevent root rot by absorbing excess moisture.
- Size: The pot should be slightly larger than the plant’s root ball to give room for growth, but avoid overly large pots that can hold too much water.
- Drainage: Ensure the pot has at least one drainage hole to prevent waterlogging, which is the most common reason for aloe vera death.
Step 2: Selecting the Right Soil
Aloe vera thrives in well-draining soil. Here’s what works best:
- Use a cactus or succulent potting mix.
- Alternatively, mix regular potting soil with sand or perlite in a 2:1 ratio for improved drainage.
- Avoid soil that retains too much moisture, as aloe vera’s roots are prone to rotting.
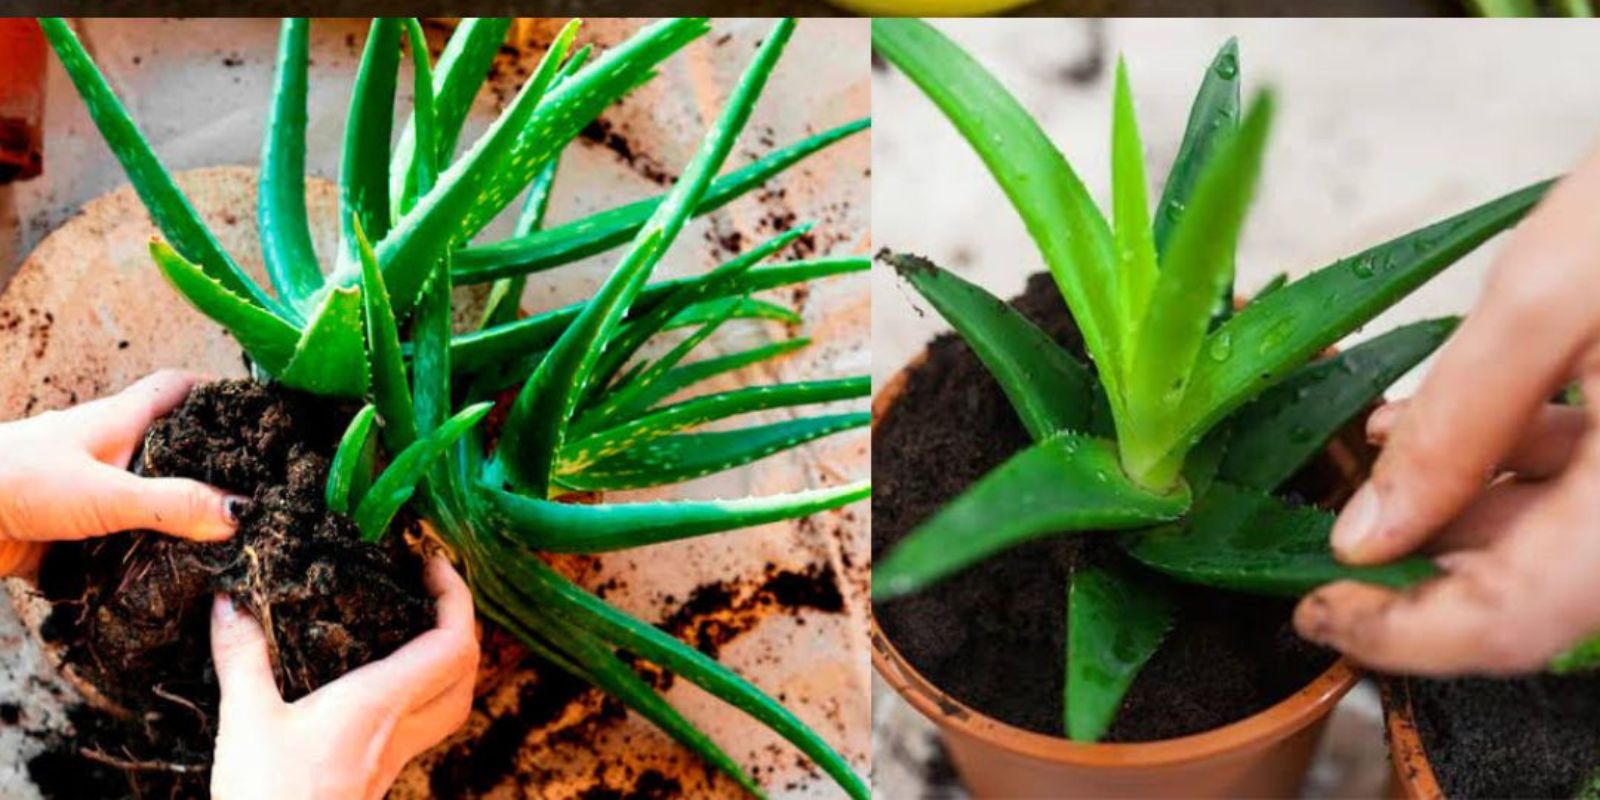
Step 3: Planting Your Aloe Vera
- Prepare the Pot: Fill the pot halfway with the prepared soil mix.
- Position the Plant: Place the aloe vera plant in the center of the pot. The roots should be fully covered, but the base of the leaves should stay above the soil to prevent rot.
- Add More Soil: Fill around the plant, gently pressing the soil to ensure the plant is stable. Avoid packing the soil too tightly, as this can hinder drainage.
Step 4: Watering Your Aloe Vera
Watering aloe vera correctly is critical to its health. Follow these guidelines:
- Frequency: Water only when the soil is completely dry. This typically means watering every 2–3 weeks, but frequency can vary based on the climate and season.
- Technique: Water deeply, allowing excess water to drain out. Discard any water collected in the saucer.
- Seasonal Adjustments: Water even less during winter, as aloe vera enters a dormant phase and requires minimal hydration.
Step 5: Providing Adequate Sunlight
Aloe vera loves bright, indirect sunlight. Too much direct sun can scorch its leaves, while too little light can lead to weak, leggy growth.
- Indoors: Place the pot near a south- or west-facing window for 6–8 hours of light daily.
- Outdoors: Position the plant in a spot with partial shade or filtered sunlight, especially during peak summer.
If natural sunlight is insufficient, consider using a grow light to keep your aloe vera healthy.
Step 6: Fertilizing Aloe Vera
While aloe vera doesn’t require heavy feeding, occasional fertilization helps promote growth:
- Use a balanced, water-soluble succulent or cactus fertilizer.
- Dilute the fertilizer to half the recommended strength.
- Feed the plant once in the spring and once in the summer. Avoid fertilizing during its dormant winter phase.
Step 7: Repotting Aloe Vera
Aloe vera grows slowly, but it will eventually outgrow its pot. Repotting is necessary every 2–3 years or when:
- The plant becomes root-bound.
- Pups (baby aloe plants) appear at the base.
How to Repot Aloe Vera:
- Carefully remove the plant from its current pot.
- Separate any pups if desired, replanting them in their own pots.
- Transfer the main plant to a slightly larger pot with fresh soil.
Step 8: Common Problems and How to Fix Them
Despite being hardy, aloe vera can face a few challenges:
- Overwatering: Leaves become mushy and discolored.
- Solution: Allow the soil to dry out completely before watering again.
- Underwatering: Leaves become thin and shriveled.
- Solution: Water the plant deeply, ensuring the soil is adequately moistened.
- Sunburn: Leaves develop brown spots or turn reddish.
- Solution: Move the plant to a spot with indirect sunlight.
- Pest Infestations: Aloe vera can attract mealybugs and aphids.
- Solution: Wipe the leaves with a cotton ball dipped in rubbing alcohol or use a natural insecticidal soap.
Step 9: Harvesting Aloe Vera Gel
Aloe vera gel can be used for various purposes, including soothing burns, making DIY skincare products, and boosting plant health. Here’s how to harvest it:
- Choose a healthy, mature leaf from the outer part of the plant.
- Cut the leaf at its base using a sharp knife.
- Let the leaf sit for a few minutes to allow the yellow latex to drain out (this can irritate skin).
- Slice open the leaf and scoop out the clear gel with a spoon.
Store the gel in an airtight container in the refrigerator for up to one week.
Benefits of Growing Aloe Vera in Pots
- Natural Decor: Aloe vera adds a touch of greenery to your home, enhancing air quality and aesthetics.
- Health Benefits: Aloe vera gel is a natural remedy for burns, cuts, and dry skin.
- Low Maintenance: It’s perfect for those with busy lifestyles, as it requires minimal care.
Engage with Us!
Growing aloe vera in pots is a rewarding experience that combines beauty, functionality, and simplicity. Have questions or unique tips for aloe vera care? Share them with us below! Let’s build a thriving community of green thumbs.
Hashtags: