
Pruning is one of the most crucial aspects of rose care, significantly impacting the health and beauty of your plants. Proper pruning promotes vigorous growth, encourages abundant blooms, and helps prevent disease. Whether you’re a seasoned gardener or a novice, understanding the art of pruning roses will elevate your gardening skills and ensure a stunning display of vibrant flowers. This article provides a detailed, step-by-step guide to mastering the art of rose pruning, offering practical tips to help you achieve the best results.
Introduction: The Importance of Pruning Roses
Pruning roses is more than just a maintenance task; it’s an art form that involves strategic cutting to enhance the plant’s overall health and aesthetic appeal. Regular pruning encourages strong growth, better air circulation, and a higher number of blooms. By removing dead, diseased, or overcrowded branches, you help your roses thrive and bloom more profusely. Understanding when and how to prune is essential for every rose gardener, and this guide will walk you through the process with clarity and precision.
Step 1: Choose the Right Time
Timing is Everything
The best time to prune roses is in early spring, just before new growth begins. For most regions, this is typically between late February and early April. Pruning at this time ensures that you’re cutting back the old growth while encouraging new shoots to emerge. Avoid pruning in the fall, as this can stimulate new growth that might not withstand winter temperatures.
Consider Your Climate
In warmer climates, you may need to adjust the timing slightly, but early spring is generally the best period for most regions. Always check local gardening guidelines to ensure you’re pruning at the optimal time for your specific climate.
Step 2: Gather the Right Tools
Essential Tools
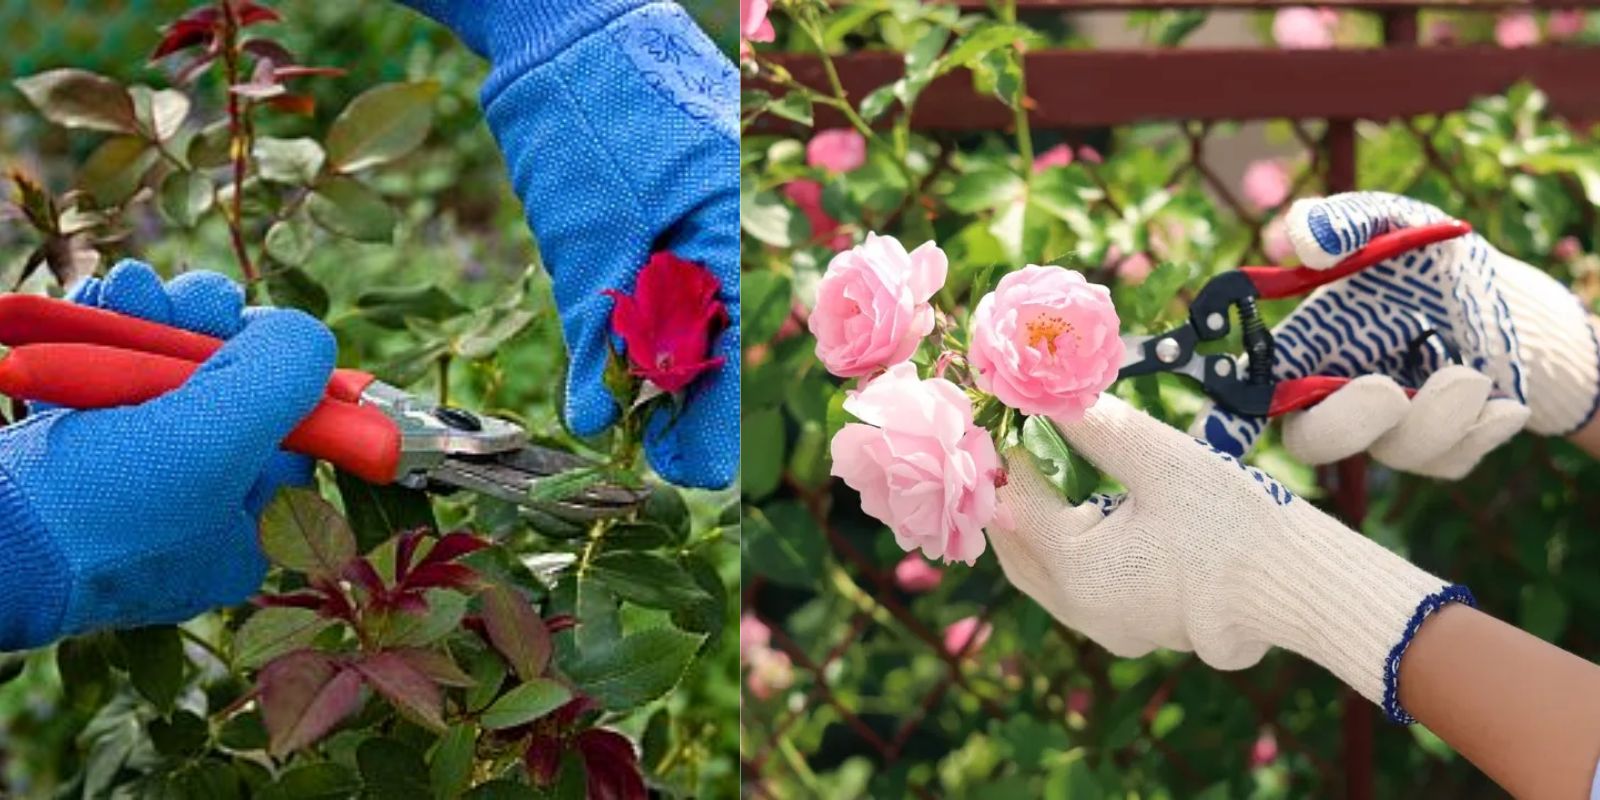
To achieve precise and clean cuts, use sharp, clean pruning shears. For thicker branches, you may need a pruning saw or loppers. Additionally, gloves are crucial for protecting your hands from thorns and potential cuts.
Tool Maintenance
Ensure that your tools are well-maintained and sanitized before use. Sharp blades make cleaner cuts, reducing the risk of damaging the plant or spreading disease.
Step 3: Remove Dead or Diseased Wood
Identify Problem Areas
Begin by inspecting the rose bush for any dead, damaged, or diseased branches. Dead wood is typically brown or gray and may be dry and brittle. Diseased wood may show signs of discoloration, spots, or mold.
Prune with Care
Cut back these branches to the point of healthy tissue or to the base of the plant. This not only helps prevent disease spread but also promotes new, healthy growth. Dispose of the pruned material to avoid contaminating other plants.
Step 4: Shape the Plant
Achieve a Balanced Shape
Pruning isn’t just about cutting back; it’s also about shaping. Aim for a balanced, open center that allows sunlight and air to penetrate the plant. This improves overall plant health and helps reduce the risk of fungal diseases.
Remove Crossed Branches
Remove any branches that cross over each other or grow inward, as these can cause damage and prevent proper air circulation. Focus on creating an even, open framework that supports healthy growth.
Step 5: Cut Back Old Growth
Encourage New Growth
Old stems that have flowered for several seasons can be cut back to encourage new growth. Prune these stems to the base or to a healthy outward-facing bud. This helps rejuvenate the plant and promotes more vigorous blooming.
Determine Cutting Points
When cutting back, aim to make cuts just above an outward-facing bud. This encourages new shoots to grow outward rather than inward, contributing to a well-shaped, open plant.
Step 6: Prune for Size
Control the Plant’s Size
Prune back about one-third of the plant’s growth to control its size and shape. This helps maintain the plant’s overall structure and ensures that it doesn’t become too leggy or overgrown.
Avoid Over-Pruning
Be cautious not to over-prune, as this can stress the plant and reduce blooming potential. Balance is key—prune enough to shape and maintain the plant but avoid excessive cutting.
Step 7: Clean Up
Dispose of Pruned Material
After pruning, clean up all fallen leaves, branches, and other debris from around the rose bush. This helps prevent the spread of diseases and pests. Discard the material in the trash or compost it if it’s free from disease.
Sanitize Tools
Clean your pruning tools with a disinfectant to remove any sap, dirt, or plant residue. This practice helps prevent the spread of disease to other plants.
Additional Tips for Successful Pruning
1. Understand Rose Varieties
Different rose varieties may require slightly different pruning techniques. Familiarize yourself with the specific needs of the rose varieties in your garden, whether they are hybrid teas, floribundas, or climbers.
2. Observe Growth Patterns
Pay attention to how your roses grow and adapt your pruning techniques accordingly. Regular observation will help you make informed decisions and achieve the best results.
3. Practice Patience
Pruning is a skill that improves with practice. Don’t be discouraged if your initial attempts aren’t perfect. With time and experience, you’ll refine your technique and enhance your garden’s beauty.
Conclusion: Embrace the Art of Pruning for Beautiful Roses
Mastering the art of pruning roses can significantly enhance the beauty and health of your garden. By following this comprehensive guide, you can ensure that your roses remain vibrant, productive, and stunning throughout the growing season. Embrace the process of pruning as an opportunity to connect with your plants and nurture their growth.
Ready to see your roses flourish? Follow these seven steps to achieve a garden full of vibrant, blooming roses. Share your experiences and results with fellow gardeners, and enjoy the satisfaction of creating a beautiful, healthy rose garden. Happy pruning!