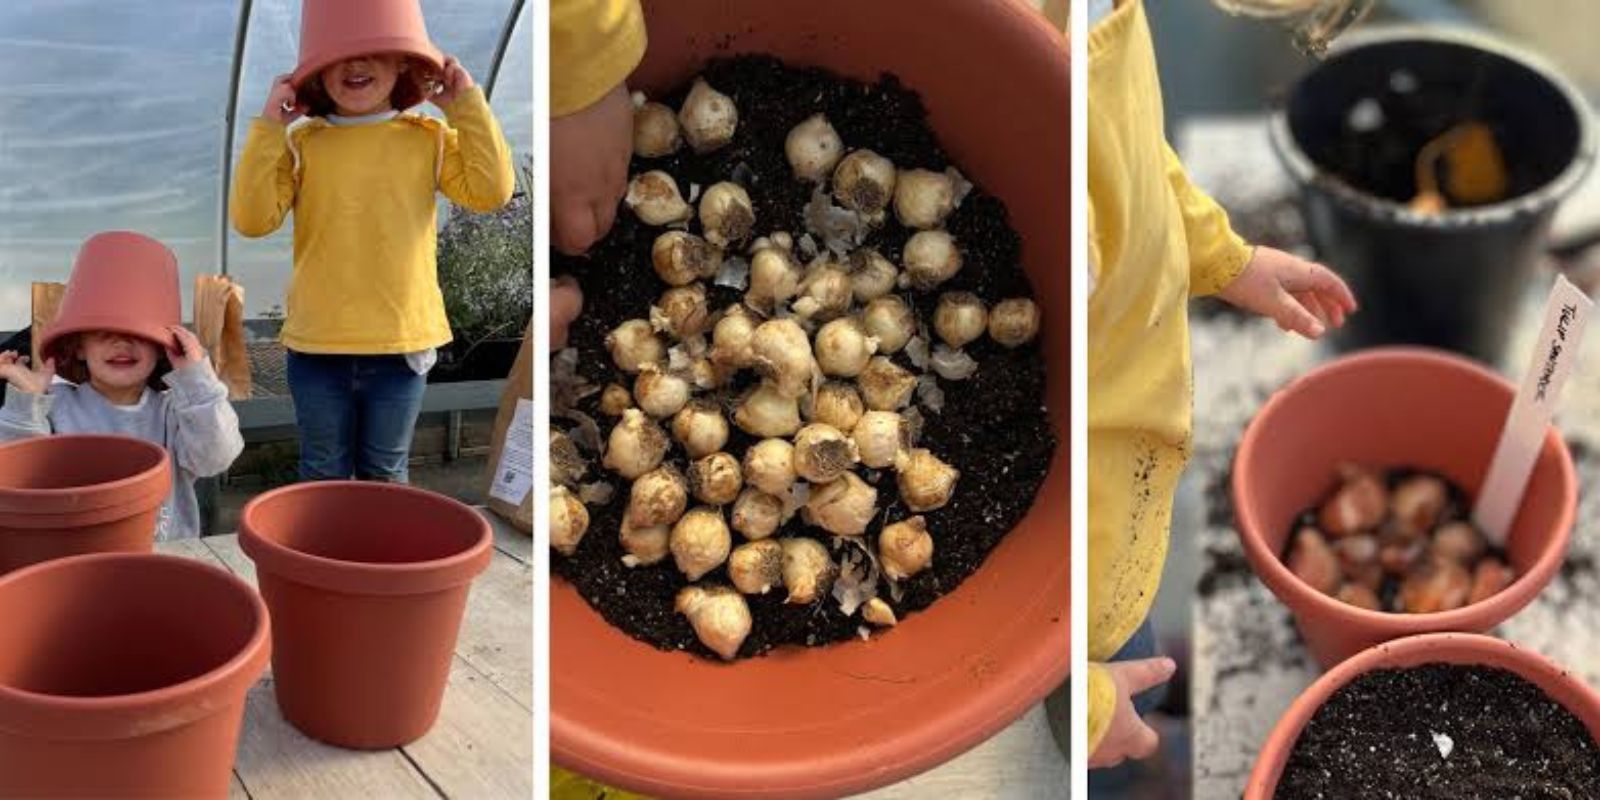
If you’re a gardening enthusiast looking to enjoy continuous waves of flowers from late winter to early summer, the lasagna bulb planting method is a must-try. This clever planting technique mimics the layering of a lasagna, with bulbs arranged in tiers based on their blooming schedules. It allows you to maximize space, create stunning displays, and enjoy flowers blooming in succession from February to June.
In this detailed guide, we’ll explore the benefits of lasagna bulb planting, the step-by-step process to create your own, and expert tips to ensure success. Whether you’re a novice or a seasoned gardener, this method will elevate your container gardening game.
What is Lasagna Bulb Planting?
Lasagna bulb planting involves layering flower bulbs in a single container, each placed at different depths according to their size and bloom time. The bulbs at the bottom of the pot bloom last, while those near the top bloom earlier, creating a succession of vibrant colors over several months.
This method is ideal for small spaces, patios, or balconies, as it uses a single pot to deliver maximum floral impact. With careful selection of bulbs, you can enjoy continuous blooms without replanting.
Benefits of Lasagna Bulb Planting
- Extended Bloom Time: Multiple layers of bulbs ensure flowers bloom in waves, extending the beauty of your pot.
- Efficient Use of Space: Perfect for small gardens or urban spaces, a single pot can house various flower varieties.
- Creative Arrangements: Mix and match colors, textures, and heights for a unique display.
- Low Maintenance: Once planted, lasagna pots require minimal care beyond watering and occasional feeding.
Step-by-Step Guide to Planting a Lasagna Bulb Pot
Step 1: Gather Your Materials
You’ll need:
- A large, deep pot with drainage holes
- Bulbs (e.g., tulips, daffodils, crocus, hyacinths, etc.)
- High-quality potting soil
- Gravel or broken pottery for drainage
Step 2: Prepare the Pot
Begin by adding a layer of gravel or broken pottery at the bottom of the pot to improve drainage. This prevents waterlogging, which can rot the bulbs.
Step 3: Add the First Layer of Soil
Fill the pot with about 3-4 inches of potting soil. Ensure the soil is well-draining and nutrient-rich to provide a healthy foundation for your bulbs.
Step 4: Plant the Largest Bulbs (Late Bloomers)
Start with the bulbs that bloom the latest in the season, such as tulips or alliums. Place them pointy side up, spacing them evenly across the bottom layer. Cover them with 2-3 inches of soil.
Step 5: Add the Second Layer (Mid Bloomers)
Next, plant mid-season bloomers like daffodils or hyacinths. Arrange them above the first layer, ensuring they are offset from the bulbs below to prevent crowding. Cover with another layer of soil.
Step 6: Add the Top Layer (Early Bloomers)
Finally, add the smallest and earliest bloomers, such as crocuses or snowdrops, just below the surface of the soil. This ensures they sprout and flower first, signaling the start of the blooming cycle.
Step 7: Water Thoroughly
After planting all the layers, water the pot thoroughly to settle the soil and encourage root growth.
Caring for Your Lasagna Bulb Pot
- Positioning: Place the pot in a location with ample sunlight. Most bulbs thrive in full to partial sun.
- Watering: Keep the soil consistently moist but not soggy, especially during the growing season.
- Fertilizing: Apply a balanced liquid fertilizer once a month during active growth to nourish the bulbs.
- Protecting from Frost: If you live in a cold climate, move the pot to a sheltered location or wrap it with insulating material to protect it from freezing temperatures.
Choosing the Right Bulbs for a Stunning Display
To create a truly breathtaking lasagna pot, consider these popular bulb choices:
- Early Bloomers: Snowdrops, crocus, mini daffodils
- Mid-Season Bloomers: Daffodils, hyacinths, grape hyacinths
- Late Bloomers: Tulips, alliums, irises
Opt for complementary color schemes or bold contrasts to make your arrangement stand out.
Expert Tips for Success
- Layer Depth: Follow the planting depth instructions for each type of bulb to ensure proper growth.
- Spacing: Leave enough space between bulbs to prevent overcrowding and ensure each has room to grow.
- Soil Quality: Use a soil mix that retains moisture but drains well to avoid waterlogging.
- Rotation: Rotate the pot occasionally to ensure even sunlight exposure.
- End-of-Season Care: Once all the flowers have bloomed, allow the foliage to die back naturally. This helps the bulbs store energy for the next growing season.
The Result: A Floral Symphony in Your Garden
With a little planning and effort, your lasagna bulb pot will reward you with months of continuous blooms. Starting with delicate snowdrops or crocuses in late winter, followed by cheerful daffodils and fragrant hyacinths in spring, and culminating with the vibrant hues of tulips or alliums in late spring to early summer, your pot will be a true masterpiece.
Final Thoughts
The lasagna bulb planting method is an ingenious way to bring beauty and life to your garden, patio, or balcony. Whether you’re a seasoned gardener or a beginner, this technique is easy to master and incredibly rewarding.
💬 Have you tried planting a lasagna bulb pot? Share your experiences or ask questions in the comments below!

