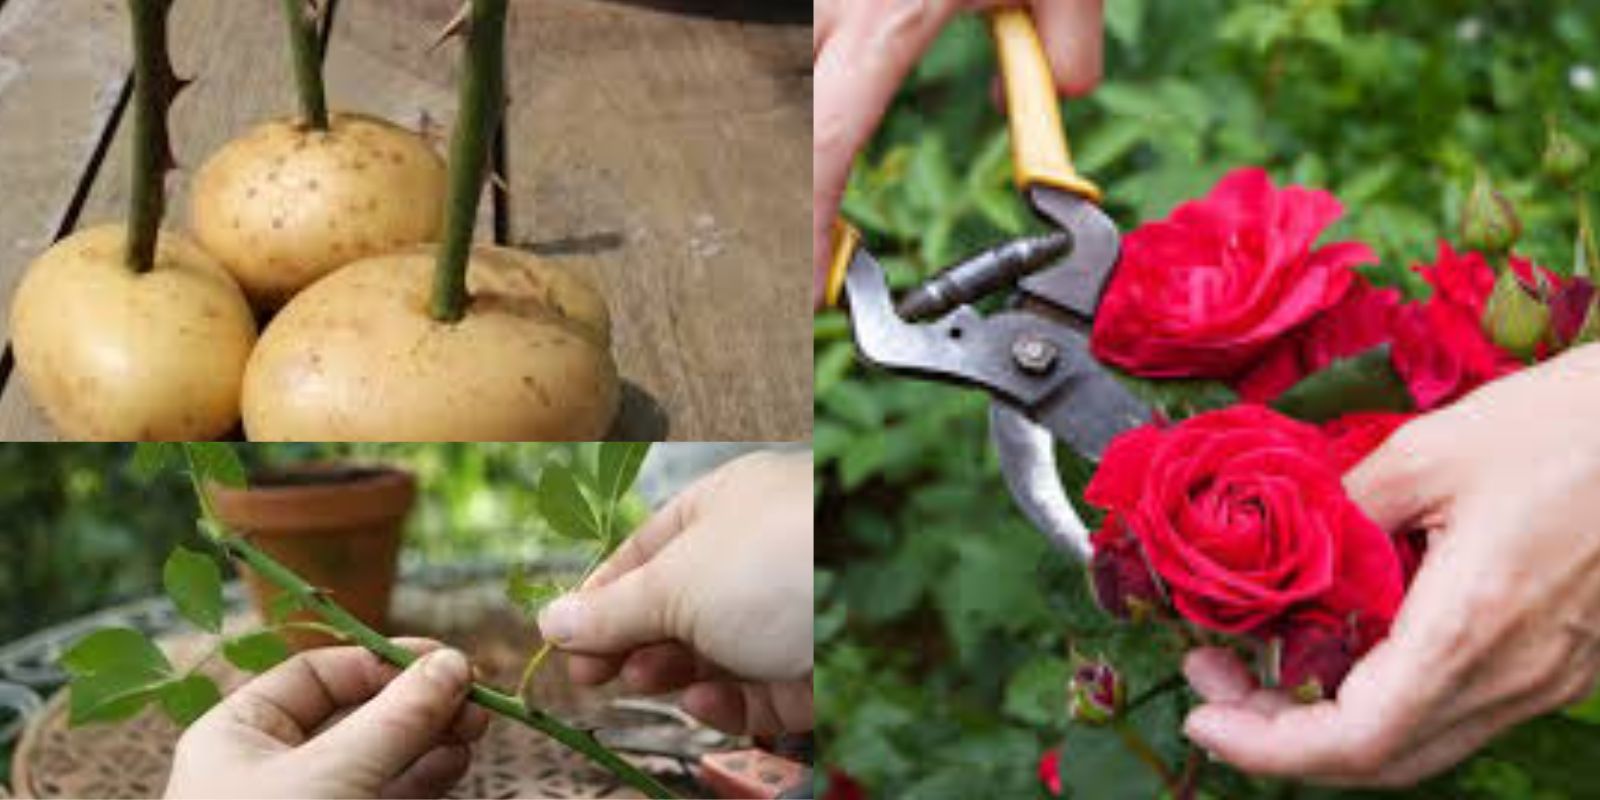
Roses are timeless beauties that grace gardens with their vibrant colors and intoxicating fragrance. While purchasing rose bushes can be an option, propagating roses from cuttings is a rewarding and budget-friendly method to expand your garden. This guide will walk you through the process step-by-step, ensuring you achieve success in growing new rose bushes right from your existing plants.
Why Propagate Roses from Cuttings?
Propagating roses from cuttings offers several benefits:
- Cost-Effective Gardening: Instead of purchasing new plants, you can multiply the roses you already own.
- Preservation of Traits: Propagation ensures the new plant retains the same characteristics as the parent rose, including color, fragrance, and growth habits.
- Personal Connection: Growing a rose bush from a cutting creates a meaningful connection to the plant, especially if it’s from a special or sentimental rose variety.
Step-by-Step Guide to Growing Roses from Cuttings
Step 1: Select the Right Rose Cutting
- Timing: Take cuttings during late spring or early summer when the plant is actively growing.
- Choosing a Cutting: Look for healthy, mature stems that have recently bloomed. Stems should be semi-hardwood—not too soft or woody. A length of 6–8 inches with at least three nodes is ideal.
Step 2: Prepare the Cutting
- Trimming: Cut the bottom of the stem at a 45-degree angle, just below a node. Remove any flowers, buds, or leaves from the lower half to reduce water loss. Leave two to three leaves at the top.
- Optional Treatment: If desired, soak the cuttings in water for a few hours to hydrate them before planting.
Step 3: Apply Rooting Hormone
- Dip the bottom of the cutting into a rooting hormone powder or gel. This encourages root development and increases success rates.
Step 4: Choose the Right Planting Medium
- Use a mix of compost, sand, and perlite for excellent drainage and aeration. Ensure the soil is sterile to prevent fungal infections.
Step 5: Plant the Cutting
- Insert the prepared cutting into the soil, ensuring at least two nodes are below the surface. Firmly press the soil around the stem for stability.
Step 6: Create a Mini-Greenhouse
- Cover the cutting with a clear plastic bag or cut-off plastic bottle to maintain high humidity. This helps prevent the cutting from drying out while roots are forming.
- Place it in a location with bright, indirect sunlight.
Step 7: Water and Monitor
- Keep the soil consistently moist but not waterlogged. Overwatering can lead to rot.
- Ventilate the plastic covering occasionally to prevent mold.
Step 8: Wait for Roots to Develop
- Roots typically begin to form within 4–6 weeks. You can test by gently tugging on the cutting; resistance indicates roots have formed.
Step 9: Transplanting
- Once roots are well-established, transplant the cutting to a larger pot or directly into the garden. Use nutrient-rich soil and water thoroughly after planting.
Tips for Successful Rose Propagation
- Use Sharp Tools: Always use a clean, sharp knife or pruning shears to make precise cuts and avoid damaging the plant.
- Maintain Consistent Conditions: Temperature, humidity, and moisture consistency are crucial for success.
- Choose the Right Spot: Roses prefer full sun but ensure the cuttings are not exposed to direct sunlight during the rooting stage.
- Be Patient: Not all cuttings will root successfully. Propagate several cuttings at once to increase your chances.
Common Challenges and How to Overcome Them
- Dry Cuttings: If the cutting appears dry or shriveled, it may not root. Ensure proper hydration during preparation and keep the environment humid.
- Rotting: Overwatering or poor soil drainage can cause rot. Use well-draining soil and avoid waterlogging.
- Slow Growth: Some rose varieties take longer to root. Be patient and continue providing optimal care.
Caring for Your Newly Rooted Rose Plants
Once transplanted, your new rose bushes will require proper care to thrive:
- Watering: Water deeply but infrequently, allowing the soil to dry slightly between waterings.
- Fertilizing: Use a balanced fertilizer designed for roses to promote healthy growth.
- Pruning: Remove any dead or damaged growth to direct the plant’s energy toward new shoots.
- Pest Control: Watch for common rose pests like aphids and spider mites, and treat them promptly.
Why Growing Roses from Cuttings is So Rewarding
Watching a cutting transform into a thriving rose bush is an immensely satisfying process. Not only does it allow you to multiply your favorite varieties, but it also fosters a deeper appreciation for the resilience and beauty of plants.
Conclusion
Growing roses from cuttings is a straightforward and fulfilling gardening project. With the steps outlined above, you can enjoy the beauty of roses in your garden without breaking the bank. Whether you’re a beginner or a seasoned gardener, propagating roses allows you to share the joy of gardening and preserve cherished rose varieties for years to come.
🌹 Have you tried propagating roses? Share your tips or questions in the comments below! Let’s grow together.
#GrowRoses #PlantPropagation #GardeningLove #RoseBushes #GardenTips #BloomWithNature

