
Introduction
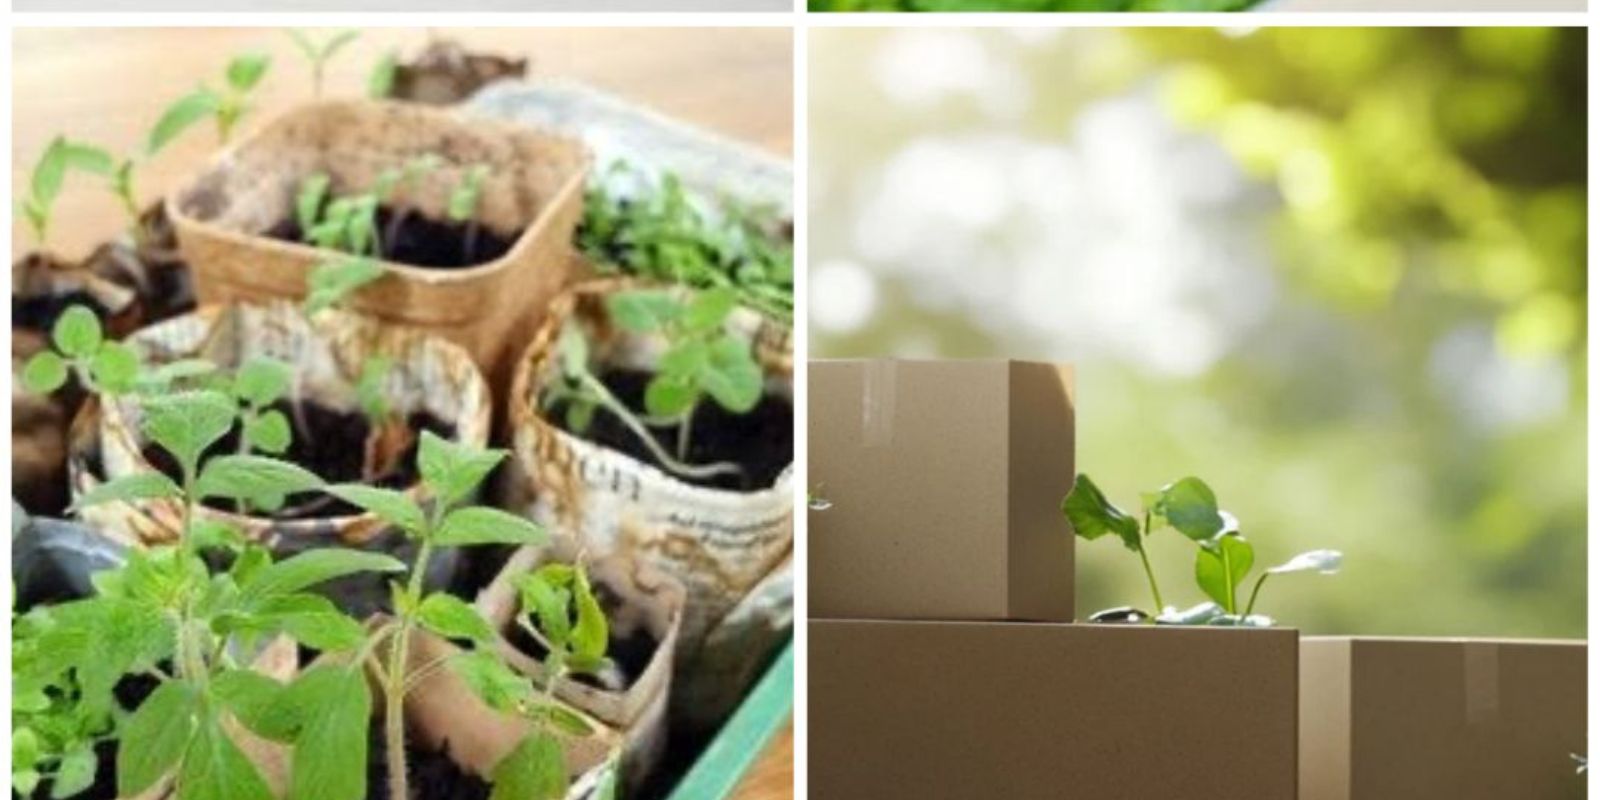
In the world of sustainable gardening, innovative methods are becoming increasingly popular to combat common challenges like poor soil quality, physical limitations, and environmental impact. One such technique is cardboard gardening—an eco-friendly, easy-to-implement solution that uses repurposed materials to grow healthy plants while enriching the soil.
This method is not only perfect for seasoned gardeners but also ideal for beginners looking to minimize their gardening footprint. In this article, we’ll explore the benefits of cardboard gardening, step-by-step instructions for setting up your own cardboard garden, and tips for maintaining it throughout the seasons.
Why Choose Cardboard Gardening?
Using cardboard as a planting base offers several advantages that make it a game-changer for home gardeners:
- Eco-Friendly: Cardboard is biodegradable and decomposes into the soil, enriching it with organic material. By reusing cardboard boxes, you also reduce waste.
- Weed Suppression: The thick layer of cardboard acts as a natural weed barrier, saving you time and effort in maintenance.
- Improved Soil Quality: As the cardboard breaks down, it adds nutrients and organic matter to the soil, creating a fertile environment for plants.
- Accessibility: This method eliminates the need for heavy digging or tilling, making it accessible for those with physical limitations.
- Versatility: You can grow a variety of plants, including vegetables, herbs, and flowers, using this technique.
- Cost-Effective: With minimal materials required—most of which you may already have at home—cardboard gardening is an affordable solution.
How to Set Up a Cardboard Garden
Follow these simple steps to establish your cardboard garden and set yourself up for success:
Step 1: Gather Your Materials
You’ll need:
- Large cardboard boxes (free of tape, glue, or plastic labels)
- High-quality soil (garden or potting soil)
- Compost or aged manure
- Seeds or seedlings
- Mulch (optional)
Step 2: Choose the Right Location
Select a sunny area that receives at least 6–8 hours of sunlight daily. Ensure the spot is relatively flat and accessible for watering and harvesting.
Step 3: Prepare the Cardboard
Flatten the cardboard boxes and remove any tape or plastic. If you’re using boxes with bottoms, cut them off for better drainage and root penetration.
For enhanced weed control, you can lay an additional layer of flattened cardboard directly on the ground before setting up the boxes.
Step 4: Position the Boxes
Arrange the prepared boxes in your chosen location. Overlap the edges slightly if you’re covering a larger area to ensure there are no gaps where weeds can grow.
Step 5: Fill with Soil
Fill each box with a mix of high-quality soil and compost or aged manure. This combination provides essential nutrients and promotes healthy plant growth. Leave about 2–3 inches of space at the top to prevent soil from spilling over.
Step 6: Plant Your Seeds or Seedlings
Plant your chosen crops according to their specific requirements. Pay attention to spacing, as overcrowding can lead to poor growth and increased vulnerability to pests and diseases.
Step 7: Water Thoroughly
Water the soil well after planting. Cardboard tends to absorb water initially, so ensure the soil is evenly moist to support plant roots.
Step 8: Mulch (Optional)
Apply a layer of mulch over the soil to retain moisture, regulate temperature, and suppress weeds further. Organic mulches like straw, wood chips, or leaves work best.
Step 9: Maintain Your Cardboard Garden
- Check soil moisture regularly, especially during dry periods.
- Remove any weeds that manage to grow through the edges.
- Add more soil or compost if the cardboard begins to settle or decompose significantly.
Step 10: Renew for the Next Season
At the end of the growing season, allow the cardboard to decompose completely into the soil. When you’re ready to plant again, repeat the process with fresh cardboard and soil.
Best Plants for Cardboard Gardening
Cardboard gardening works well for a variety of plants. Some of the best options include:
- Vegetables: Tomatoes, peppers, lettuce, spinach, carrots, and zucchini.
- Herbs: Basil, parsley, cilantro, and thyme.
- Flowers: Marigolds, petunias, and zinnias.
Tips for Success
- Start Small: If you’re new to cardboard gardening, begin with a small area to get comfortable with the process. Expand as you gain confidence.
- Keep an Eye on Moisture: While cardboard gardening reduces water loss, the cardboard itself may initially require extra water until it settles.
- Protect from Pests: Although cardboard deters some pests, you may still need to use natural repellents or physical barriers for added protection.
- Avoid Overloading: Do not overfill the boxes with soil, as this can cause them to collapse prematurely.
- Consider Companion Planting: Combine plants that benefit each other to maximize growth and reduce the risk of pests or diseases.
Advantages of Cardboard Gardening
- Sustainability: It’s an environmentally friendly method that minimizes waste and enriches the soil naturally.
- Ease of Use: With no digging required, it’s a low-maintenance option suitable for gardeners of all skill levels.
- Cost Savings: By reusing cardboard and using natural materials like compost, you save money compared to traditional gardening methods.
Challenges and How to Overcome Them
- Decomposition Rate: Cardboard can break down faster than expected in wet climates. To counter this, use thicker cardboard or add extra layers.
- Pests: While cardboard deters some pests, slugs and snails may be attracted to the moist environment. Use slug traps or barriers as needed.
- Durability: Over time, the cardboard will degrade. Regularly check your setup and replenish materials as needed.
Conclusion
Cardboard gardening is a practical, sustainable, and innovative way to grow plants, especially for those with poor soil quality or limited physical ability. By following the steps outlined above, you can create a thriving garden that’s not only good for your plants but also kind to the environment.
So, why not give cardboard gardening a try this season? Share your experiences, tips, and questions in the comments below—let’s grow together!