
Spring Crocus (Crocus spp.) is one of the most charming and early-blooming flowers that heralds the arrival of spring. Known for their delicate, cup-shaped blooms and vibrant colors, these bulbs offer a delightful spectacle as they push through the remnants of winter snow. Cultivating Spring Crocus is a rewarding experience, providing early-season beauty and color to your garden. This comprehensive guide will cover everything you need to know to successfully plant, care for, and enjoy these lovely springtime flowers.
Introduction
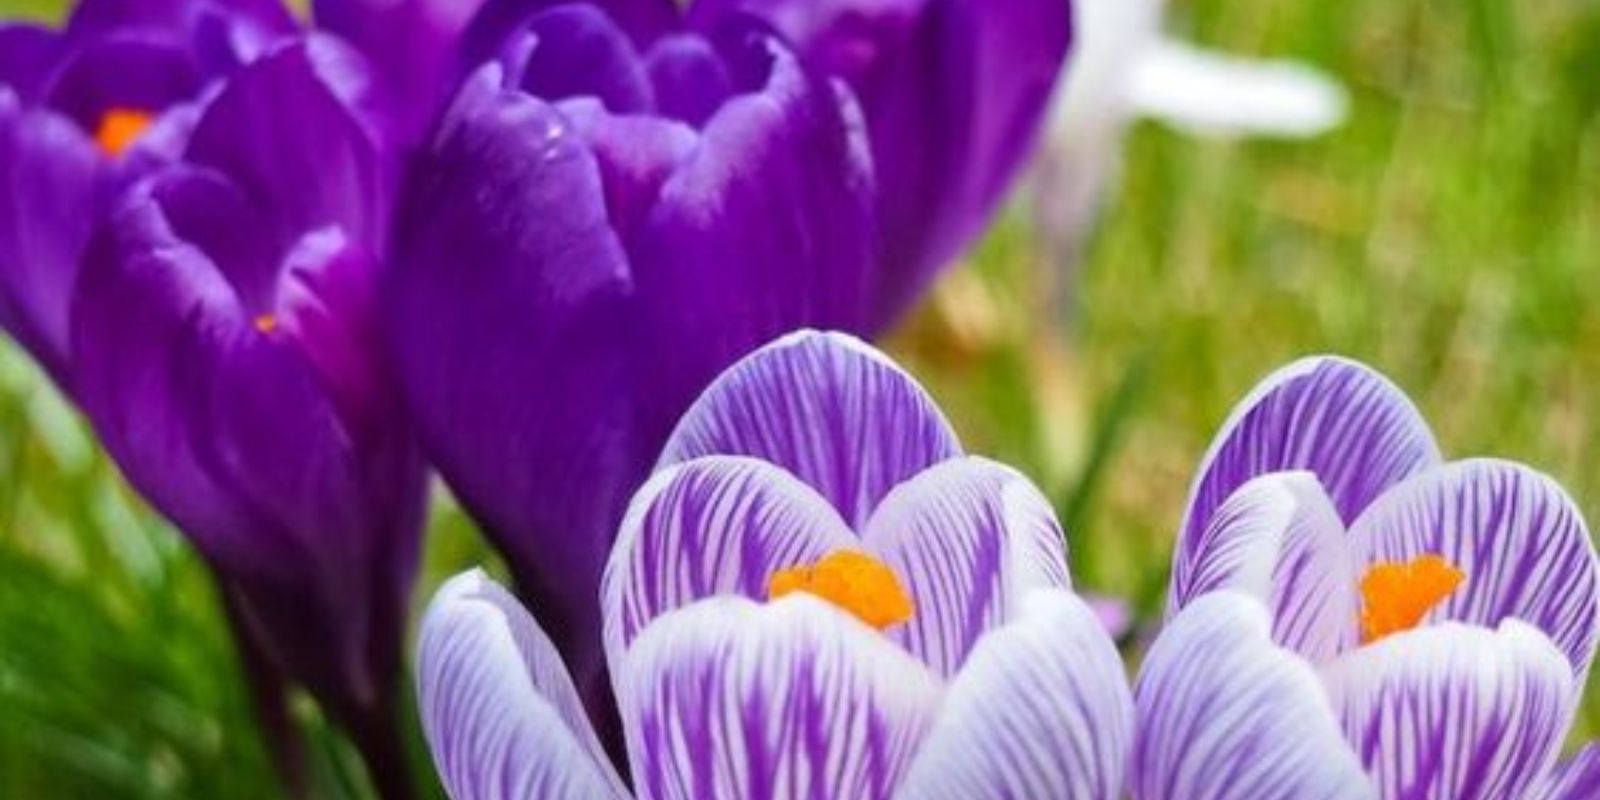
Spring Crocus are among the first flowers to emerge in the garden, often blooming as early as February or March, depending on your location. Their bright colors—ranging from purples and blues to yellows and whites—bring a splash of vibrancy to the garden when it is most needed. Not only do they signify the end of winter, but they also provide an essential early source of nectar for pollinators such as bees.
Selecting the Right Location
1. Choose a Planting Location
The success of your Spring Crocus largely depends on selecting the right planting location. These bulbs thrive in areas that offer the right balance of light and soil conditions.
Steps:
- Sunlight Requirements: Spring Crocus prefer sunny to partially shaded spots. While they do well in full sun, they can also tolerate light shade, especially in warmer climates.
- Soil Conditions: Choose a location with well-draining soil. Crocus bulbs do not tolerate soggy or waterlogged soil, which can lead to bulb rot.
Preparing the Soil
2. Prepare the Soil
Before planting, it’s essential to prepare the soil to create an ideal environment for your crocus bulbs.
Steps:
- Loosen the Soil: Use a garden fork or spade to loosen the soil to a depth of at least 8 inches. This helps the bulbs establish strong roots.
- Add Compost: Mix in compost or well-rotted manure to improve soil fertility and drainage. This organic matter enriches the soil and provides essential nutrients for the growing bulbs.
Planting the Bulbs
3. Plant the Bulbs
Proper planting techniques ensure that your Spring Crocus bulbs have the best chance of thriving.
Steps:
- Planting Depth: Plant the bulbs 3-4 inches deep. This depth helps protect the bulbs from temperature extremes and ensures they have enough room to grow.
- Spacing: Space the bulbs 2-3 inches apart to allow for their natural spread and prevent overcrowding.
- Orientation: Position the bulbs with the pointed end facing up. This orientation encourages proper growth and blooming.
Watering and Mulching
4. Water Gently
After planting, it’s important to water the bulbs properly to kick-start their growth.
Steps:
- Initial Watering: Water the bulbs thoroughly right after planting to help them settle into the soil. Ensure the water reaches the root zone.
- Ongoing Watering: Keep the soil moist but not waterlogged. Monitor the soil moisture levels, especially during dry spells, and water as needed.
5. Mulch
Applying mulch can help maintain soil moisture and provide additional protection for the bulbs.
Steps:
- Apply Mulch: Spread a layer of mulch (such as shredded leaves or straw) around the planted area. Mulch helps retain moisture and insulates the bulbs during colder periods.
- Thickness: A layer of 2-3 inches is typically sufficient. Avoid piling mulch directly against the bulbs to prevent potential rot.
Caring for Spring Crocus
6. Fertilizing
Fertilization helps ensure that your Spring Crocus have the nutrients they need for healthy growth and vibrant blooms.
Steps:
- Choose a Fertilizer: Use a balanced, all-purpose fertilizer or one specifically designed for flowering bulbs. Look for a formula with equal or near-equal parts of nitrogen, phosphorus, and potassium.
- Application Timing: Apply the fertilizer in early spring as new growth begins. Follow the manufacturer’s instructions for the correct application rate and method.
7. Post-Bloom Care
Once your Spring Crocus have bloomed, they require some attention to ensure they come back year after year.
Steps:
- Allow Foliage to Die Back Naturally: After blooming, allow the foliage to die back naturally. The leaves will photosynthesize and store energy in the bulbs for the next growing season.
- Remove Dead Leaves: Once the leaves are completely brown and withered, trim them off to keep your garden tidy.
Troubleshooting and Tips
8. Pest and Disease Management
While Spring Crocus are generally hardy and resistant to many pests and diseases, occasional issues can arise.
Steps:
- Check for Pests: Watch for common pests like slugs and snails, which may be attracted to the tender foliage. Use organic pest control methods if necessary.
- Monitor for Diseases: Look for signs of fungal diseases, such as mold or mildew. Ensure proper spacing and soil drainage to reduce disease risk.
9. Naturalization
Spring Crocus are excellent for naturalizing, meaning they can multiply and return year after year.
Steps:
- Leave Bulbs in Place: If you want the crocus to naturalize, leave the bulbs in place after they have finished blooming. They will gradually spread and form larger clumps over time.
- Allow Natural Spread: Over time, the bulbs will produce offsets and new plants, creating a more extensive display.
Conclusion
The Spring Crocus (Crocus spp.) is a delightful flower that brings early spring cheer to your garden. By selecting the right location, preparing the soil, and following proper planting and care techniques, you can enjoy a beautiful display of these vibrant blooms year after year. Their ability to signal the end of winter and provide a burst of color makes them a favorite among gardeners.
Motivation: Embrace the early beauty of Spring Crocus in your garden and enjoy the first signs of spring as these charming flowers brighten your outdoor space! 🌸