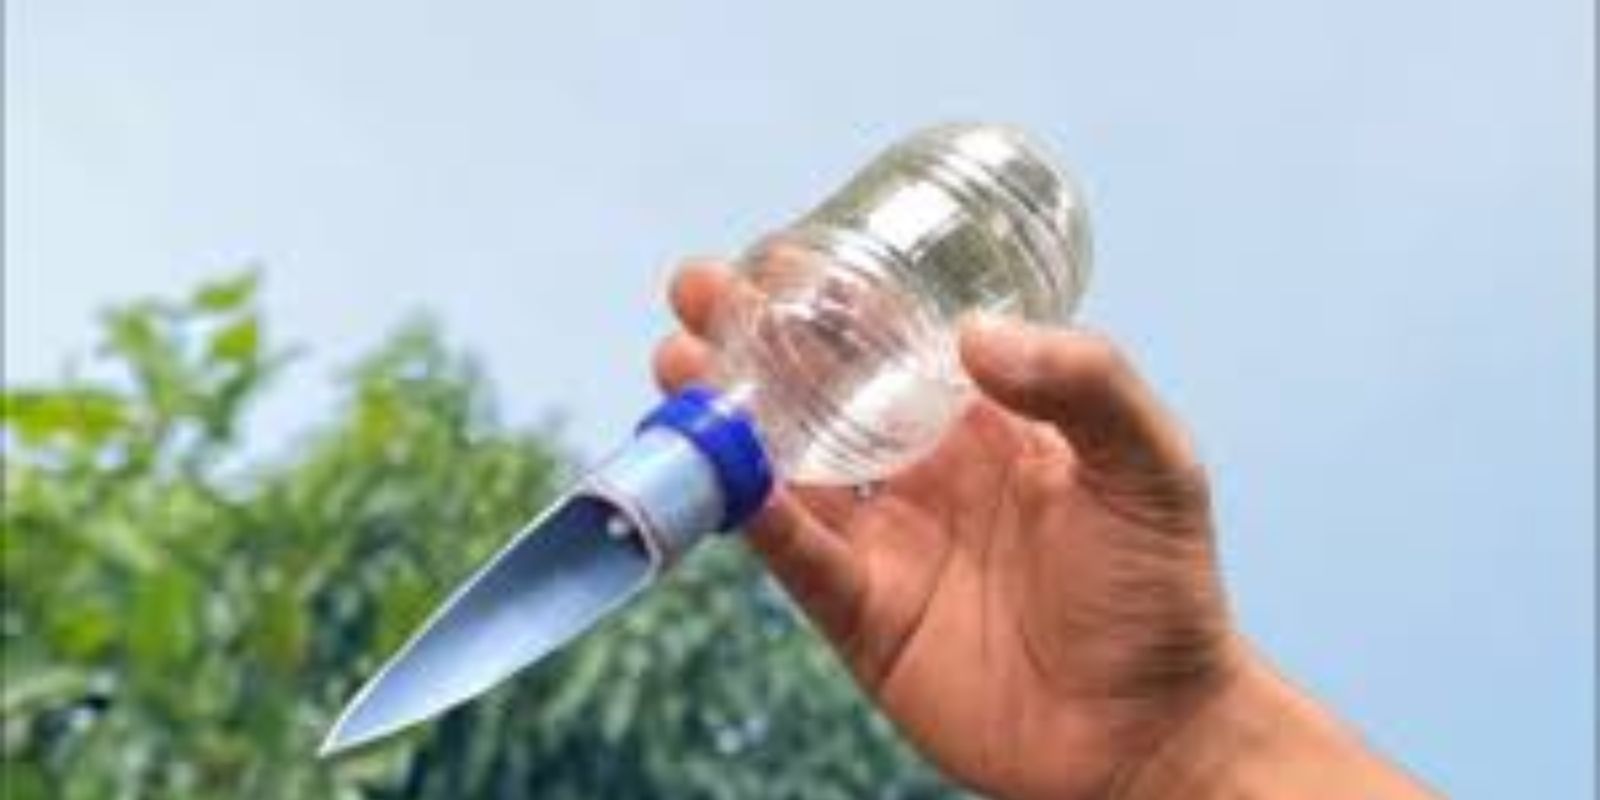
Keeping plants hydrated is crucial for their health, but it can be challenging when managing a busy schedule or during dry seasons. Enter the DIY drip irrigation system—an eco-friendly, cost-effective solution made from something you likely already have at home: used plastic bottles! This simple yet ingenious method not only saves water but also ensures your plants receive consistent moisture, fostering healthier growth.
In this guide, we’ll explore everything you need to know to create and maintain your own automatic watering system using used bottles, making it perfect for gardens, raised beds, or even potted plants.
Why Choose a DIY Drip Irrigation System?
Drip irrigation systems are valued for their ability to deliver water directly to a plant’s roots, minimizing waste and evaporation. Traditional systems can be expensive and complicated to install, but this DIY version offers similar benefits with minimal cost and effort. Plus, it’s an excellent way to repurpose plastic bottles, reducing waste and supporting sustainable practices.
Here are some reasons to try this method:
- Water Efficiency: Delivers water gradually and reduces runoff.
- Low Maintenance: Once installed, it works without constant supervision.
- Eco-Friendly: Upcycles plastic waste and supports sustainable gardening.
- Cost-Effective: No need for expensive equipment.
What You’ll Need
- Plastic bottles (1-2 liter size is ideal)
- Sharp scissors or a knife
- A needle, pin, or small drill
- A marker (optional)
- Soil or gardening beds
Step-by-Step Guide to Creating the System
1. Collect the Bottles
Gather plastic bottles from your recycling bin. Choose bottles with sturdy construction and tightly sealing caps to avoid leaks outside the designated holes.
2. Clean the Bottles
Wash the bottles thoroughly with soap and water to remove any residues that could harm plants. If you’re using bottles that previously held sugary drinks, ensure no sugar remains to avoid attracting pests.
3. Make the Holes in the Cap
- Use a heated needle, pin, or small drill to poke holes in the bottle cap.
- Create 2-4 small holes depending on the desired drip rate.
- Test the cap by running water through it to ensure the flow is slow and steady.
4. Cut the Bottom Off
Using sharp scissors or a knife, cut off the bottom of the bottle to create an open end for refilling. Leave enough of the bottle intact to maintain its structure.
5. Position the Bottles in the Soil
- Dig a small hole near the base of each plant.
- Insert the bottle upside down, with the cap buried in the soil and the open bottom facing up.
- Make sure the cap holes are completely under the soil to prevent water from escaping too quickly.
6. Fill the Bottles
Pour water into the open end of the bottle. The water will drip slowly through the cap, providing a consistent supply of moisture to the plant roots.
7. Test and Adjust
Observe the drip rate over a day or two. If water seeps out too quickly or too slowly, adjust the number or size of the cap holes accordingly.
Customizing Your Drip Irrigation System
Add Nutrients
Enhance plant growth by occasionally adding diluted organic liquid fertilizer to the bottles. This method ensures the nutrients reach the root zone directly.
Scale for Larger Gardens
For larger areas, use multiple bottles and space them strategically among your plants.
Design Variations
- Use decorative bottles for aesthetic appeal.
- Connect several bottles to create a network for wider coverage.
Maintenance Tips
- Monitor Water Levels: Check the bottles regularly and refill them as needed.
- Inspect for Clogs: Ensure the holes remain unobstructed, especially if using fertilizers.
- Replace Bottles When Needed: Over time, plastic may degrade; swap out bottles when signs of wear appear.
Benefits Beyond Convenience
Supports Sustainability
By repurposing plastic bottles, you’re contributing to waste reduction and promoting a circular economy.
Plant Health
Consistent watering helps prevent issues like root rot caused by overwatering or dehydration from neglect.
Budget-Friendly Gardening
This DIY solution eliminates the need for costly irrigation setups, making it accessible to all.
Applications for Different Settings
- Urban Gardens: Ideal for balconies and small spaces where conventional irrigation systems may be impractical.
- Community Gardens: Share this technique with fellow gardeners to manage water use collectively.
- Vacation Watering: Perfect for ensuring plants are cared for while you’re away.
Common Mistakes to Avoid
- Too Many Holes: Excessive holes may cause the water to drain too quickly.
- Incorrect Placement: Positioning the bottle too far from the plant base can reduce effectiveness.
- Ignoring Soil Type: Sandy soils may drain water faster, requiring smaller holes or fewer bottles.
Transform Your Garden Today!
Creating a DIY drip irrigation system using used bottles is an easy, eco-friendly project that benefits your plants, your wallet, and the environment. Whether you’re a seasoned gardener or just starting, this method offers a simple way to optimize plant care and reduce waste.
🌱 Have you tried this gardening hack? Share your tips, photos, and experiences in the comments below! Let’s grow sustainably together.
#DIYDripIrrigation #SustainableGardening #GardeningHacks #EcoFriendlyLiving #PlasticUpcycling #WaterWiseGardening #HomeGardeningTips #GreenLiving #GardeningSimplified

