
Growing celery at home can be a rewarding endeavor, offering you the pleasure of harvesting fresh, crisp stalks right from your garden or containers. By starting with a simple bunch of celery from your local market, you can propagate and cultivate this versatile vegetable with minimal effort and space. Let’s explore the step-by-step process to successfully grow celery from a bunch, ensuring you have a bountiful supply for your culinary adventures.
Introduction
Celery (Apium graveolens) is a cool-season vegetable known for its crunchy stalks and distinct flavor. Rich in vitamins, minerals, and dietary fiber, celery is a popular ingredient in salads, soups, stir-fries, and as a healthy snack. Growing celery at home ensures you have access to fresh, pesticide-free produce, and can be a cost-effective alternative to store-bought options.
1. Choose Your Bunch
The journey to growing celery begins with selecting a healthy bunch from your local grocery store or farmer’s market:
- Look for celery bunches with firm, compact stalks and vibrant green leaves. Avoid bunches that appear wilted, damaged, or have slimy bases.
- The quality of the bunch you choose will determine the success of your celery-growing venture, so select the freshest and healthiest option available.
2. Prepare Your Celery
Once you have your celery bunch, take the necessary steps to prepare it for propagation:
- Trim the bottom of the celery bunch, removing approximately 2 inches from the base. This includes cutting through the root base and any outer stalks that may be discolored or damaged.
- By trimming the celery base, you encourage the growth of new roots, essential for successful propagation.
3. Water Propagation
Water propagation is a simple and effective method to initiate root growth in celery:
- Place the trimmed celery base in a shallow dish or jar filled with clean, room-temperature water. Ensure that the cut end of the celery is submerged in water to facilitate root development.
- Change the water every few days to prevent stagnation and maintain freshness, which promotes healthy root growth.
4. Transplanting
After approximately 1-2 weeks of water propagation, you should notice new roots emerging from the celery base:
- Once the roots are well-developed and reach a length of about 1-2 inches, it’s time to transplant the celery into a suitable growing medium. Choose between planting directly in your garden or in containers, depending on your available space and preference.
- Prepare the planting site by ensuring the soil is well-draining and enriched with organic matter like compost. Celery thrives in fertile, loamy soil with a slightly acidic to neutral pH (around 6.0-7.0).
5. Soil Requirements
Proper soil preparation is crucial for the healthy growth of celery plants:
- Work organic matter into the soil to improve its structure and nutrient content. Compost or well-rotted manure provides essential nutrients and enhances soil fertility.
- Maintain soil moisture by watering regularly, ensuring the soil remains consistently moist but not waterlogged. Mulching around celery plants helps retain moisture, suppresses weed growth, and regulates soil temperature.
6. Sunlight and Watering
Provide celery plants with the necessary sunlight and water to support their growth and development:
- Celery thrives in full sun but can tolerate partial shade, particularly in regions with intense sunlight or high temperatures. Aim to provide at least 6 hours of direct sunlight daily for optimal growth.
- Water celery plants regularly, especially during dry periods, to keep the soil evenly moist. Avoid overhead watering, as it can promote disease and fungal growth. Instead, water at the base of the plants to deliver moisture directly to the roots.
7. Fertilization
Maintain celery’s nutritional requirements through regular fertilization:
- Feed celery plants with a balanced fertilizer formulated for vegetables every 2-3 weeks during the growing season. Follow the manufacturer’s instructions regarding application rates and methods.
- Avoid excessive nitrogen fertilization, as it can lead to lush foliage at the expense of stalk development. Balanced fertilization promotes sturdy stalks and healthy foliage essential for robust celery growth.
8. Pest and Disease Management
Protect celery plants from common pests and diseases that can affect their health and productivity:
- Monitor regularly for pests such as aphids, caterpillars, and slugs that may feed on celery foliage. Handpick pests or use organic pest control methods like insecticidal soap or neem oil to manage infestations.
- Practice good garden hygiene by removing weeds, debris, and diseased plant material that can harbor pests and diseases. Rotate crops annually to reduce the risk of soil-borne diseases such as celery leaf spot.
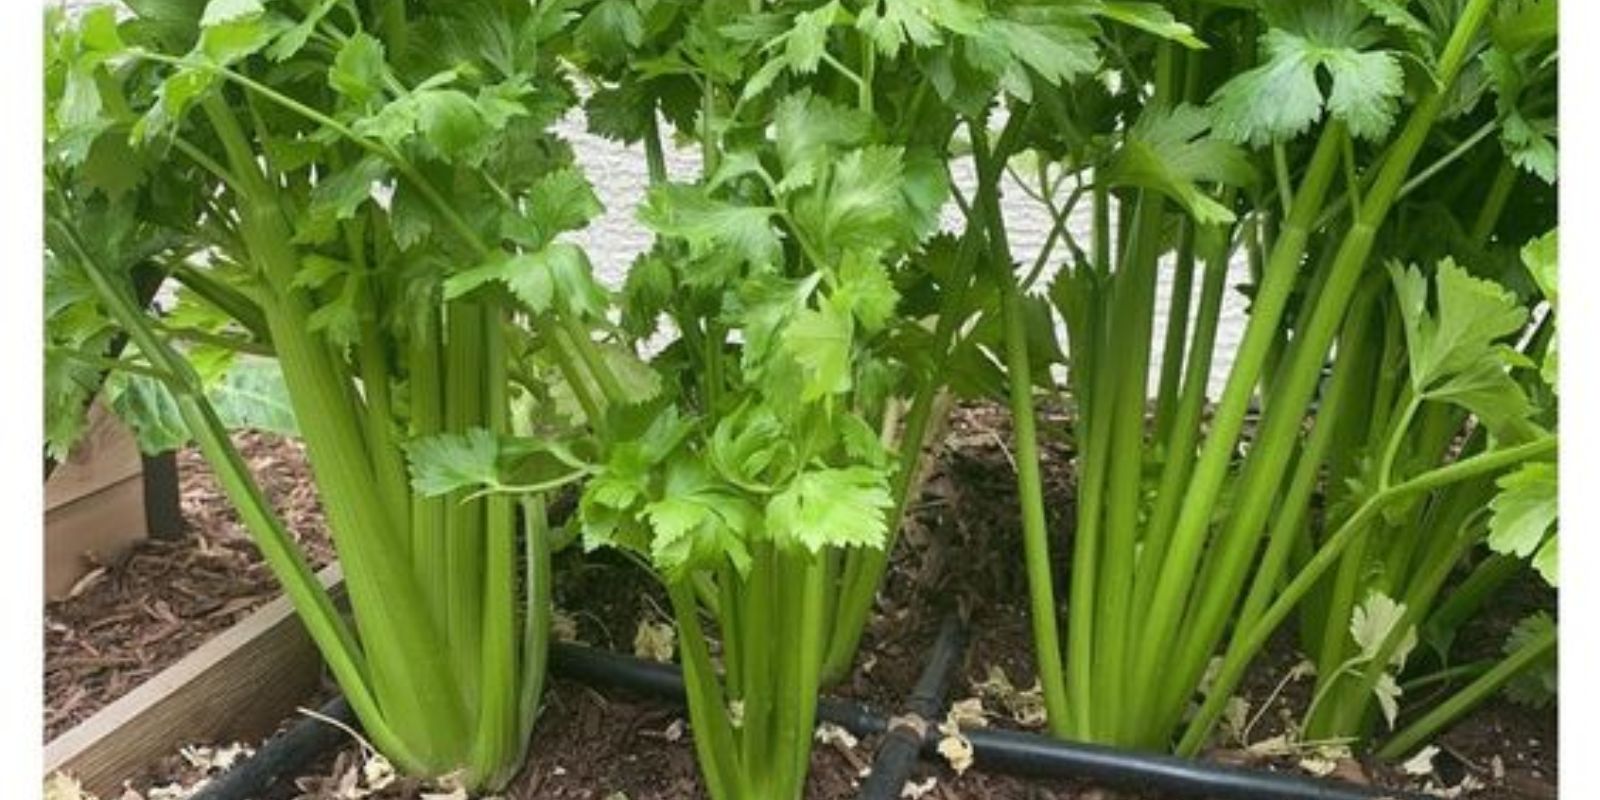
9. Harvesting
Enjoy the fruits of your labor by harvesting celery at the peak of maturity:
- Harvest celery stalks when they reach a desirable size, typically 3-4 months after planting. Use a sharp knife to cut the stalks at the base near the soil line, ensuring a clean and precise cut.
- Leave some outer stalks intact to encourage continuous growth and future harvests. Freshly harvested celery adds crispness and flavor to a variety of culinary dishes, enhancing both taste and nutrition.
Conclusion
Growing celery from a bunch is a fulfilling and sustainable way to cultivate this nutritious vegetable at home. By following these straightforward steps, you can experience the joy of harvesting fresh celery straight from your garden or containers. Share your gardening experiences, tips, and questions with fellow enthusiasts in the comments below. Let’s inspire each other to grow our own celery and enjoy the rewards of home gardening! 🌿