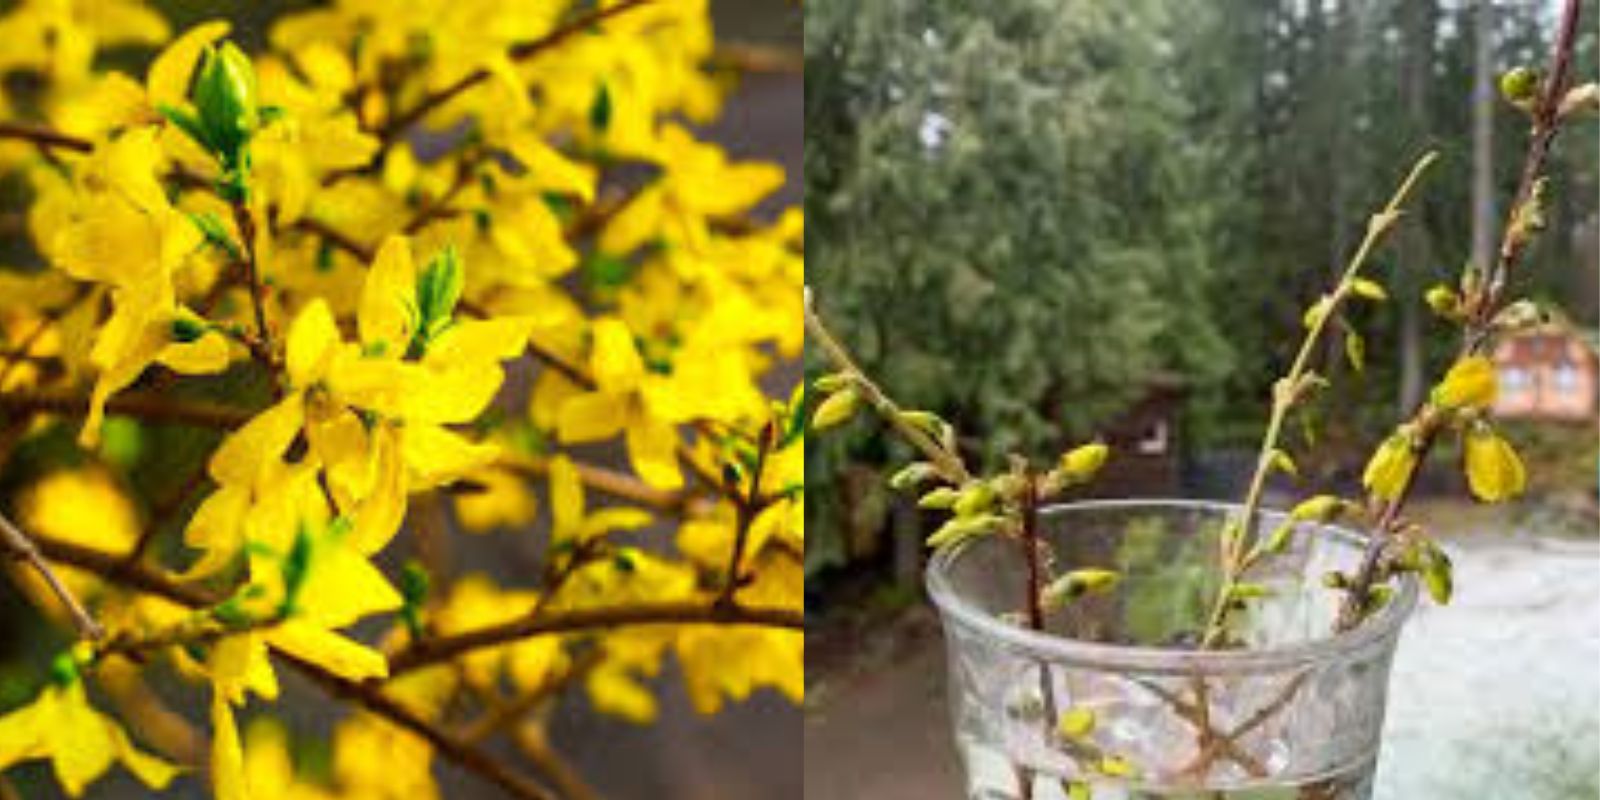
Forsythia shrubs are beloved for their vivid yellow flowers that herald the arrival of spring. These hardy and versatile plants are ideal for hedges, borders, or simply as ornamental highlights in your garden. The best part? You can propagate Forsythia easily from cuttings, creating a lush garden without breaking the bank. This article will guide you through the process of rooting Forsythia step by step, providing tips and tricks to ensure success.
Why Propagate Forsythia?
Rooting Forsythia from cuttings offers several benefits:
- Cost-Effective Gardening: Propagation eliminates the need to purchase new plants.
- Sustainability: Reusing plant cuttings is eco-friendly.
- Landscape Enhancement: Multiply Forsythia shrubs to create striking borders or hedges.
- Sentimental Value: Propagate Forsythia from an old plant to preserve family or garden memories.
The Ideal Time for Rooting Forsythia
The timing of propagation plays a crucial role in its success. Forsythia cuttings can be taken in:
- Late Spring to Early Summer (Softwood Cuttings): Best for faster rooting and tender, green stems.
- Fall to Early Winter (Hardwood Cuttings): These cuttings require more time to root but are more resilient.
For beginners, softwood cuttings are easier to handle and root more quickly.
Materials Needed
Before starting, gather the following items:
- Pruning shears or scissors
- Rooting hormone powder (optional)
- Potting soil (light and well-draining)
- Plant pots or containers
- Clear plastic bags
- Spray bottle (for misting)
Step-by-Step Guide to Root Forsythia
1. Select a Healthy Parent Plant
Choose a mature, disease-free Forsythia shrub. Look for healthy branches with no signs of pests or damage.
2. Take the Cutting
- Use clean pruning shears to cut a 6–8-inch branch.
- Ensure the cutting is taken just below a node (the part where leaves or stems emerge).
- If you’re working with hardwood cuttings, select stems that are firm and about the thickness of a pencil.
3. Prepare the Cutting
- Remove the leaves from the lower half of the cutting, leaving 2–3 leaves at the top.
- Optionally, dip the cut end in rooting hormone to promote faster root growth.
4. Prepare the Soil and Pot
- Fill a small pot with well-draining potting soil. You can use a mix of garden soil, sand, and compost for optimal results.
- Moisten the soil lightly to create a welcoming environment for the cutting.
5. Plant the Cutting
- Insert the cutting into the soil, ensuring at least one or two nodes are buried beneath the surface.
- Gently press the soil around the base to secure the cutting.
6. Create a Humid Environment
- Cover the pot with a clear plastic bag to create a mini-greenhouse.
- Poke a few holes in the bag to allow for air circulation. This step is crucial for maintaining humidity, which encourages rooting.
7. Provide the Right Conditions
- Place the pot in a location with bright, indirect sunlight. Avoid direct sunlight, which can dry out the cutting.
- Maintain a temperature of around 65–75°F (18–24°C).
8. Water Regularly
- Keep the soil consistently moist but not waterlogged.
- Use a spray bottle to mist the soil and leaves if the environment feels dry.
9. Monitor for Roots
- After 4–6 weeks, check for root development by gently tugging on the cutting. Resistance indicates that roots have formed.
10. Transplant to the Garden
- Once the cutting has established roots, it’s time to plant it outdoors.
- Choose a sunny location with well-draining soil.
- Water the newly transplanted shrub regularly to help it establish in its new home.
Caring for Your New Forsythia Shrub
After successful rooting, it’s essential to care for your young Forsythia shrub to ensure healthy growth.
- Watering: Forsythia shrubs prefer moderate watering. During the first few months, water deeply once a week. Reduce frequency as the plant matures.
- Mulching: Apply a layer of organic mulch around the base to retain soil moisture and prevent weeds.
- Pruning: Trim your Forsythia after it blooms to encourage bushier growth and remove dead or overgrown branches.
- Fertilizing: Feed your plant with a balanced fertilizer in early spring to support growth and flowering.
Common Mistakes to Avoid
- Using Dry or Wilted Cuttings: Always select fresh, healthy branches.
- Overwatering: Too much water can lead to root rot. Keep the soil moist but not soggy.
- Skipping Rooting Hormone: While optional, rooting hormone significantly increases success rates.
- Poor Timing: Avoid taking cuttings during extreme weather conditions or the dormant season.
Why Root Forsythia?
Rooting Forsythia is more than just a gardening project. It’s a chance to multiply the beauty in your garden, create meaningful connections with nature, and share the joy of gardening with others. Whether you’re starting a hedge, filling bare spots, or gifting a rooted cutting to a fellow plant lover, this process is as rewarding as it is straightforward.
In Conclusion
Propagating Forsythia is an easy and fulfilling way to enhance your garden with vibrant yellow blooms. With just a little patience and the steps outlined above, you can grow healthy Forsythia shrubs that will brighten your outdoor space for years to come.
🌼 Join the propagation movement! Share your Forsythia rooting success with us using #ForsythiaJoy #GardeningMadeEasy #BloomWithUs. Let’s spread the beauty together! 🌿

