
Orchids are known for their exquisite beauty and delicate structure, making them a popular choice among plant enthusiasts. However, they can be quite finicky, and issues like root loss are common. If your orchid has lost its roots, don’t despair! With the right techniques, you can help it reborn in just a few days. In this article, we’ll reveal the secrets used by professional nurserymen to revive orchids without roots.
Understanding the Problem
Orchids can lose their roots for a variety of reasons, including overwatering, underwatering, poor potting medium, or disease. Without roots, orchids struggle to absorb water and nutrients, which can lead to further decline. However, these resilient plants can often be revived with proper care and attention.
Step-by-Step Guide to Reviving Orchids Without Roots
Step 1: Clean the Orchid
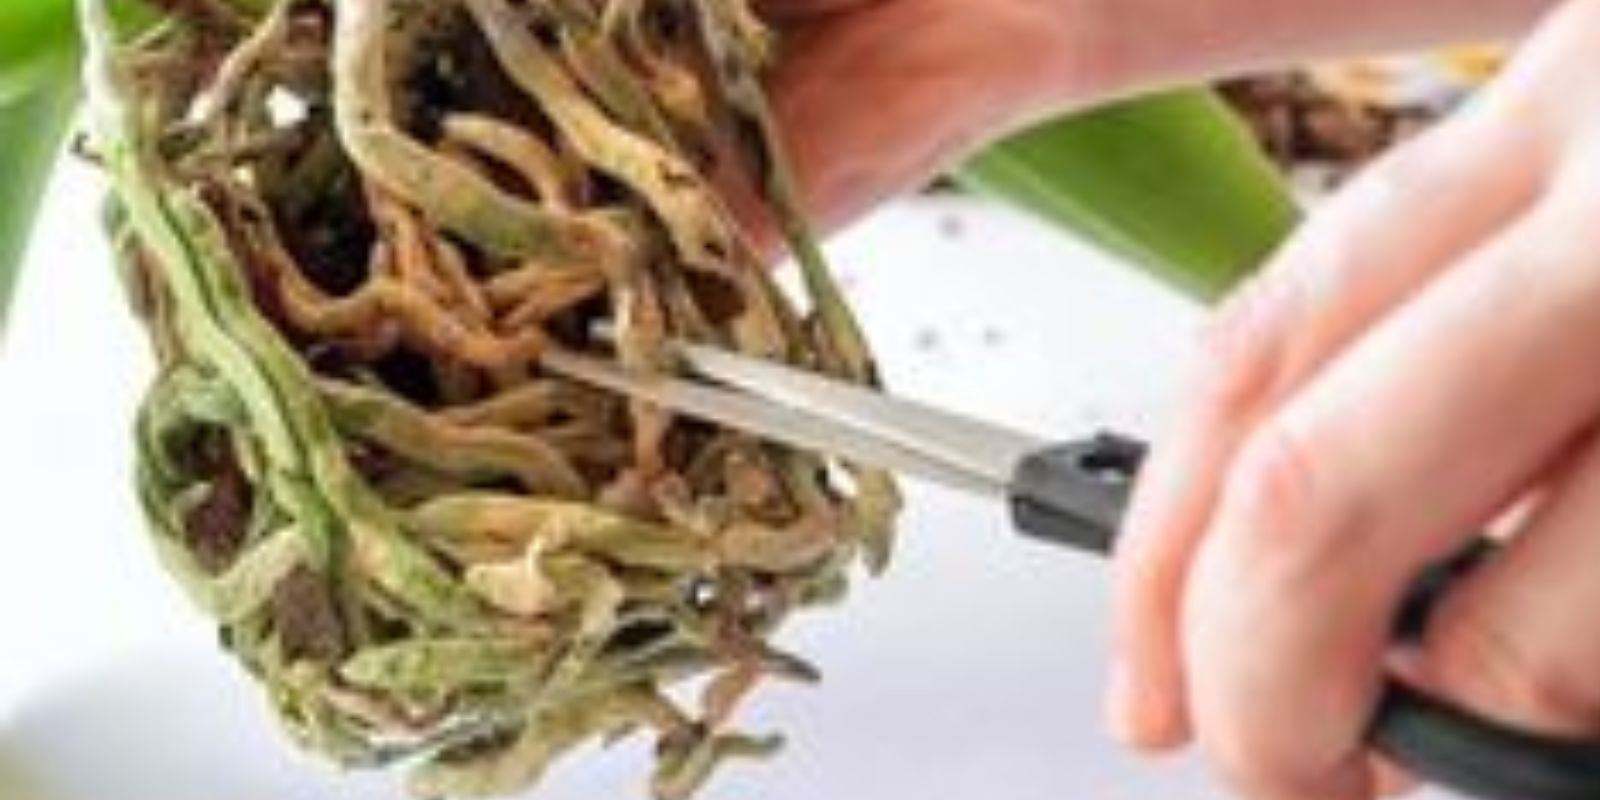
The first step in reviving your rootless orchid is to clean it thoroughly. Gently remove any dead or decayed roots using sterilized scissors or pruning shears. It’s crucial to use clean tools to prevent the spread of bacteria or disease. If the orchid has any dead or yellowing leaves, remove these as well to reduce the plant’s stress.
Step 2: Soak in Water
Next, rehydrate your orchid by soaking it in lukewarm water. Fill a bowl with water and submerge the orchid for a few hours. This helps to rehydrate the plant tissues and prepare it for the rooting process. Ensure the water is at room temperature, as extreme temperatures can shock the plant.
Step 3: Use Rooting Hormone
Applying a rooting hormone can significantly enhance the orchid’s ability to develop new roots. Rooting hormones contain growth-promoting substances that encourage root formation. Dip the base of the orchid in a rooting hormone powder or gel, making sure to cover the entire area where roots should grow.
Step 4: Create a Humid Environment
Orchids thrive in humid conditions, which is especially important when they are trying to regrow roots. Place the treated orchid in a clear plastic bag or a humidity dome to create a mini greenhouse effect. This environment helps maintain high humidity levels around the plant, essential for root development. Ensure the bag or dome is loosely sealed to allow some airflow, preventing mold growth.
Step 5: Monitor and Mist
Keep a close eye on your orchid during the revival process. Mist the orchid daily with water to maintain humidity inside the plastic bag or humidity dome. Use distilled or rainwater to avoid mineral buildup, which can harm the plant. If you notice condensation inside the bag or dome, wipe it off to prevent fungal growth.
Additional Tips for Success
Reviving an orchid without roots requires patience and attention to detail. Here are some additional tips to increase your chances of success:
- Light Conditions: Place the orchid in a location with bright, indirect light. Direct sunlight can be too harsh and may damage the delicate leaves and new roots.
- Temperature: Maintain a consistent temperature between 65-75°F (18-24°C). Avoid placing the orchid in drafty areas or near heating vents, as sudden temperature changes can stress the plant.
- Humidity: While the plastic bag or humidity dome helps maintain humidity, you can also use a humidity tray or room humidifier to increase the overall humidity in the room.
- Feeding: Once you see signs of new root growth, you can start feeding the orchid with a diluted orchid fertilizer. Be cautious not to over-fertilize, as this can burn the new roots.
- Patience: The revival process can take time, sometimes several weeks to a few months. Be patient and continue to provide consistent care.
Troubleshooting Common Issues
Even with the best care, you may encounter some challenges while reviving your orchid. Here are common issues and how to address them:
- Mold or Fungal Growth: If you notice mold or fungal growth, reduce the humidity by opening the plastic bag or dome slightly more. Ensure there is adequate airflow around the plant.
- Leaf Yellowing: Yellowing leaves can indicate overwatering, underwatering, or insufficient light. Adjust your care routine accordingly and ensure the plant is not exposed to direct sunlight.
- No Root Growth: If the orchid shows no signs of new roots after a few weeks, try reapplying the rooting hormone and ensure it has optimal light, temperature, and humidity conditions.
Long-Term Care for Recovered Orchids
Once your orchid starts to develop new roots, it’s crucial to transition it back to a normal growing environment gradually. Here’s how to do it:
- Potting: Once the new roots are about 1-2 inches long, you can pot the orchid in a suitable orchid potting mix. Bark-based mixes work well for most orchid types.
- Watering: Water the orchid thoroughly when the potting mix is dry. Ensure proper drainage to prevent root rot.
- Fertilizing: Feed the orchid with a balanced orchid fertilizer every two weeks during the growing season (spring and summer) and reduce feeding during the dormant period (fall and winter).
- Pruning: Remove any dead or damaged leaves and spent flower spikes to encourage healthy growth.
Conclusion
Reviving an orchid without roots may seem daunting, but with the right techniques and a little patience, it’s entirely possible. By following these steps used by professional nurserymen, you can help your orchid reborn and thrive once again. Not only will you save a beautiful plant, but you’ll also gain valuable experience in orchid care. Give it a try, and soon you’ll see your orchid flourishing with new roots and leaves, ready to grace your home with its stunning blooms.