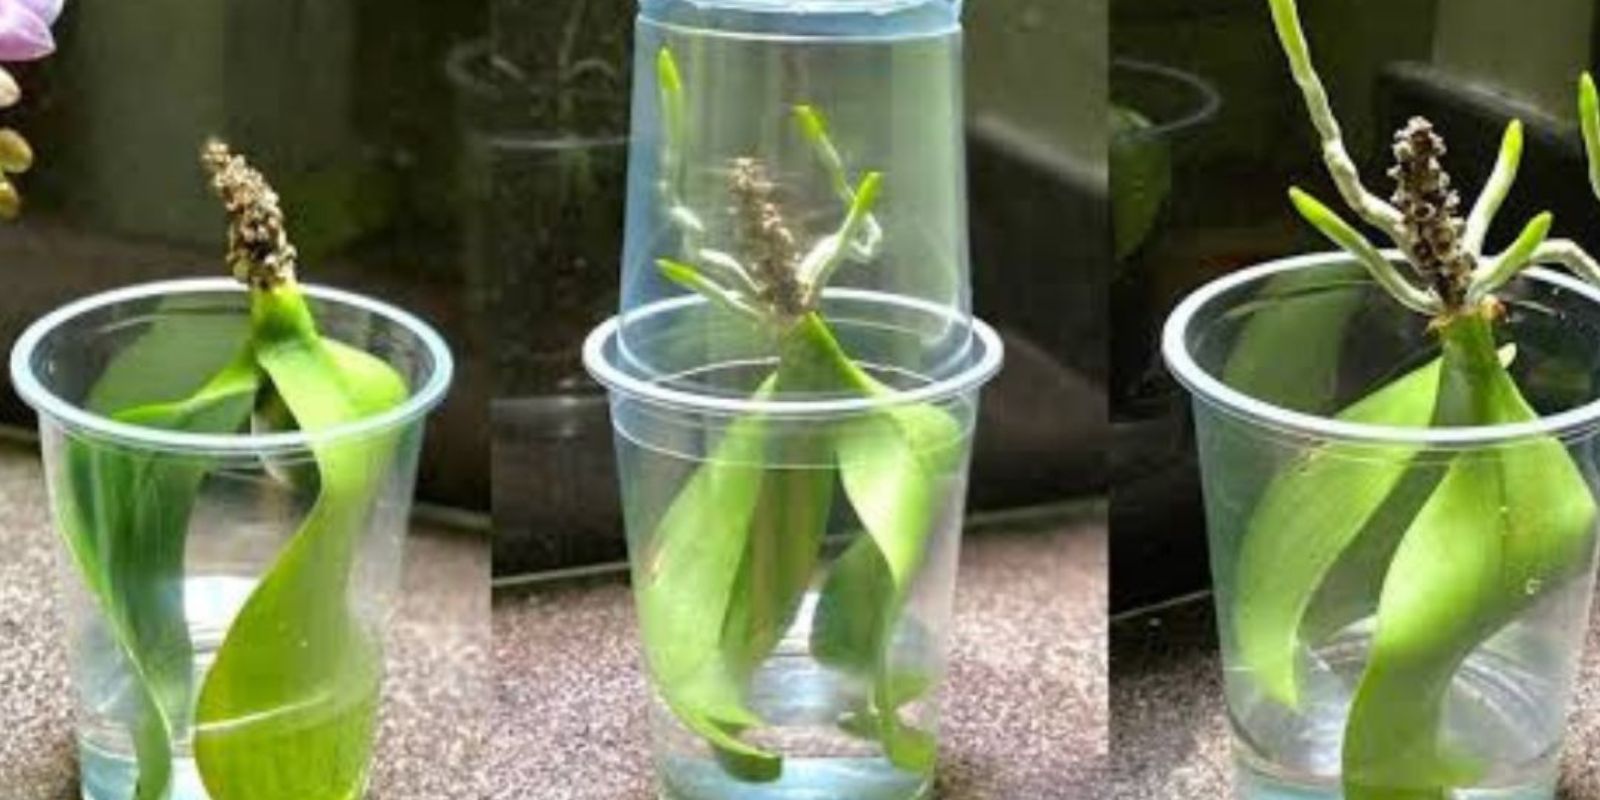
Orchids are one of the most beautiful and diverse flowering plants in the world, captivating plant enthusiasts and casual gardeners alike. However, they can be challenging to care for, and many orchid owners find themselves struggling to keep their plants healthy and thriving. If you’ve ever faced the disappointment of a wilting orchid, fear not! There’s an effective method inspired by Asian gardening techniques that can help you revive your orchid quickly, encouraging the growth of young roots and leaves. In this article, we’ll explore this technique in detail, ensuring that you have all the knowledge you need to bring your orchid back to life.
Understanding Orchids
Before diving into the revival process, it’s essential to understand what makes orchids unique. Orchids belong to the family Orchidaceae, which includes over 25,000 species and more than 100,000 hybrids. They are known for their intricate flowers and can be found in various environments around the globe. Unlike many other houseplants, orchids are epiphytes, meaning they naturally grow on other plants rather than in soil. This adaptation allows them to absorb moisture and nutrients from the air and rain.
Common Issues with Orchids
Orchids can suffer from various issues, including root rot, lack of nutrients, improper watering, and insufficient light. These problems can lead to yellowing leaves, wilting, and a general decline in health. The good news is that with the right approach, you can revive your struggling orchid and encourage new growth.
The Asian Secret to Reviving Orchids
The revival technique we’ll be discussing is rooted in traditional Asian gardening practices. This method focuses on providing the right conditions for your orchid to thrive, emphasizing hydration, proper potting, and optimal light exposure. Here’s a step-by-step guide to help you revive your orchid effectively.
Step 1: Inspecting the Roots
The first step in reviving your orchid is to carefully remove it from its pot. Gently pull the plant out, taking care not to damage the roots. Inspect the roots for any signs of rot or damage. Healthy roots should be firm and green or white in color. If you notice any brown, mushy, or black roots, these need to be trimmed away using sterilized scissors or pruning shears. This step is crucial, as damaged roots can hinder the plant’s ability to absorb water and nutrients.
Step 2: Soaking the Roots
Once you’ve trimmed away the unhealthy roots, it’s time to hydrate the remaining healthy roots. Fill a bowl with room-temperature water and place the roots in it for about 30 minutes. This soaking process helps to rehydrate the roots and encourages them to absorb moisture more effectively. It’s a simple yet powerful technique that can make a significant difference in your orchid’s recovery.
Step 3: Repotting the Orchid
After soaking, it’s time to repot your orchid. Choose a pot that has drainage holes to prevent water from accumulating at the bottom. Use a fresh orchid potting mix, which is typically made from bark, sphagnum moss, and other organic materials that provide excellent drainage and aeration. Place the orchid in the new pot, ensuring that the roots are spread out and not cramped. Fill in around the roots with the potting mix, gently pressing down to eliminate air pockets. Repotting is vital for giving your orchid a fresh start and the nutrients it needs to grow.
Step 4: Watering Correctly
Watering is one of the most critical aspects of orchid care. After repotting, water your orchid thoroughly, allowing the water to flow through the drainage holes. However, it’s essential to let the potting mix dry out slightly before the next watering. Overwatering can lead to root rot, while underwatering can cause stress to the plant. A good rule of thumb is to check the potting mix; if the top inch feels dry, it’s time to water again. Monitoring your orchid’s moisture levels will help ensure it remains healthy and vibrant.
Step 5: Providing Adequate Light
Light is another essential factor in orchid care. Orchids thrive in bright, indirect sunlight. Placing your orchid near a window with filtered light is ideal. Direct sunlight can scorch the leaves, while too little light can hinder growth. If you notice your orchid stretching toward the light, it may need more exposure. Consider rotating the pot occasionally to ensure even light distribution on all sides of the plant.
Encouraging New Growth
After completing these steps, it’s time to be patient and observe your orchid’s progress. With the right care, you should begin to see new roots and leaves emerging within a few weeks. During this time, continue to monitor the moisture levels and light conditions. Fertilizing your orchid with a balanced orchid fertilizer can also promote healthy growth. Follow the manufacturer’s instructions for application rates, and consider fertilizing every two to four weeks during the growing season.
The Importance of Patience
Reviving an orchid is not an instant process;

