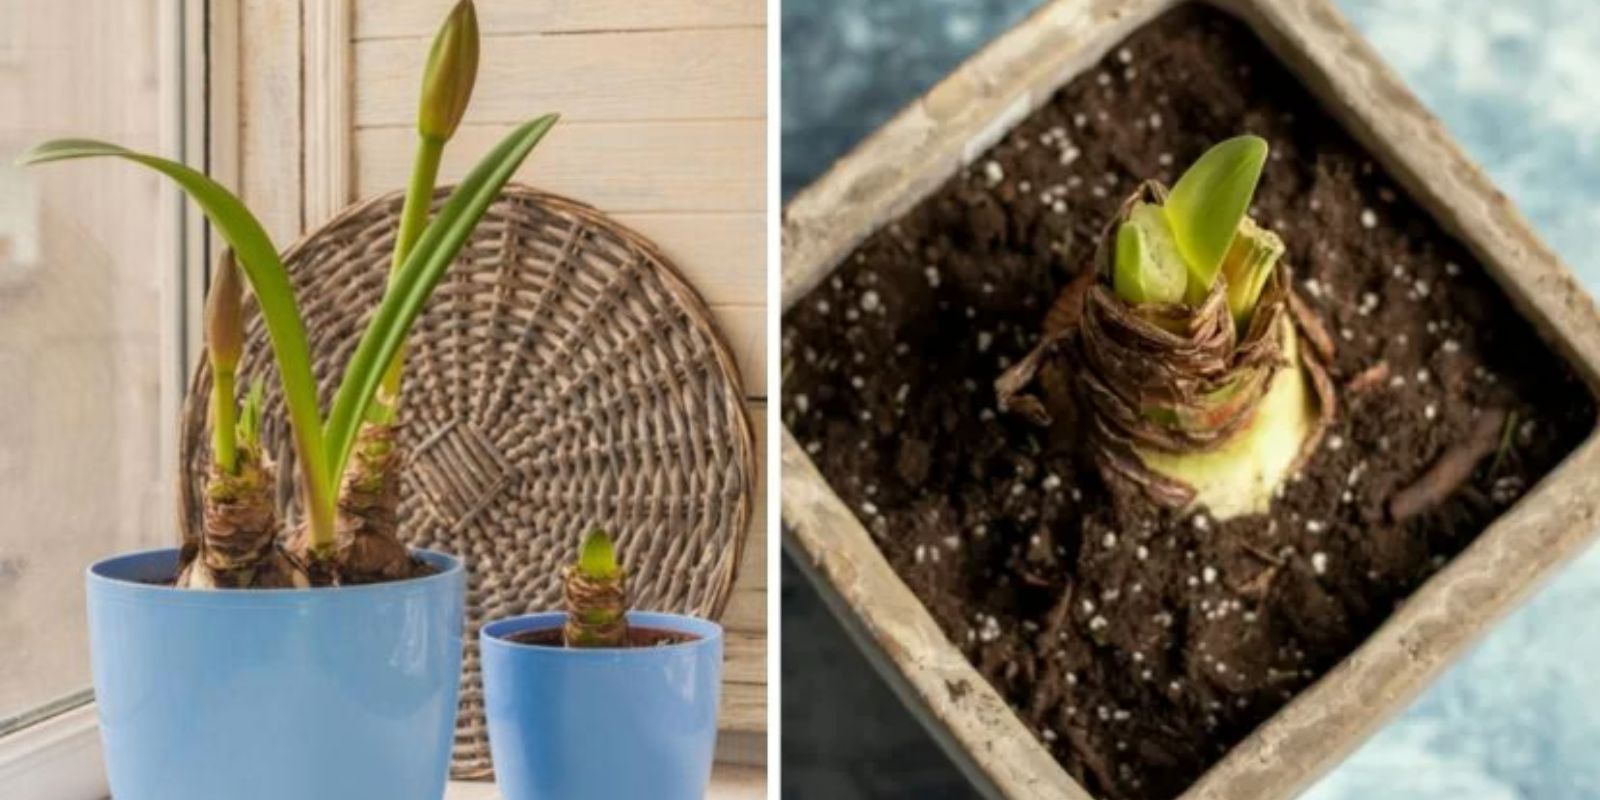
Amaryllis flowers are beloved for their vibrant, large blooms that brighten up homes, especially during winter when indoor color is most appreciated. With the right care, amaryllis can be encouraged to re-bloom year after year, providing continuous enjoyment. This guide covers everything from selecting the healthiest bulbs to encouraging them to bloom again through a simple dormancy cycle. Let’s delve into the world of amaryllis care and learn how to keep these plants thriving.
Understanding Amaryllis: The Basics
Amaryllis plants, known scientifically as Hippeastrum, are native to South America and are known for their striking blooms in colors ranging from deep reds and pinks to pure whites and oranges. These flowers are often associated with the holiday season due to their blooming time when grown indoors. Each amaryllis bulb has the potential to produce multiple blooms, making it a popular choice for indoor gardening enthusiasts.
Step 1: Choosing the Right Bulb
The health and size of the bulb determine the size and quality of blooms. When selecting amaryllis bulbs:
- Choose large, firm bulbs: These are more likely to produce multiple, healthy blooms.
- Avoid bulbs that are soft or have mold: These signs indicate a bulb that may struggle to grow or bloom.
- Inspect the roots: Healthy roots are a good indicator of a healthy bulb. If the roots look dried out, soak them in warm water for an hour before planting.
Step 2: Planting the Bulb
Planting amaryllis bulbs requires a few basic materials and some attention to placement:
- Select a pot: Use a container about 1–2 inches wider than the bulb and make sure it has drainage holes to prevent waterlogging.
- Prepare the potting mix: Amaryllis prefers well-draining soil. A mix of potting soil, sand, and perlite works well.
- Position the bulb: Place the bulb in the soil with the top third of the bulb above the soil surface. Planting it too deep can hinder growth.
- Water lightly: After planting, water lightly, being careful not to saturate the soil.
Step 3: Providing Optimal Growing Conditions
To encourage robust growth and blooming, place the potted amaryllis in an area that meets its light and temperature needs:
- Sunlight: Place the pot in bright, indirect light. South-facing windows work well. Too little light can result in weak growth.
- Temperature: Keep the plant in a warm room between 65°F and 75°F (18°C and 24°C). Avoid drafts and sudden temperature changes.
- Rotate the pot: Rotate the plant every few days to ensure even growth, as amaryllis naturally grows toward light.
Step 4: Supporting Growth with Water and Fertilizer
As your amaryllis begins to grow, adjust your care routine to provide what it needs:
- Water regularly but don’t overwater: Water the plant whenever the top inch of soil feels dry. Avoid letting the bulb sit in water to prevent rot.
- Fertilize monthly: Use a balanced liquid fertilizer once growth appears, applying it every 4–6 weeks. Fertilizing during the growing phase strengthens the bulb for future blooms.
Step 5: Caring for Blooming Amaryllis
Amaryllis blooms are a delight to watch unfold. The flowers last for weeks, but they still need gentle care during this period:
- Support the stems: The large, heavy blooms may need a support stake to prevent tipping, especially if the stems grow tall.
- Adjust watering: Keep the soil slightly moist but avoid waterlogging. This encourages prolonged blooming.
- Extend bloom time: If possible, move the plant to a cooler room at night. This can help prolong the blooming period.
Step 6: After Blooming – Post-Bloom Care
Once the flowers fade, it’s important to prepare the amaryllis bulb for future blooms. Here’s what to do:
- Remove the flower stalks: Cut the flower stalks down to the base once all the blooms have faded, but leave the leaves intact.
- Continue watering and fertilizing: Keep caring for the plant, as the leaves help the bulb gather nutrients, essential for next year’s flowers.
Step 7: Introducing a Dormancy Period
Amaryllis needs a dormancy period to trigger re-blooming. This step mimics the plant’s natural cycle and helps it build up energy for its next bloom.
- Reduce watering gradually: Around late summer, start reducing watering until the leaves turn yellow and die back.
- Move to a cool, dark place: Once the leaves have withered, place the pot in a dark, cool location (50°F to 60°F) for 8–12 weeks.
- Leave it undisturbed: During dormancy, avoid watering or fertilizing. Let the bulb rest until it’s time to wake it up.
Step 8: Repotting and Reviving the Amaryllis
After the dormancy period, it’s time to bring your amaryllis back to life:
- Bring it back to warmth and light: Place the pot in a warm, bright location. Start watering gradually as new growth appears.
- Refresh the soil: Consider repotting the bulb in fresh soil to provide renewed nutrients.
- Resume the care cycle: Continue with regular watering and fertilizing to encourage the next bloom cycle.
Common Challenges and Solutions
- Weak Stems or Leaning Plants: Ensure ample light and rotate the pot regularly.
- No Blooms: Lack of dormancy or poor nutrition can hinder blooming. A rest period is essential.
- Bulb Rot: Avoid overwatering and ensure drainage to prevent bulb rot.
Enjoying the Beauty of Amaryllis Year After Year
With proper care, amaryllis can reward you with its vibrant, colorful blooms for years. Whether you’re a seasoned gardener or a beginner, caring for amaryllis offers a rewarding experience with a plant that brings beauty to any indoor space. Each cycle, from planting to blooming and dormancy, brings new anticipation, as these elegant flowers take center stage in your indoor garden.
Engage with Us
Have you tried growing amaryllis at home? Share your success tips or post photos of your beautiful blooms below!
#AmaryllisLove #IndoorGardening #WinterBloom #YearRoundFlowers #GardeningHacks

