
Orchids are among the most beloved houseplants, admired for their stunning, long-lasting blooms. However, caring for orchids can sometimes be challenging, especially when they begin to show signs of stress or dehydration. If your orchid’s flowers have faded, the leaves appear limp, or the roots seem unhealthy, don’t worry—it’s possible to nurse it back to health and restore its vitality. This article will guide you through understanding your orchid’s needs and reviving it step by step.
Understanding Orchid Health
Before diving into the revival process, it’s essential to recognize the signs of stress in an orchid:
- Drooping or wrinkled leaves: This can indicate dehydration or overwatering.
- Brown, black, or mushy roots: These are signs of root rot due to poor drainage or excessive watering.
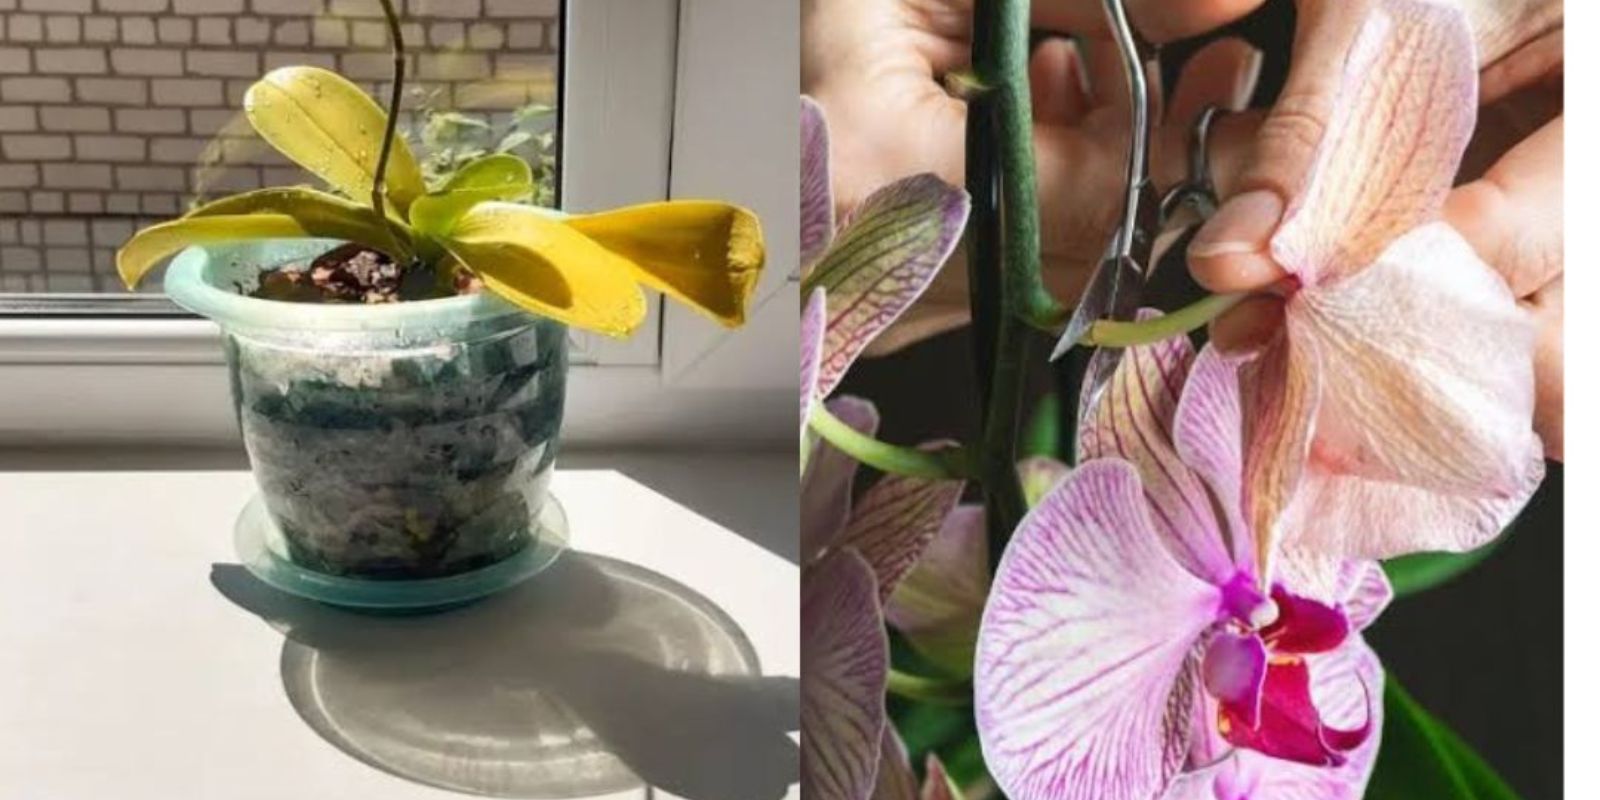
- Yellowing leaves: This might suggest a nutrient deficiency, improper light, or stress.
- Dry, brittle stems or flower spikes: This indicates dehydration or the natural end of the blooming cycle.
Orchids, particularly popular varieties like Phalaenopsis, require specific care conditions to thrive. Let’s look at how you can help revive a struggling orchid.
Steps to Revive a Dry Orchid
Step 1: Assess the Orchid’s Condition
- Gently remove the orchid from its pot.
- Inspect the roots: Healthy roots are firm and green or white. Trim off any black, mushy, or dried-out roots using sterilized scissors.
- Examine the leaves and stems. Remove any yellow or dead leaves, but avoid cutting green parts.
Step 2: Rehydrate the Orchid
- Soaking Method: If the orchid appears severely dehydrated, soak the roots in room-temperature water for 15-30 minutes. Avoid soaking the crown (the point where leaves meet the stem) to prevent crown rot.
- Ensure the water is free of chlorine and fluoride, as these can damage the plant.
Step 3: Repot the Orchid
- If the potting medium has degraded (appears mushy, compacted, or retains too much water), replace it with a fresh orchid-specific mix made of bark, sphagnum moss, or coconut husks.
- Use a clean pot with drainage holes. Transparent pots are ideal for monitoring root health.
Step 4: Provide Proper Light
- Orchids thrive in bright, indirect light. Avoid direct sunlight, which can scorch the leaves.
- A north- or east-facing window is ideal. If natural light is insufficient, consider using a grow light.
Step 5: Maintain the Right Watering Schedule
- Water the orchid only when the potting medium feels dry to the touch. Overwatering is one of the most common mistakes leading to root rot.
- Water early in the morning to allow excess moisture to evaporate by evening.
Step 6: Ensure Optimal Humidity and Temperature
- Orchids prefer humidity levels between 50% and 70%. Use a humidifier or place the pot on a tray filled with water and pebbles (ensure the pot doesn’t sit directly in the water).
- Maintain a temperature range of 65-75°F (18-24°C) for most orchid varieties.
Step 7: Fertilize Regularly
- Use a balanced orchid fertilizer (e.g., 20-20-20) every two weeks during the growing season. Dilute the fertilizer to half strength to avoid root burn.
- Skip fertilization during the dormant phase when the orchid is not actively growing.
Step 8: Prune and Support Growth
- After the flowers have faded, trim the flower spike to encourage new blooms. Cut it above the node (small bump) nearest to the base.
- Use stakes or clips to support the plant as it grows.
Common Mistakes to Avoid
- Overwatering: Orchids prefer to dry out slightly between waterings.
- Poor Drainage: Always use pots with drainage holes and well-draining potting medium.
- Neglecting Light Requirements: Too much or too little light can stress the plant.
- Ignoring Humidity: Low humidity can cause dehydration and stress.
- Improper Fertilization: Over-fertilizing can damage roots, while under-fertilizing can hinder growth.
Revival Timeline
- Immediate Care (First Week): Remove unhealthy roots and repot the orchid. Begin a proper watering and light routine.
- Short-Term Recovery (1-3 Months): Healthy roots should start growing, and leaves will regain firmness. Maintain consistent care.
- Long-Term Revival (3-6 Months): New flower spikes may develop, leading to fresh blooms.
How to Prevent Future Stress
- Stick to a regular care routine tailored to your orchid’s specific needs.
- Monitor the plant regularly for signs of dehydration, pests, or diseases.
- Rotate the pot periodically to ensure even light exposure.
- Avoid sudden changes in temperature or humidity.
Conclusion
Reviving a dry orchid might take time and patience, but with the right approach, your plant can thrive again. Orchids are resilient and capable of producing beautiful blooms when their basic needs are met. Follow these steps, observe your plant’s progress, and celebrate its recovery with new flowers.
Have you tried reviving an orchid before? Share your experiences, tips, or questions in the comments below! 🌸💚