
Introduction
Every gardener encounters a plant in need of extra attention. Recently, my begonia was in dire need of help, showing signs of stress and neglect. Through a series of thoughtful interventions, I managed to bring it back to its former glory. The process was both challenging and rewarding, demonstrating the profound impact proper care can have on a struggling plant. In this article, I’ll share the steps I took to revive my begonia and the incredible before-and-after results that followed.
Assessing the Plant’s Condition
Identifying Issues
The first step in reviving my begonia was to assess its overall health. My begonia was displaying several troubling signs:
- Yellowing Leaves: The leaves were turning yellow, which is often a sign of overwatering, nutrient deficiencies, or poor light conditions.
- Wilting: The plant’s stems and leaves were wilting, indicating potential root issues or improper watering.
- Pests: Upon closer inspection, I noticed small pests on the leaves, which could be contributing to the plant’s decline.
Careful observation and diagnosis were crucial to determine the appropriate actions needed for recovery.
Pruning Dead or Damaged Parts
Why Pruning Matters
Pruning is an essential step in plant care, especially when dealing with a struggling plant. It helps remove unhealthy parts, promotes better air circulation, and encourages new growth. For my begonia, pruning involved the following steps:
- Identify Problematic Areas: I looked for leaves and stems that were yellow, wilted, or damaged. These were the primary candidates for pruning.
- Use Clean Tools: I used sharp, clean scissors to make precise cuts, reducing the risk of spreading disease.
- Cut Carefully: I trimmed back the unhealthy parts, ensuring I cut just above a healthy node or leaf base to stimulate new growth.
Pruning not only helped improve the plant’s appearance but also allowed the begonia to redirect its energy towards healthier growth.
Adjusting Watering Practices
Understanding Watering Needs
Watering is a critical aspect of plant care, and incorrect watering can lead to various problems. For my begonia, adjusting watering practices involved:
- Check Soil Moisture: I tested the soil’s moisture level by sticking my finger about an inch into the soil. It was often too wet, indicating overwatering.
- Adjust Frequency: I adjusted my watering schedule, allowing the soil to dry out between waterings to avoid root rot.
- Use Proper Drainage: Ensuring that the pot had adequate drainage holes helped prevent excess water from accumulating at the bottom.
Proper watering helped address issues related to root health and overall plant vitality.
Improving Light Conditions
Importance of Light
Light plays a crucial role in a plant’s growth and well-being. Begonias generally prefer bright, indirect light. To improve my begonia’s light conditions, I:
- Repositioned the Plant: I moved the begonia to a spot where it received bright, filtered light, avoiding direct sunlight that could scorch its leaves.
- Considered Grow Lights: During darker months or if natural light was insufficient, I used grow lights to provide the necessary light spectrum for healthy growth.
Improving light conditions helped boost the plant’s energy levels and supported its recovery.
Repotting if Necessary
When to Repot
Repotting is necessary when a plant outgrows its container or when the soil becomes depleted. My begonia showed signs that it might benefit from repotting, so I:
- Checked Root Health: I gently removed the plant from its pot and examined the roots. They were compacted and showed signs of rot.
- Prepared Fresh Soil: I used a fresh, well-draining potting mix to ensure the plant had the nutrients and drainage it needed.
- Transplanted the Plant: I placed the begonia in a slightly larger pot, positioned it at the same depth as before, and gently packed the soil around it.
Repotting gave the begonia more room to grow and improved its access to nutrients and oxygen.
The Transformation: Before and After
Before
Before intervention, my begonia was a shadow of its former self. The yellowing leaves, wilting stems, and presence of pests made it clear that the plant was struggling. It looked unhealthy and unappealing, and I was worried about its survival.
After
After implementing the care steps outlined above, the transformation was remarkable:
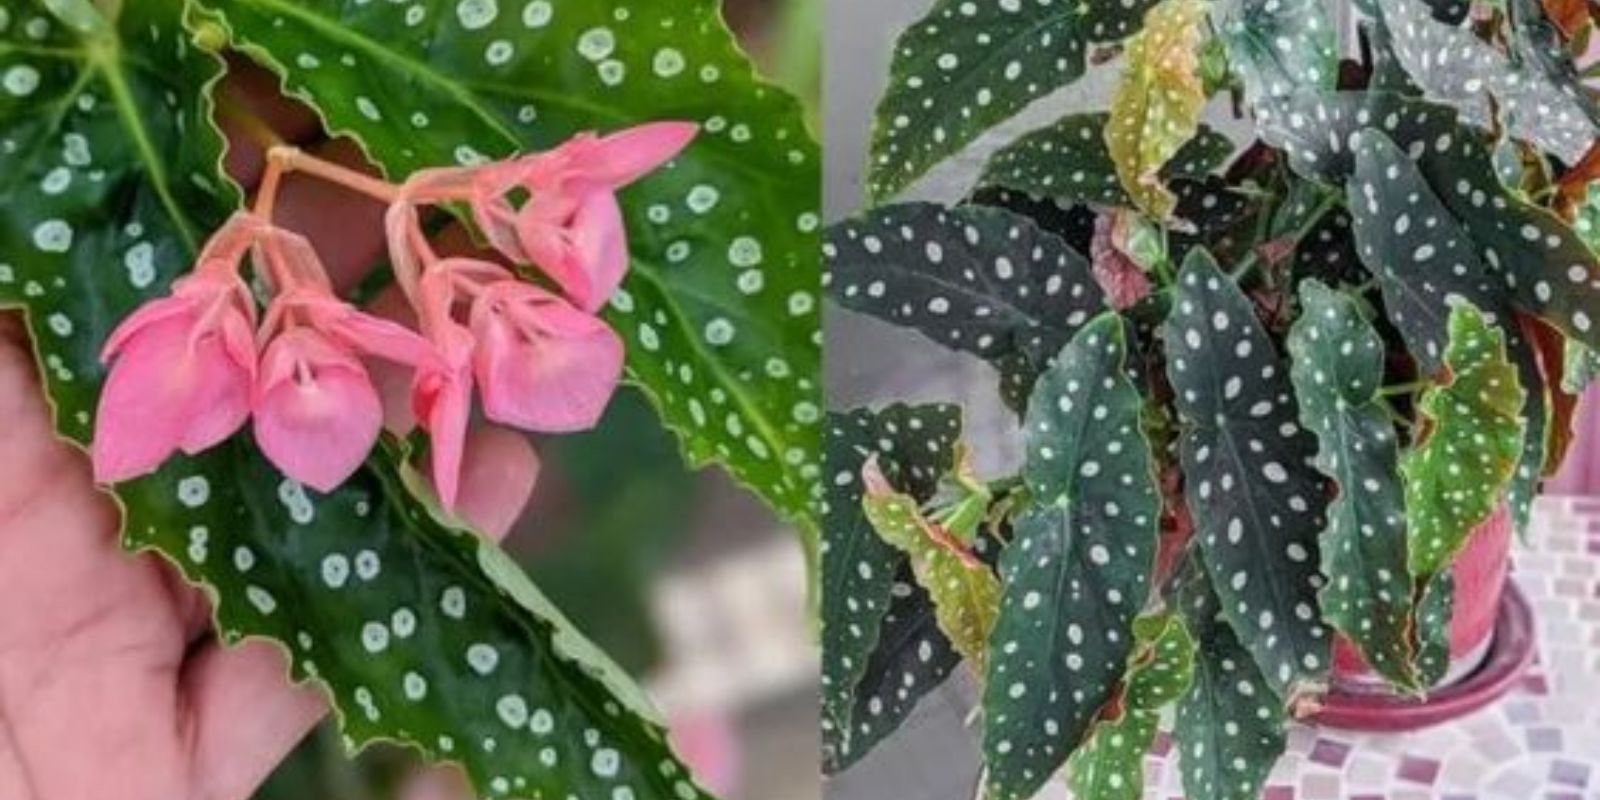
- Healthier Leaves: The yellowing leaves were replaced with new, vibrant green growth. The plant’s foliage looked fuller and more robust.
- Improved Growth: The begonia’s overall growth pattern became more upright and bushy, with new stems and leaves emerging.
- No More Pests: With regular monitoring and treatment, the pest issue was resolved, and the plant appeared much cleaner and healthier.
The before-and-after comparison showcased the positive impact of proper plant care and was incredibly satisfying.
Tips for Ongoing Care
To ensure that my begonia continues to thrive, I’ve incorporated some ongoing care tips:
- Regular Monitoring: I keep an eye on the plant’s health, checking for signs of pests, diseases, or nutrient deficiencies.
- Consistent Watering: I maintain a consistent watering schedule, allowing the soil to dry out between waterings.
- Fertilizing: I provide balanced fertilizer during the growing season to support continued growth and flowering.
- Light Management: I ensure the plant receives adequate light while avoiding harsh, direct sunlight.
Conclusion
Reviving a struggling begonia involves a combination of careful observation, targeted interventions, and ongoing care. By pruning, adjusting watering practices, improving light conditions, and repotting when necessary, I was able to transform my begonia from a distressed plant into a thriving, vibrant specimen. The process was both challenging and rewarding, highlighting the importance of attentive plant care. Whether you’re dealing with a struggling begonia or any other plant, these steps can guide you towards a successful recovery and a flourishing garden. 🌿✨