
When you see your beloved plants wilting, yellowing, or showing signs of distress, it can feel like the end of the road. But don’t despair—plants are more resilient than you might think! With the right care and attention, you can breathe new life into your plants and watch them thrive again. This guide will walk you through every step of the revival process, helping you understand what went wrong and how to fix it.
Understanding Why Plants Die
Before diving into the solutions, it’s essential to identify the root cause of the problem. Plants can struggle due to:
- Overwatering: Excess water suffocates roots, leading to rot.
- Underwatering: Without adequate water, plants dry out and wilt.
- Poor Soil: Depleted or compacted soil can’t provide essential nutrients or drainage.
- Light Issues: Too much or too little sunlight can stress plants.
- Pest Infestations: Bugs like aphids, spider mites, or fungus gnats can wreak havoc on plants.
- Temperature Fluctuations: Extreme heat or cold can damage leaves and roots.
Once you pinpoint the problem, you can apply targeted solutions to nurse your plants back to health.
Steps to Revive Your Plants
1. Assess the Damage
Take a close look at your plant. Is the entire plant affected, or are there still healthy parts? If the stems are firm and the roots look white and healthy, there’s hope. Brown or black roots indicate root rot, which may require more intensive care.
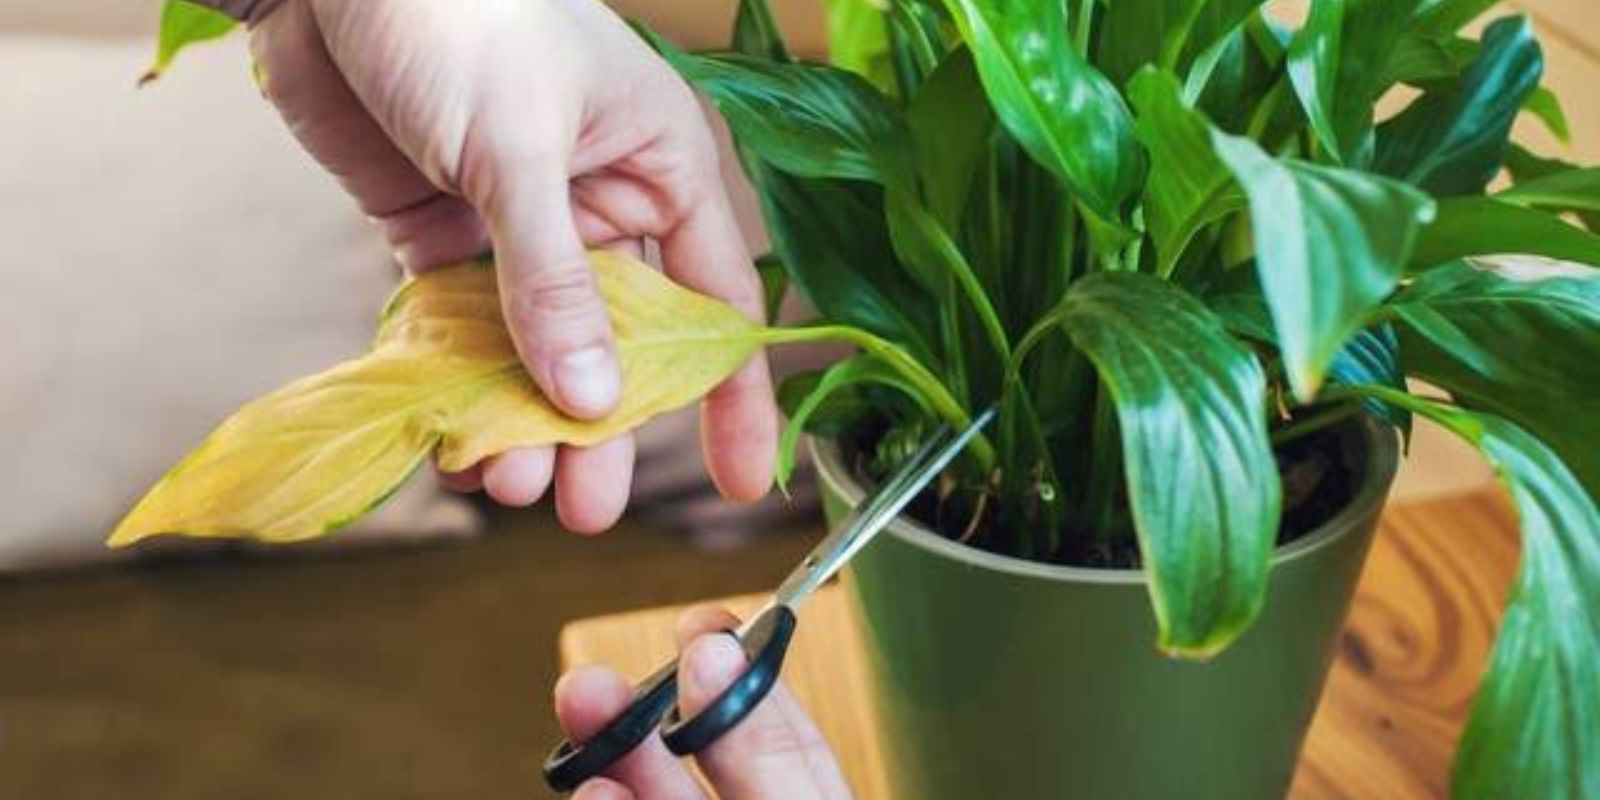
2. Prune the Dead Parts
Use clean, sharp scissors or pruning shears to trim away dead leaves, stems, and flowers. This redirects the plant’s energy to healthy growth. Avoid cutting too much—leave at least a few healthy leaves to allow photosynthesis.
3. Rehydrate Wisely
For underwatered plants, start by watering them gently. Avoid soaking the soil all at once; instead, water in small amounts to rehydrate gradually. For plants in severe distress, consider soaking the pot in water for 10–15 minutes to ensure the roots absorb moisture.
4. Treat Overwatered Plants
If your plant has been overwatered, remove it from the pot and check the roots. Trim any mushy, dark roots and repot the plant in fresh, well-draining soil. Allow the soil to dry out slightly between waterings to prevent further rot.
5. Refresh the Soil
Depleted or compacted soil may be suffocating your plant. Gently loosen the soil around the roots and replace it with fresh, nutrient-rich potting mix. Ensure the new soil has good drainage to prevent waterlogging.
6. Adjust the Light
Move the plant to a location with suitable lighting based on its needs. For example, succulents thrive in bright, direct light, while ferns prefer indirect, low light. If unsure, research the plant’s specific light requirements.
7. Fertilize Sparingly
Your plant needs nutrients to recover, but over-fertilizing can burn its roots. Use a diluted liquid fertilizer once every two weeks during the growing season. Avoid fertilizing during the dormant season, as this can stress the plant further.
8. Manage Pests
If pests are the issue, isolate the plant immediately to prevent spreading. Use natural remedies like neem oil, insecticidal soap, or a gentle wipe with a mixture of water and mild dish soap. Check the plant regularly to ensure the infestation doesn’t return.
9. Maintain Ideal Conditions
Ensure the plant is in a stable environment with consistent temperature and humidity. Avoid placing it near drafts, heating vents, or air conditioners. For tropical plants, consider using a humidity tray or misting the leaves.
10. Be Patient
Reviving a plant takes time. Monitor its progress daily but avoid making drastic changes frequently. Sometimes, all it takes is consistency and care for your plant to bounce back.
Common Revival Scenarios
Case 1: Wilting Leaves
- Cause: Likely underwatering or heat stress.
- Solution: Water the plant thoroughly and move it to a cooler spot with indirect light.
Case 2: Yellowing Leaves
- Cause: Overwatering, nutrient deficiencies, or poor drainage.
- Solution: Check the soil moisture and roots, and refresh the soil if necessary. Use a balanced fertilizer to restore nutrients.
Case 3: Brown Leaf Edges
- Cause: Low humidity or excessive fertilizer.
- Solution: Mist the plant or use a humidity tray. Flush the soil to remove excess fertilizer salts.
Case 4: Droopy Stems
- Cause: Root rot or underwatering.
- Solution: Trim rotten roots, repot in fresh soil, and water sparingly.
Preventing Future Issues
To keep your plants healthy long-term, follow these best practices:
- Water Wisely: Only water when the top inch of soil feels dry. Adjust frequency based on the season and plant type.
- Use Quality Soil: Invest in well-draining, nutrient-rich potting mix suited for your plant.
- Provide Proper Lighting: Regularly assess your plant’s location and move it if lighting conditions change.
- Monitor Pests: Check your plants weekly for signs of pests, especially during warmer months.
- Fertilize Moderately: Feed your plants during their active growing seasons and avoid over-fertilizing.
- Repot Periodically: Repot every 1–2 years to prevent root-bound conditions and refresh the soil.
Why It’s Worth the Effort
Reviving a dying plant isn’t just rewarding; it’s also a great way to connect with nature and learn more about your plants’ needs. Watching a once-struggling plant thrive again can bring immense satisfaction and boost your confidence as a gardener. Plus, saving a plant means reducing waste and contributing to a greener planet.
Conclusion: Give Your Plants a Second Chance
With these simple yet effective steps, you can bring your struggling plants back to life. Whether it’s a treasured houseplant or a garden favorite, every plant deserves a second chance. Start small, be patient, and enjoy the process of nurturing your greenery back to health.
🌱 What’s your plant rescue story? Share your tips and experiences in the comments below! Let’s keep growing together.