
Clay pots are a timeless favorite among gardeners. They are breathable, durable, and provide an ideal environment for plant roots. However, over time, they can become stained, covered in mineral deposits, and even harbor harmful bacteria. Instead of replacing them, why not restore their beauty and functionality with one simple ingredient—white vinegar?
In this article, we’ll explore why clay pots need cleaning, the best way to clean them, and tips to maintain them for years to come.
Why Do Clay Pots Get Dirty?
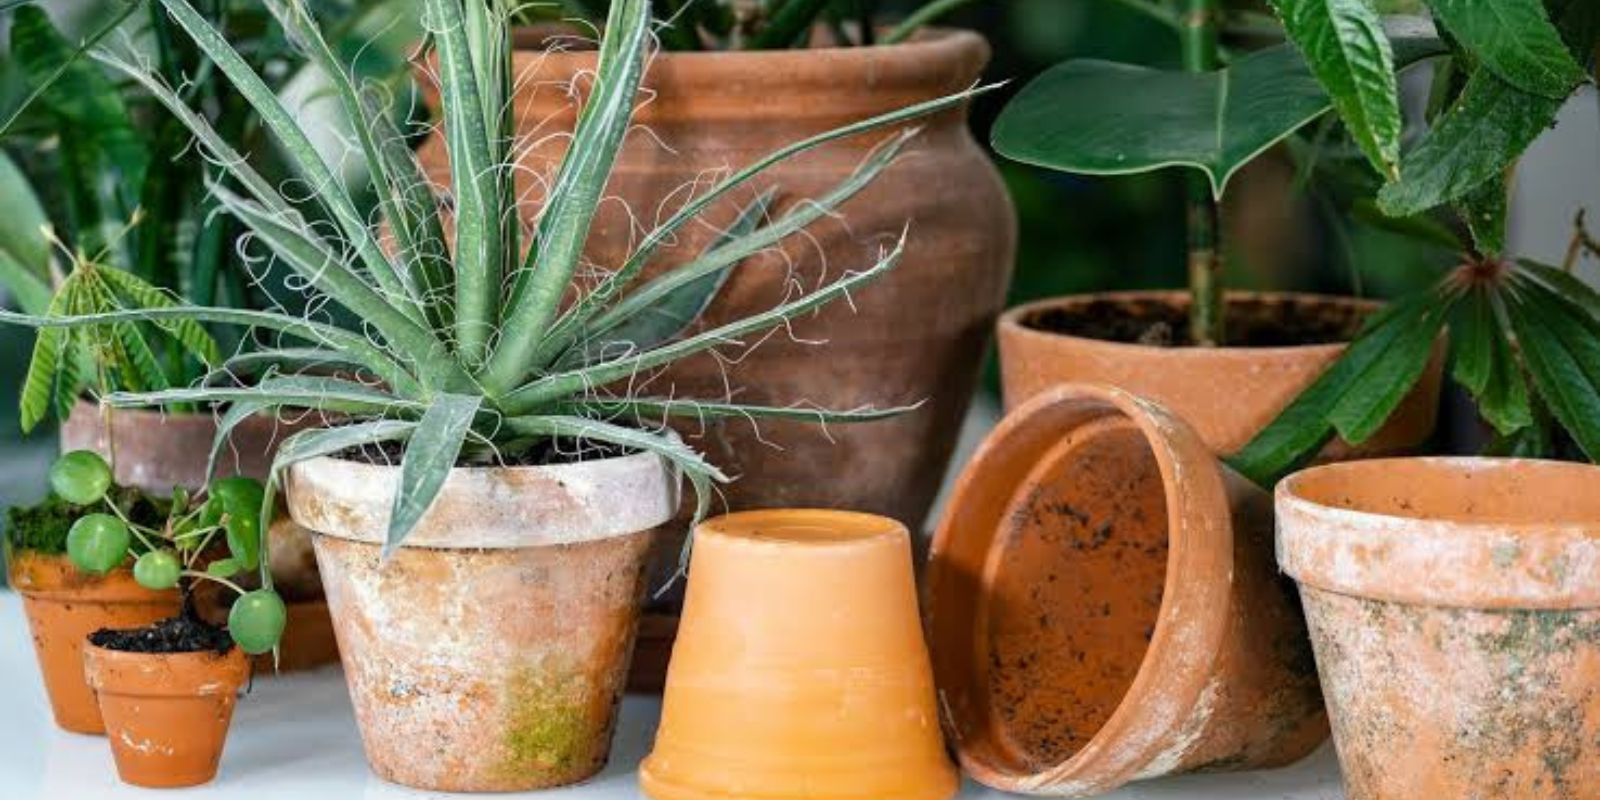
Clay pots, also known as terracotta pots, are porous, which means they absorb water, minerals, and fertilizers from the soil. Over time, this results in:
✔ White mineral deposits from hard water and fertilizers
✔ Mold and algae growth in humid conditions
✔ Soil buildup and stains that make pots look aged
✔ Harmful bacteria and fungi that can infect new plants
Regular cleaning not only restores their beauty but also prevents plant diseases from spreading.
How to Clean & Disinfect Clay Pots Using Vinegar
White vinegar is a natural, non-toxic, and cost-effective solution that easily removes mineral deposits, stains, and bacteria. Here’s how to do it:
Step 1: Gather Your Supplies
✔ White vinegar (distilled)
✔ Water
✔ Scrub brush or sponge
✔ Large bucket or sink
✔ Old toothbrush (for detailed scrubbing)
✔ Baking soda (optional for extra scrubbing power)
Step 2: Prepare the Vinegar Solution
✅ Mix equal parts white vinegar and water in a bucket. If your pots have heavy deposits, increase the vinegar ratio.
✅ Make sure there’s enough solution to fully submerge the pots.
Step 3: Soak the Pots
✅ Place your clay pots in the vinegar solution.
✅ Let them soak for at least 30 minutes to loosen dirt and mineral buildup.
✅ For stubborn stains, let them sit for up to an hour.
Step 4: Scrub and Rinse
✅ After soaking, use a scrub brush or sponge to remove remaining deposits.
✅ For tight spots, use an old toothbrush.
✅ Rinse thoroughly with clean water to remove any vinegar residue.
Step 5: Sun-Dry Your Pots
✅ Place the pots in direct sunlight to dry completely. This step is important because sunlight helps kill remaining bacteria and mold spores.
✅ Once fully dry, they’re ready to be used again!
Extra Tips for Maintaining Clay Pots
To keep your clay pots clean and long-lasting, follow these simple tips:
1. Seal Your Pots Before Use
If you want to prevent moisture absorption, seal your pots with a clear terracotta sealer. This reduces mineral buildup and prevents cracking.
2. Use a Baking Soda Scrub for Tough Stains
For stubborn white stains, make a paste with baking soda and water. Scrub the affected area and rinse well.
3. Store Pots Properly
During the off-season, store clay pots in a dry area to prevent mold and cracking.
4. Avoid Chemical Cleaners
Stick to natural solutions like vinegar and baking soda. Harsh chemicals can leave residues that harm plant roots.
5. Regular Maintenance
To avoid heavy buildup, rinse your pots every few months with water and scrub away any dirt before it becomes a problem.
Why Vinegar is the Best Solution for Clay Pots
White vinegar is an eco-friendly, affordable, and readily available cleaner. Here’s why it works so well:
✔ Breaks down mineral deposits easily
✔ Kills mold, bacteria, and fungi
✔ Removes stubborn stains naturally
✔ Safe for plants and the environment
Unlike bleach, which can leave harmful residues, vinegar cleans without damaging the pot’s porous structure.
Conclusion: Give Your Clay Pots a Fresh Start!
With just a little vinegar, your clay pots can look brand new and be free from harmful bacteria. Whether you’re reusing old pots or preparing new ones, regular cleaning helps keep your garden healthy.
🌱 Have you tried this method? Share your experience in the comments! 👇