
Mulberries are versatile fruit trees that not only provide delicious berries but also serve as excellent shade and ornamental trees. By pollarding and propagating, you can rejuvenate your existing mulberry trees and create new ones for your garden, ensuring a thriving and productive landscape.
This guide will walk you through the benefits, step-by-step processes, and essential tips for both pollarding and propagating mulberries. Whether you’re a seasoned gardener or a beginner, these techniques will help you manage your trees effectively and expand your mulberry collection.
What Is Pollarding?
Pollarding is a pruning method where the upper branches of a tree are cut back to a framework of main stems. This encourages new growth and keeps the tree manageable in size. For mulberries, pollarding can promote healthy fruiting and prevent the tree from becoming overly large or invasive.
Benefits of Pollarding Mulberries:
- Encourages vigorous new growth.
- Helps maintain a manageable tree size.
- Increases sunlight penetration, boosting fruit production.
- Improves the aesthetic appearance of the tree.
- Provides material for propagation.
What Is Propagation?
Propagation involves creating new plants from cuttings or seeds. For mulberries, semi-hardwood cuttings taken during pollarding are ideal for propagation. This method ensures you get genetically identical trees with the same desirable traits as the parent.
Benefits of Propagating Mulberries:
- Expands your mulberry tree collection at little to no cost.
- Allows you to grow trees with specific characteristics, like high fruit yield.
- Creates opportunities to share trees with friends, family, or your local gardening community.
Step-by-Step Guide to Pollarding Mulberries
1. Choose the Right Time
Pollard mulberry trees in late winter or early spring while they are dormant. This minimizes stress on the tree and promotes healthy regrowth when the growing season begins.
2. Select a Framework
Identify the main branches or stems that will form the framework of the tree. Typically, this involves leaving 3-5 main branches and removing all others.
3. Prune Strategically
Using sharp, sterilized pruning tools, cut back the upper branches to the desired height. Aim for cuts just above a bud or node to encourage new shoots to grow outward.
4. Remove Dead or Damaged Wood
As you pollard, inspect the tree for any dead, diseased, or damaged branches and remove them. This improves the overall health and appearance of the tree.
5. Maintain Regularly
Pollarded trees require ongoing maintenance to keep their shape and health. Plan to repeat the process every 1-3 years, depending on the tree’s growth rate and your desired size.
Step-by-Step Guide to Propagating Mulberries
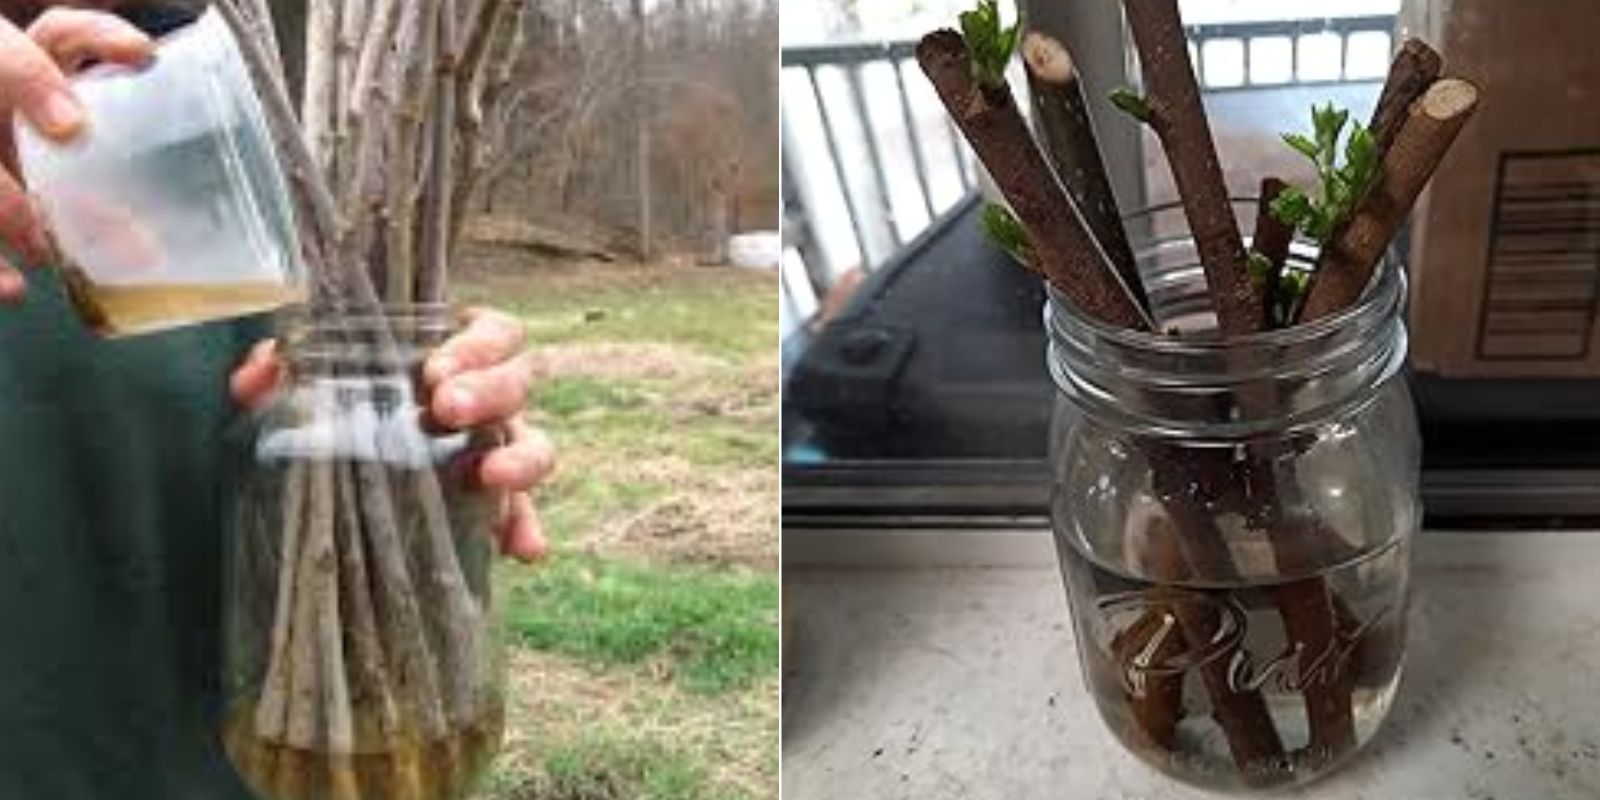
1. Collect Healthy Cuttings
After pollarding, select healthy semi-hardwood cuttings from the pruned branches. These should be about 10-12 inches long with several nodes.
2. Prepare the Cuttings
Trim the cutting so the bottom is just below a node. Remove leaves from the lower half, leaving a few at the top to support photosynthesis.
3. Dip in Rooting Hormone
For best results, dip the cut end of the cutting in rooting hormone. This stimulates root growth and increases the success rate of propagation.
4. Plant the Cuttings
Place the cuttings in pots filled with well-draining soil or directly in your garden bed. Ensure that at least one node is buried in the soil.
5. Water and Care
Water the cuttings thoroughly and keep the soil consistently moist. Avoid overwatering, as this can lead to root rot.
6. Monitor for Root Development
Roots typically form within 4-6 weeks. You can check by gently tugging on the cutting—if there’s resistance, roots have developed.
7. Transplanting
Once the cuttings have established roots, they can be transplanted to their permanent location. Choose a sunny spot with well-draining soil for optimal growth.
Tips for Successful Pollarding and Propagation
- Use Clean Tools: Always sterilize your pruning tools before use to prevent the spread of diseases.
- Select Vigorous Trees: Only propagate from healthy, disease-free trees with desirable traits.
- Control Pests: Watch for common mulberry pests like spider mites or aphids and manage them promptly.
- Optimize Soil Conditions: Mulberries thrive in fertile, well-drained soil. Enrich the soil with compost or organic matter.
- Water Wisely: Both pollarded trees and propagated cuttings need consistent but not excessive watering.
Common Mistakes to Avoid
- Over-pruning: Cutting back too much can stress the tree and reduce fruit production.
- Neglecting Aftercare: Pollarded trees need regular maintenance to ensure they stay healthy and productive.
- Skipping Rooting Hormone: While not essential, rooting hormone significantly improves the success rate of propagation.
- Improper Timing: Avoid pollarding during the growing season, as this can weaken the tree and make it susceptible to pests and diseases.
Why Pollard and Propagate?
Pollarding and propagating mulberries are more than just practical techniques; they’re an investment in the longevity and productivity of your garden. By rejuvenating existing trees and creating new ones, you can enjoy abundant harvests of delicious mulberries while maintaining a sustainable and beautiful landscape.
Interact and Share Your Experience!
Have you tried pollarding or propagating mulberries? Share your tips, experiences, and photos in the comments! Let’s grow and learn together.
#MulberryPropagation #PollardingTips #TreeCare #GrowYourOwnFruit #SustainableGardening #BackyardGardening #GardeningTips #FruitTreeCare #HomeGardenHacks #GardenCommunity