
Roses are one of the most beloved flowers in the world, known for their beauty, fragrance, and symbolism. Growing your own roses from cuttings can be a rewarding and cost-effective way to expand your garden. While there are many methods to propagate roses, using toilet paper is a surprisingly simple and effective technique that can yield impressive results. This method helps retain moisture around the cutting, which is crucial for root development.
In this article, we will guide you through the steps to propagate roses from cuttings using toilet paper. Whether you’re an experienced gardener or a beginner, this method is easy to follow and can help you grow healthy new rose plants in no time.
Why Propagate Roses from Cuttings?
Propagating roses from cuttings allows you to clone your favorite rose plants, ensuring that the new plants will have the same characteristics as the parent plant. This is particularly useful if you have a rose variety that you love and want to grow more of. Additionally, propagating roses from cuttings is a cost-effective way to expand your garden without purchasing new plants.
Materials You Will Need
Before you begin, gather the following materials:
- A healthy rose plant
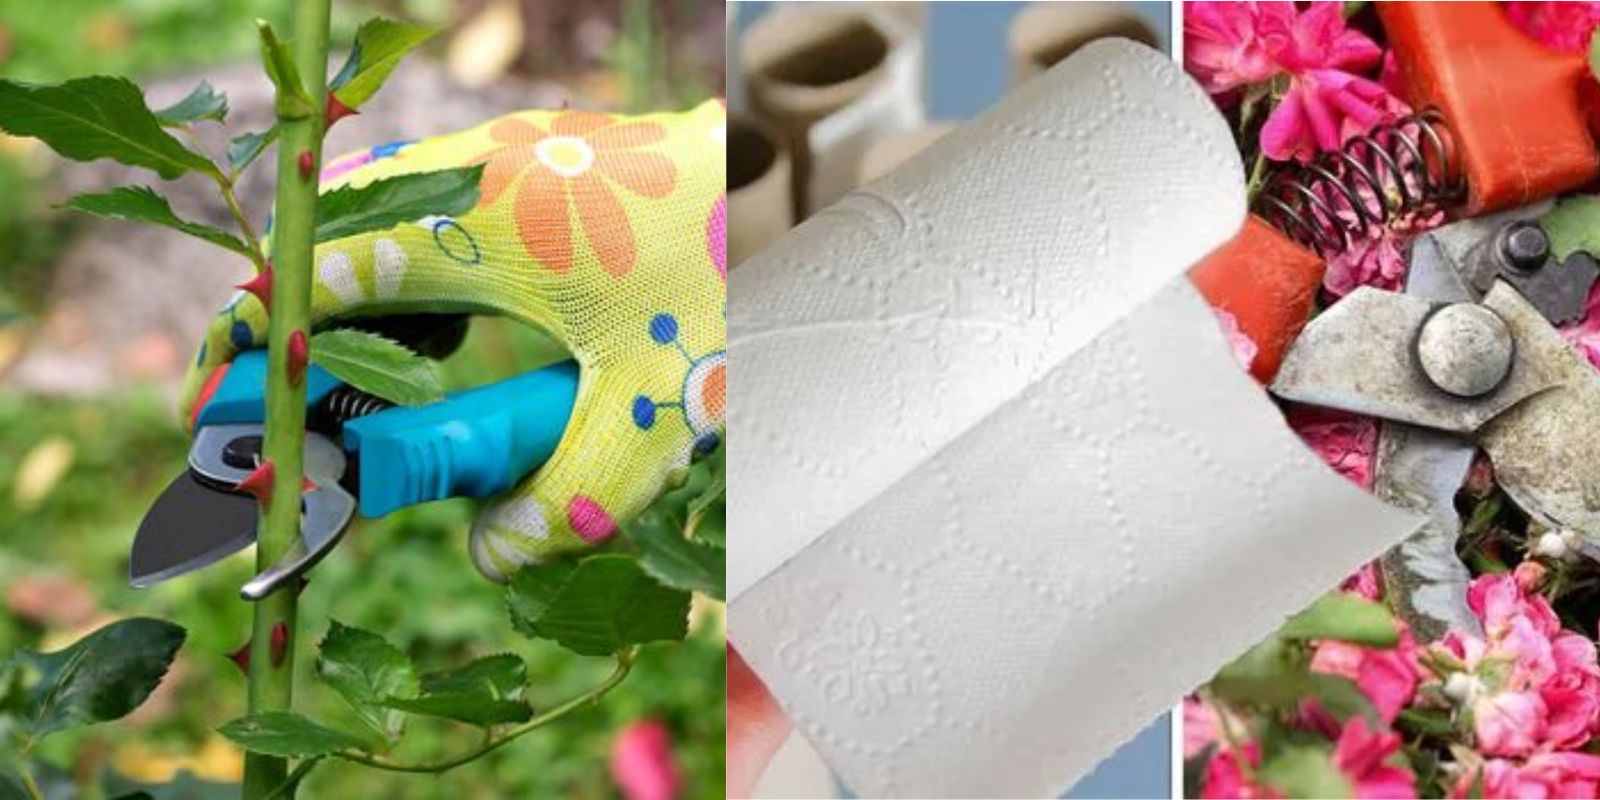
- A sharp, clean knife or pruning shears
- Toilet paper (preferably unbleached)
- Water
- Small pots or containers
- Potting soil
- A plastic bag or plastic wrap
Step 1: Select and Prepare the Cutting
The first step in propagating roses is to select a healthy stem from your rose plant. The best time to take cuttings is in the early morning when the plant is well-hydrated.
- Choose the Right Stem: Look for a stem that is healthy and free from disease or pests. The stem should be about 6 to 8 inches long and have at least three to five leaves.
- Cut the Stem: Using a sharp knife or pruning shears, make a clean cut just below a leaf node (the point where a leaf attaches to the stem). A clean cut is essential to prevent damage to the stem and ensure successful rooting.
- Remove Lower Leaves: Remove the leaves from the lower half of the cutting, leaving only a few leaves at the top. This reduces moisture loss and allows the cutting to focus on root development.
Step 2: Wrap the Cutting in Toilet Paper
Toilet paper may seem like an unusual material for plant propagation, but it can be very effective in retaining moisture around the cutting, which is essential for root development.
- Moisten the Toilet Paper: Take a strip of toilet paper and moisten it with water. The paper should be damp but not soaking wet.
- Wrap the Base of the Cutting: Carefully wrap the damp toilet paper around the bottom of the cutting, covering the area where roots will form. The toilet paper will help maintain a consistent level of moisture around the cutting, which is crucial for encouraging root growth.
Step 3: Plant the Cutting
Once the cutting is wrapped in toilet paper, it’s time to plant it in a pot filled with soil.
- Prepare the Pot: Fill a small pot or container with potting soil. The soil should be well-draining and slightly moist.
- Make a Hole: Use a pencil or your finger to make a small hole in the soil. The hole should be deep enough to accommodate the wrapped base of the cutting.
- Plant the Cutting: Gently place the wrapped cutting into the hole and press the soil around it to secure it in place. Ensure that the cutting is upright and stable.
Step 4: Create a Greenhouse Effect
Creating a mini greenhouse effect around the cutting can help retain moisture and create a humid environment, which is ideal for root development.
- Cover the Pot: Cover the pot with a plastic bag or plastic wrap. This will create a warm, humid environment that encourages rooting. Ensure that the plastic does not touch the leaves of the cutting, as this could cause them to rot.
- Secure the Cover: Use a rubber band or string to secure the plastic bag around the pot. If you’re using plastic wrap, simply wrap it around the top of the pot.
- Place in a Bright Spot: Place the covered pot in a bright spot with indirect sunlight. Avoid placing it in direct sunlight, as this can cause the cutting to overheat.
Step 5: Monitor and Care for the Cutting
The next few weeks are critical for the success of your rose cutting. Regular monitoring and care are essential to ensure that the cutting roots successfully.
- Check the Moisture Level: Regularly check the soil to ensure it remains moist but not waterlogged. If the soil dries out, mist it with water to maintain the moisture level.
- Ventilate the Cutting: Every few days, remove the plastic cover for a few minutes to allow fresh air to circulate around the cutting. This helps prevent mold and fungal growth.
- Watch for Root Development: After a few weeks, you should start to see signs of root development. Gently tug on the cutting—if you feel resistance, it means roots are forming.
- Transplanting: Once the cutting has developed a healthy root system (usually after 4-8 weeks), it can be transplanted into a larger pot or directly into your garden.
Step 6: Transplant the Rooted Cutting
When the cutting has established a strong root system, it’s time to transplant it into a larger container or into your garden.
- Choose a Location: If you’re planting in the garden, choose a sunny spot with well-draining soil. If you’re keeping the rose in a pot, select a container that is large enough to accommodate the growing plant.
- Prepare the Soil: If planting in the garden, prepare the soil by digging a hole that is twice as wide and just as deep as the root ball. Amend the soil with compost if necessary to improve drainage and fertility.
- Plant the Rose: Carefully remove the rooted cutting from its original pot, keeping the root ball intact. Place it in the prepared hole and fill in with soil. Water thoroughly to settle the soil around the roots.
Step 7: Care for Your New Rose Plant
Now that your rose cutting has been successfully transplanted, it’s important to care for it properly to ensure it thrives.
- Watering: Water the newly transplanted rose regularly, especially during dry periods. Be careful not to overwater, as roses do not like soggy soil.
- Fertilizing: Feed the rose with a balanced fertilizer to encourage healthy growth and flowering. Apply fertilizer according to the package instructions.
- Pruning: As your rose grows, prune it regularly to remove dead or diseased wood and encourage bushy growth.
Conclusion: Enjoy the Fruits of Your Labor
Propagating roses from cuttings using toilet paper is a simple and effective method that even beginners can master. With patience and proper care, you can grow beautiful new rose plants from your favorite varieties, adding color and fragrance to your garden.
Are you ready to try this method and grow your own roses? Give it a shot and share your experience with us—we’d love to hear how your rose garden blossoms! 🌹