
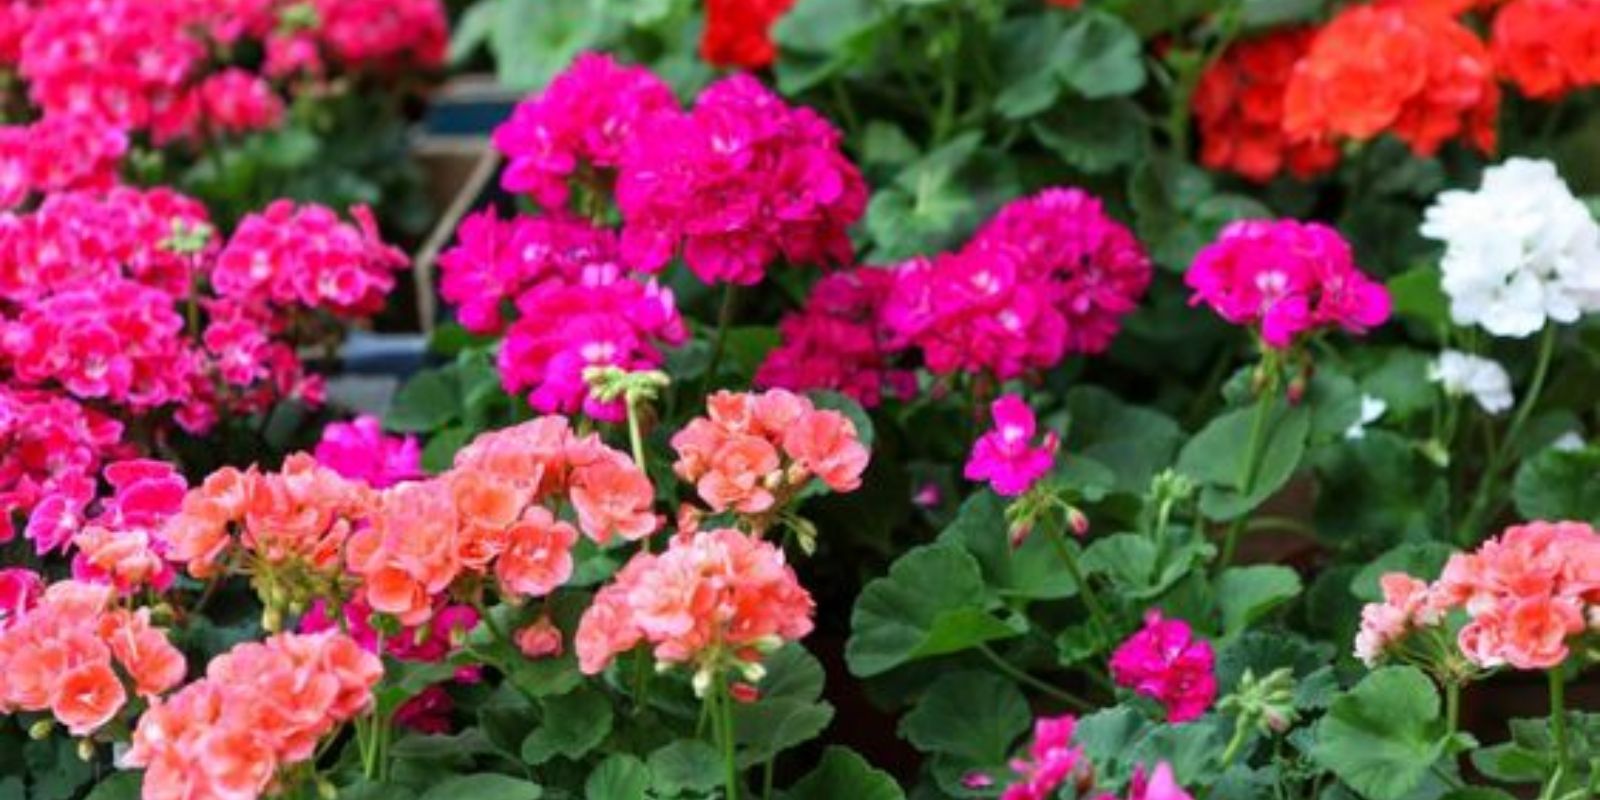
Introduction
Geraniums, with their vibrant blooms and easy-care nature, are a favorite among gardeners. If you’ve ever wanted to expand your geranium collection without spending a penny, the twig propagation method is a simple and effective technique to achieve just that. This guide will walk you through the step-by-step process of using twigs to propagate geraniums, empowering you to grow more of these beautiful plants and enhance your garden’s beauty.
Understanding Geranium Propagation
Geraniums (Pelargonium spp.) are versatile plants that can be propagated from seeds, cuttings, or division. The twig method falls under propagation from cuttings, which is a popular choice due to its simplicity and success rate. By using a healthy twig from an existing geranium plant, you can create a genetically identical clone, ensuring that the new plant retains all the desirable traits of the parent.
Materials Needed
Before you begin, gather the following materials:
- Healthy Geranium Twig: Select a non-woody twig about 5 to 10 cm long with several nodes from a vigorous geranium plant.
- Small Pot: Use a pot filled with a well-draining potting mix (potting soil mixed with perlite or sand).
- Pruning Shears: Clean and sharp pruning shears for making precise cuts.
- Transparent Plastic Bag or Dome: To create a mini greenhouse effect for maintaining humidity.
Step-by-Step Guide to Twig Propagation
- Selecting the Twig:
- Choose a healthy twig from the geranium plant. Look for one that is non-flowering and has several nodes where roots can potentially grow.
- Preparing the Twig:
- Use pruning shears to make a clean cut just below a node on the twig. Remove any flowers and most of the lower leaves, leaving a few at the top for photosynthesis.
- Preparing the Pot:
- Fill a small pot with a well-draining potting mix. Moisten the mix slightly so it’s damp but not soggy.
- Planting the Twig:
- Make a small hole in the potting mix and insert the cut end of the twig into the soil. Firm the soil around the base of the twig to ensure good contact.
- Creating Humidity:
- Place the pot with the planted twig inside a transparent plastic bag or cover it with a clear dome to maintain high humidity levels around the cutting.
- Placement and Care:
- Position the pot in a bright, indirect light location. Avoid direct sunlight, as it can overheat the cutting.
- Check the soil regularly and water lightly to keep it moist but not waterlogged. Mist the cutting occasionally to maintain humidity.
- Root Development:
- Over the next few weeks, monitor the cutting for signs of new growth. Roots should begin to develop from the nodes within a few weeks to a month, depending on environmental conditions.
- Transplanting:
- Once roots have developed and the cutting has established itself (usually indicated by new leaf growth), it’s ready to be transplanted into a larger pot or directly into the garden soil.
Benefits of Twig Propagation
- Cost-Effective: Requires minimal materials and no additional cost.
- High Success Rate: Geraniums root readily from cuttings, making this method highly effective.
- Preservation of Traits: Ensures new plants retain the characteristics of the parent plant.
Tips for Success
- Timing: Spring and early summer are ideal times for propagation when plants are actively growing.
- Temperature and Light: Maintain warm temperatures (around 70-75°F or 21-24°C) and provide bright, indirect light.
- Patience: Rooting can take time, so be patient and avoid disturbing the cutting unnecessarily.
Conclusion
Using the twig propagation method to multiply your geraniums is not only rewarding but also a sustainable way to expand your garden. By following these steps and providing proper care, you can enjoy a garden filled with these colorful and versatile plants. Embrace the opportunity to propagate your favorite geraniums and discover the joy of creating new plants from existing ones, all while enhancing the beauty of your outdoor space.