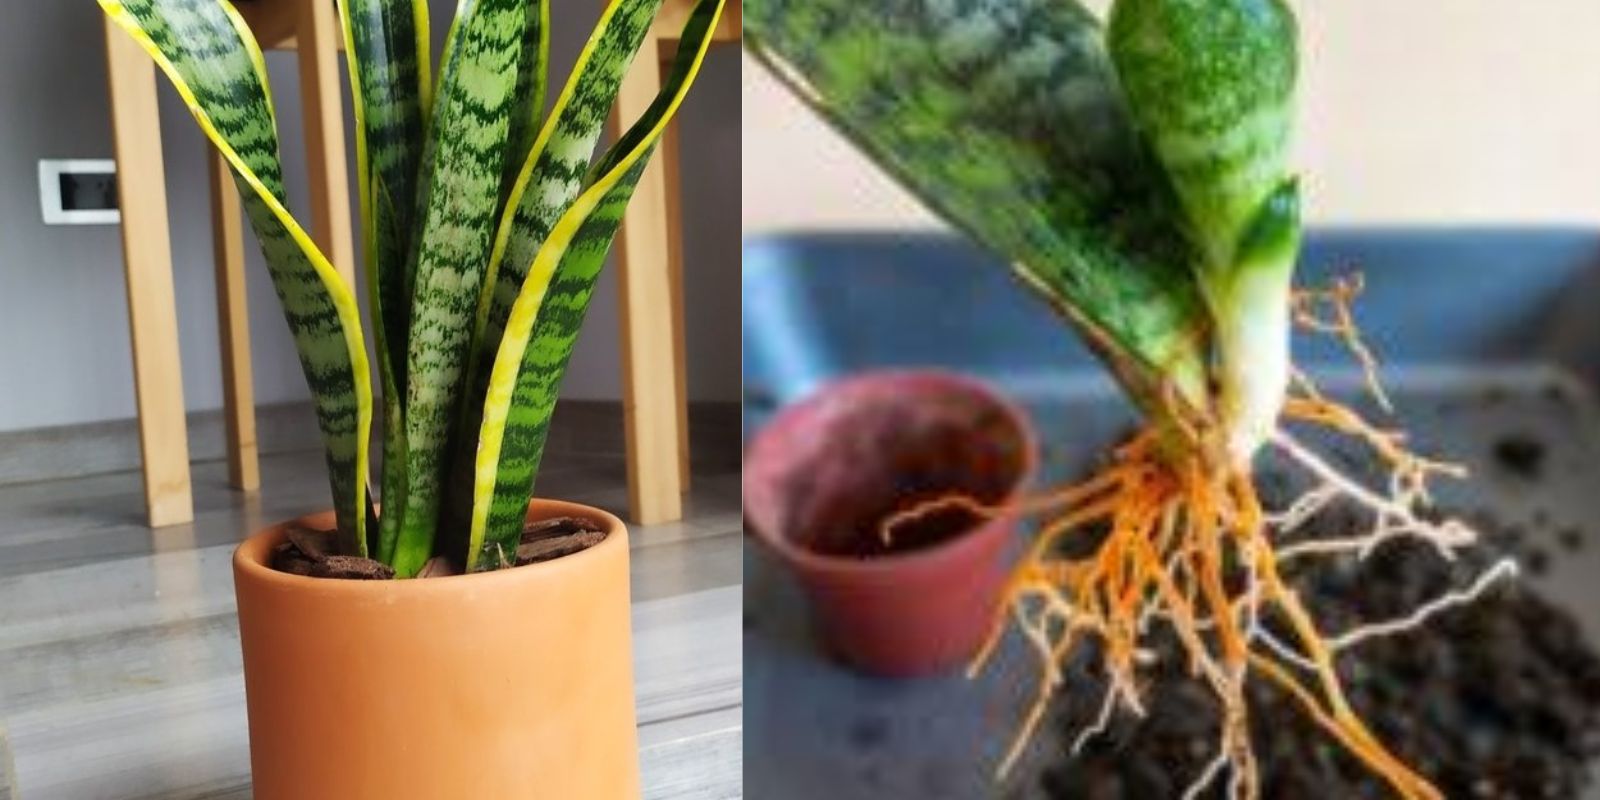
Snake plants, also known as Sansevieria or Mother-in-Law’s Tongue, are prized for their striking appearance and low-maintenance care. What if I told you that you could create a whole new plant from a single leaf? Propagating snake plants is not only an excellent way to expand your indoor jungle but also an enjoyable gardening project for beginners and experts alike.
In this article, we’ll explore the step-by-step process for propagating snake plants using just one leaf, discuss common mistakes, and share tips for success. Let’s get started on your journey to multiplying your green beauties!
Why Propagate Snake Plants?
Propagating snake plants is a rewarding way to:
- Save Money: Instead of buying new plants, grow your own collection.
- Expand Your Garden: Create gifts for friends or enhance your decor.
- Learn Plant Care: Understand your plant’s needs and boost your gardening skills.
Snake plants are forgiving and thrive in a variety of environments, making them perfect candidates for propagation.
What You’ll Need
Before diving in, gather these materials:
- A healthy snake plant leaf
- Sharp, clean scissors or a knife
- Small pots
- Well-draining potting mix (a cactus mix works well)
- Water
- A bright, indirect sunlight location
Step 1: Select the Right Leaf
The first step is to choose a leaf from your existing snake plant. Look for:
- A mature leaf that’s sturdy and vibrant.
- Avoid yellowing or damaged leaves, as they may not propagate successfully.
Use clean scissors or a sharp knife to cut the leaf close to the base. Cleaning your tools prevents the spread of bacteria or pests.
Step 2: Prepare the Leaf for Propagation
Once you’ve selected your leaf:
- Cut the Leaf into Sections: Divide it into smaller pieces, about 2–4 inches long.
- Ensure you mark which end is the bottom (closest to the root), as planting the wrong side down will hinder growth.
- Allow the Leaf to Callus: Lay the cut pieces flat in a dry, shaded area for 24–48 hours.
- This step is crucial as it allows the cut ends to dry and form a protective callus, reducing the risk of rot.
Step 3: Plant the Leaf Sections
Prepare a small pot with well-draining potting mix, such as a cactus or succulent mix. Insert the callused end of each leaf section about 1–2 inches into the soil. Ensure:
- The bottom end of the leaf is planted downward.
- The soil is lightly moist but not soggy.
Step 4: Create the Perfect Environment
Snake plant cuttings need the right conditions to root successfully:
- Light: Place the pot in bright, indirect sunlight. Avoid direct sunlight, which can scorch the cuttings.
- Watering: Keep the soil slightly moist. Overwatering can lead to rot, so allow the top layer of soil to dry out between waterings.
Be patient! Rooting can take several weeks, depending on the environment.
Step 5: Watch for Growth
After a few weeks, check for progress:
- Gently tug on the leaf sections; resistance indicates roots are forming.
- Over time, you may notice small pups (baby plants) emerging at the base of the cuttings.
Step 6: Transplant Your New Snake Plants
Once your cuttings have rooted and pups have appeared:
- Carefully separate the pups from the original cutting, ensuring they have their own roots.
- Repot the baby plants into individual pots with fresh, well-draining soil.
Common Mistakes to Avoid
- Skipping the Callus Step: Planting cuttings without callusing can lead to rot.
- Overwatering: Snake plants prefer a dry environment; excessive watering is their biggest enemy.
- Planting Upside Down: Always ensure the bottom end of the leaf is planted in the soil.
Tips for Success
- Use Quality Soil: A well-draining mix is essential for preventing waterlogging.
- Temperature Matters: Keep the cuttings in a warm room (65–85°F) to encourage rooting.
- Be Patient: Propagation takes time. Check progress weekly, but don’t rush the process.
Why This Method Works
Snake plants store water in their leaves, making them resilient during propagation. By allowing the cuttings to callus and planting them in well-draining soil, you’re creating the ideal conditions for new growth.
Benefits of Propagating Snake Plants
- Eco-Friendly Gardening: Reduce waste and cultivate more plants naturally.
- Custom Decor: Create unique planters for every room.
- Gift-Giving: Snake plants make thoughtful, low-maintenance gifts.
Frequently Asked Questions
- Can I propagate a snake plant in water?
- Yes, you can! Place the cut end of a leaf in water, ensuring only the bottom inch is submerged. Change the water weekly and wait for roots to develop before transferring to soil.
- How long does propagation take?
- Rooting typically takes 4–6 weeks, but it can vary depending on environmental conditions.
- What if my cutting rots?
- If a cutting begins to rot, remove it and check the remaining cuttings for signs of decay. Ensure your soil isn’t too wet.
Final Thoughts
Propagating snake plants from a single leaf is a simple and rewarding process that allows you to expand your plant collection effortlessly. With a little patience and care, you can turn one leaf into several thriving plants.
Have you tried this method before? Share your experiences and tips in the comments below! Let’s grow together!
Engage with Us
Have questions or success stories to share? Let’s discuss! Tag us in your propagation journey and inspire others to give it a try. 🌱

