
Maintaining healthy, vibrant plants doesn’t require expensive store-bought fertilizers. Sometimes, the best solutions come from what’s already in your home. This guide will explore a simple yet powerful DIY fertilizer made from natural ingredients you probably already have in your kitchen. Not only will this eco-friendly method help your plants thrive, but it will also save you money and reduce waste.
The Secret to Thriving Plants
Pouring nutrient-rich, homemade fertilizer into your plant pots can make a world of difference in their growth. Whether you have indoor plants, garden vegetables, or flowering beauties, this method provides essential nutrients in a way that’s gentle, effective, and environmentally friendly.
Why Use DIY Fertilizer?
- Cost-Effective: Kitchen scraps and household ingredients are free or inexpensive.
- Eco-Friendly: Reduce waste by repurposing items you might otherwise throw away.
- Customizable: Tailor the nutrients to the needs of your specific plants.
- Gentle on Plants: Unlike synthetic fertilizers, natural options reduce the risk of over-fertilization and soil damage.
Ingredients for Your DIY Fertilizer
Here are some simple ingredients you can use to prepare this magical elixir:
- Banana Peels: Packed with potassium and phosphorus, they promote flowering and root development.
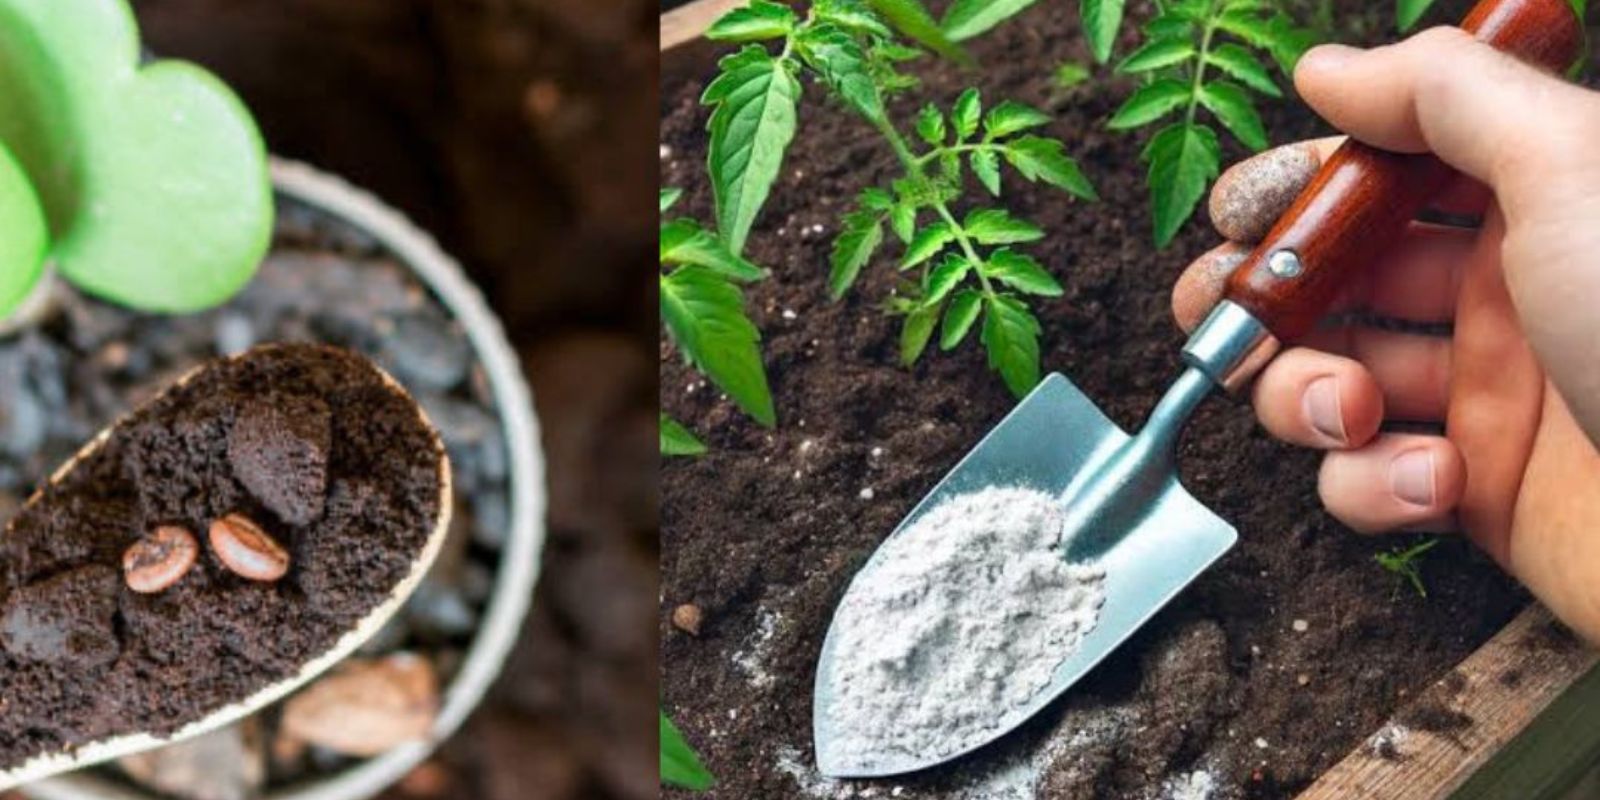
- Coffee Grounds: Provide nitrogen for leafy growth.
- Eggshells: A natural source of calcium to strengthen plant cell walls.
- Vegetable Scraps: Add micronutrients and organic matter to enrich the soil.
- Molasses: Acts as a microbial booster to enhance soil health.
How to Prepare the DIY Fertilizer
Step 1: Collect Ingredients
Save banana peels, eggshells, coffee grounds, and vegetable scraps throughout the week. Ensure they are clean and free of oils or spices.
Step 2: Blend or Boil
- Blend Method: Add all ingredients to a blender with water. Blend until smooth.
- Boil Method: Boil the ingredients in water for 15-20 minutes, then strain the liquid into a container.
Step 3: Dilute the Mixture
Dilute the fertilizer with water in a 1:3 ratio (one part fertilizer to three parts water) to prevent over-fertilization.
How to Use the Fertilizer
- Pour into Plant Pots: Slowly pour the diluted mixture around the base of your plants, ensuring even coverage.
- Apply Regularly: Use the fertilizer every two to three weeks during the growing season.
- Monitor Results: Observe your plants for signs of improved growth, such as greener leaves, stronger stems, and more flowers.
Pro Tips for Success
- Use Fresh Ingredients: Ensure scraps are fresh to avoid odors or pests.
- Store Properly: If you prepare a large batch, store it in a sealed container in the fridge for up to a week.
- Tailor to Plant Needs: Adjust the ingredients based on what your plants require. For example, leafy greens benefit more from nitrogen, while flowering plants need extra potassium.
Benefits for Different Plants
- Houseplants: Helps keep leaves glossy and vibrant.
- Vegetables: Encourages higher yields and healthier produce.
- Flowers: Boosts blooming for more colorful displays.
- Herbs: Promotes lush, flavorful growth.
The Science Behind It
- Nitrogen: Essential for chlorophyll production and leafy growth.
- Phosphorus: Supports root development and flower production.
- Potassium: Strengthens plants’ ability to resist disease and environmental stress.
- Calcium: Prevents disorders like blossom end rot in tomatoes and peppers.
Common Mistakes to Avoid
- Over-Fertilizing: Too much can harm plants, causing yellowing or stunted growth.
- Using Spoiled Ingredients: Avoid fermented or moldy scraps, which can harm plants.
- Ignoring Drainage: Ensure pots have proper drainage to prevent waterlogging.
Success Stories from Gardeners
Many gardeners swear by this DIY fertilizer. Stories range from houseplants coming back to life to vegetable gardens producing bumper crops. With a little effort, you too can enjoy similar results.
Conclusion: Your Lush Garden Awaits
This simple method of pouring nutrient-rich, homemade fertilizer into your pots can revolutionize your gardening routine. Not only will your plants become healthier and more vibrant, but you’ll also feel great knowing you’re contributing to a sustainable future.
Try this easy gardening hack and let us know how your plants respond! Share your experience or ask questions in the comments below.